Removal / installation · Vehicles built from Nov 2005
1.
DISCONNECT CABLE FROM NEGATIVE BATTERY TERMINAL
2.
REMOVE FRONT WHEEL RH
3.
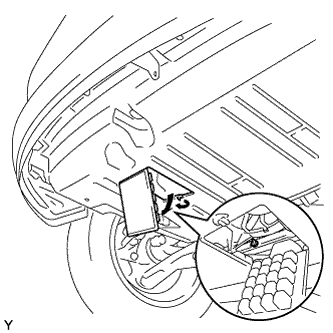
REMOVE ENGINE UNDER COVER
Remove the 5 bolts, 4 screws and 2 clips and remove the engine under cover.
4.
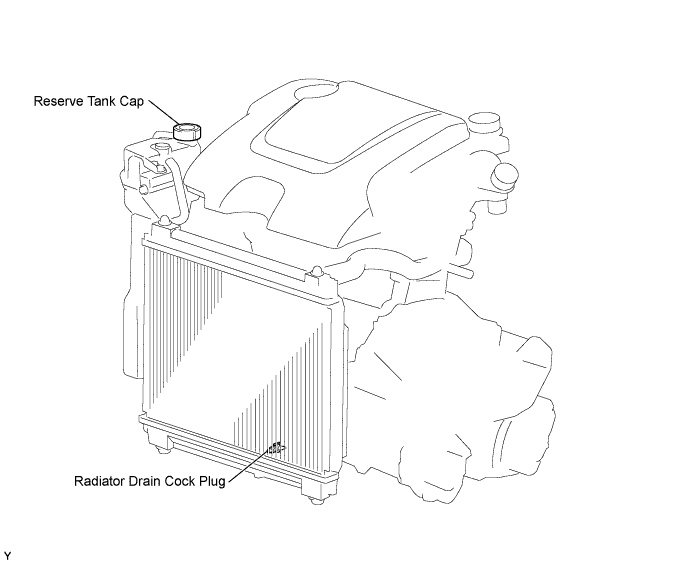
DRAIN ENGINE COOLANT
CAUTION:
To avoid the danger of being burned, do not remove the radiator cap while the engine and radiator are still hot. Thermal expansion will cause hot engine coolant and steam to blow out from the radiator.
Loosen the radiator drain cock plug.
Remove the reserve tank cap and drain the coolant.
Tighten the radiator drain cock plug.
5.
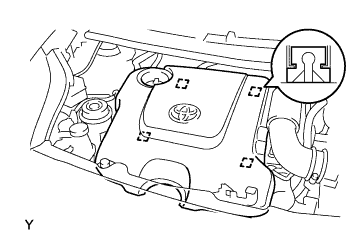
REMOVE ENGINE COVER SUB-ASSEMBLY NO. 1
Disengage the 4 pins and remove engine cover No. 1.
6.
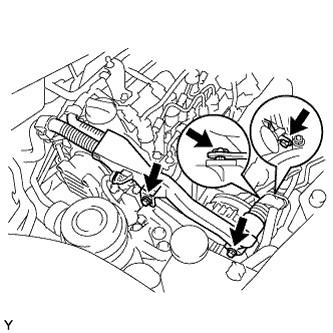
REMOVE FAN AND GENERATOR V BELT
Remove the 3 bolts and clip, then separate the wire harness.
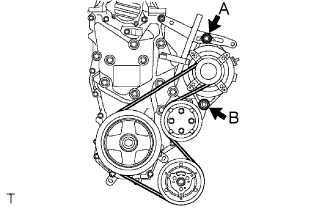
Loosen bolts A and B.
Remove the fan and generator V belt.
7.
REMOVE GENERATOR ASSEMBLY
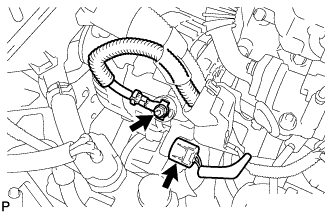
Remove the terminal cap.
Separate the connector and harness clamp.
Remove the nut and remove terminal B.
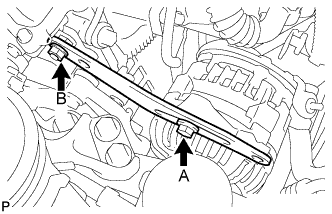
Remove fan belt adjusting slider fixing bolt A and nut B and remove the fan belt adjusting slider.
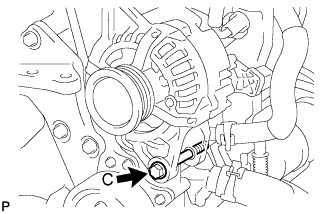
Remove fixing bolt C and remove the generator.
8.
REMOVE CYLINDER HEAD COVER SUB-ASSEMBLY
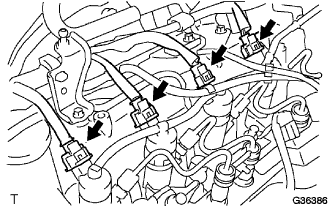
Disconnect the injector connectors.
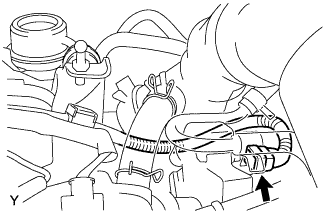
Disconnect the supply pump connector.
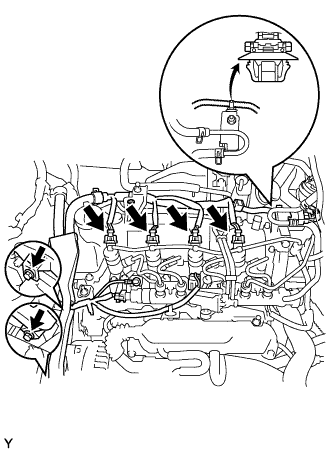
Disengage the wire harness clamps shown in the illustration.
Disconnect the VSV connector shown in the illustration, and disengage the wire harness clamp shown in the illustration.
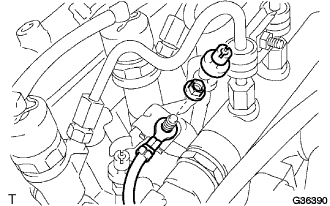
Remove the screw grommet and nut, then separate the wire harness.
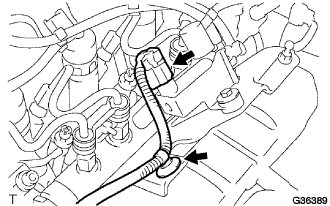
Disconnect the common rail connector.
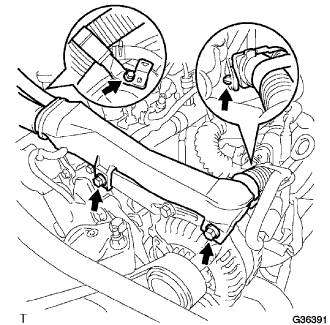
Remove the 3 bolts and the wire harness clamp shown in the illustration and disconnect the engine wire harness.
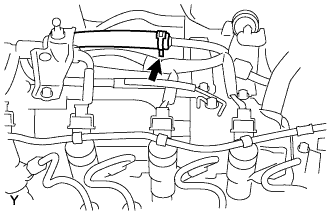
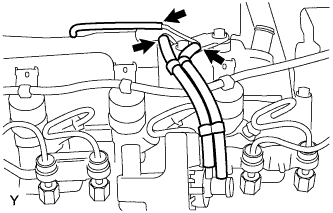
Disconnect the hose shown in the illustration.
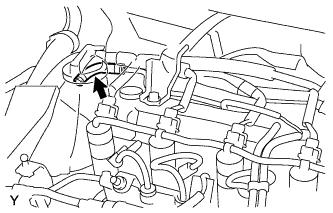
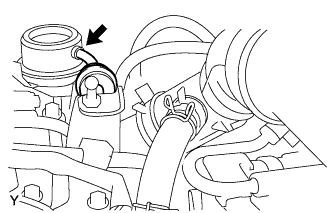
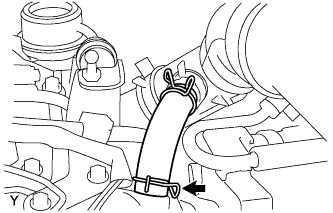
Disconnect the hose shown in the illustration.
Disconnect the 3 vacuum hoses shown in the illustration.
Disconnect the vacuum hose shown in the illustration.
Disconnect the ventilation hose from the cylinder head.
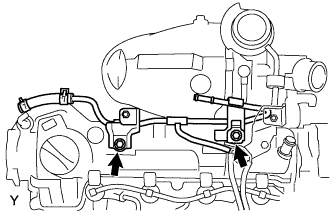
Remove the 2 bolts, then remove the connector to vacuum reservoir tube.
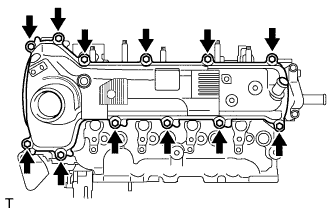
Remove the 12 bolts, then remove the cylinder head cover.
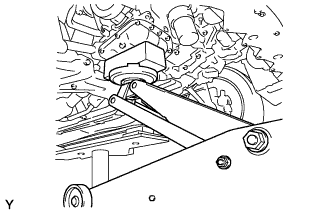
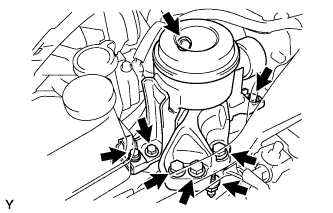
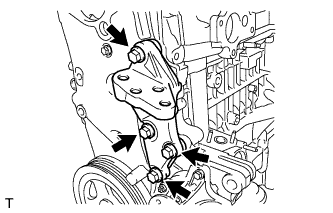
Remove the 4 bolts, then remove the engine mounting bracket.
12.
REMOVE WATER PUMP PULLEY
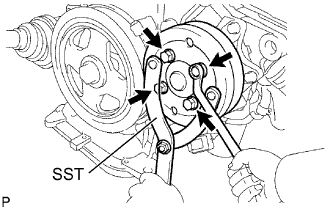
Using SST, hold the water pump pulley.
SST
09960-10010
(09962-01000, 09963-00700)
Remove the 4 bolts, then remove the water pump pulley.
13.
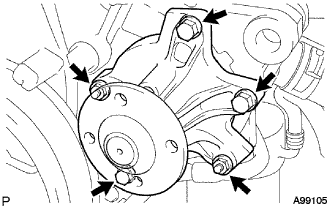
REMOVE WATER PUMP ASSEMBLY
Remove the 3 bolts and 2 nuts, then remove the water pump.
14.
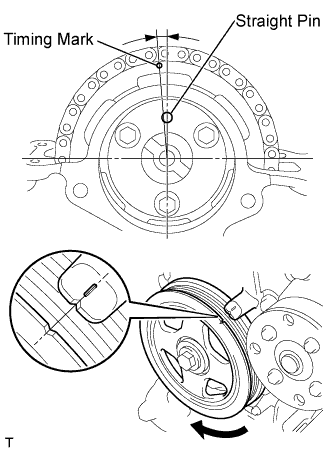
SET NO. 1 CYLINDER TO TDC/COMPRESSION
Set the No. 1 cylinder to TDC/Compression.
Turn the crankshaft pulley until the grooves of the crankshaft damper and oil pump are aligned.
Check that the timing mark of the camshaft timing sprocket and the straight pin hole in the camshaft timing sprocket are in the positions shown in the illustration.
HINT:
If not, turn the crankshaft damper 1 revolution (360°) to align them as above.
15.
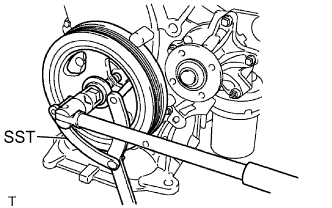
REMOVE CRANKSHAFT DAMPER SUB-ASSEMBLY
Using SST, hold the crankshaft damper and loosen the crankshaft bolt.
SST
09960-10010
(09962-01000, 09963-01000)
16.
REMOVE TIMING CHAIN COVER NO. 2
17.
REMOVE OIL PUMP ASSEMBLY
18.
REMOVE OIL PUMP SEAL
19.
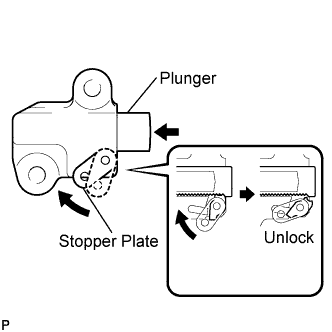
REMOVE CHAIN TENSIONER ASSEMBLY NO. 1
NOTICE:
Do not rotate the crankshaft without the chain tensioner.
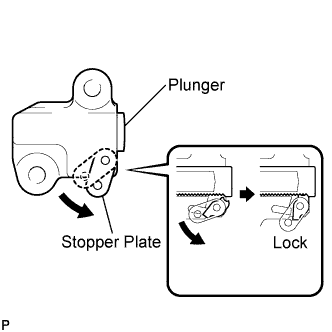
Pull up the stopper plate to unlock the plunger.
Push in the plunger to the end with the plunger unlocked.
Pull down the stopper plate with the plunger pushed to the end to lock the plunger.
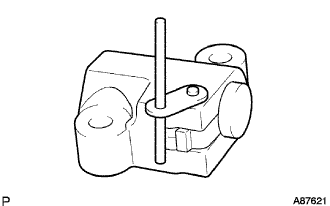
Insert a 2.5 mm (0.095 in.) diameter bar into the hole in the stopper plate with the plunger locked.
HINT:
If the stopper plate is not completely pulled down and a 2.5 mm (0.098 in.) diameter bar cannot be inserted, unlock and pull out the plunger slightly. The stopper plate can then be completely pulled down and a 2.5 mm (0.098 in.) diameter bar can be inserted easily.
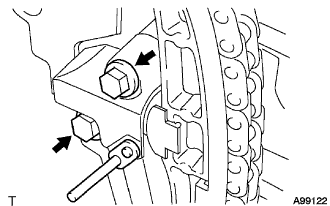
Remove the 2 bolts and chain tensioner No. 1.
20.
REMOVE CHAIN TENSIONER SLIPPER
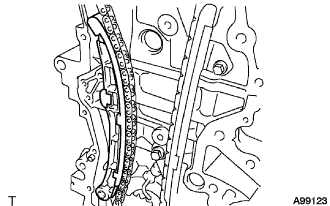
Remove the chain tensioner slipper from the cylinder block.
21.
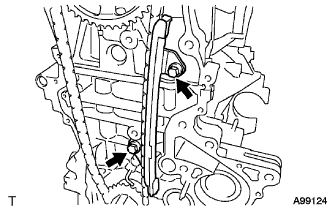
REMOVE CHAIN VIBRATION DAMPER NO. 1
Remove the 2 bolts and chain vibration damper.
22.
REMOVE CHAIN SUB-ASSEMBLY
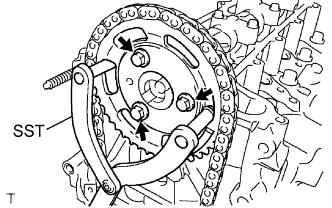
Using SST, hold the camshaft timing sprocket.
SST
09960-10010
(09962-01000, 09963-01000)
Remove the 3 bolts, then remove the camshaft timing sprocket.
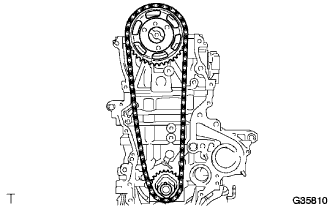
Remove the camshaft timing sprocket, crankshaft timing sprocket and chain together.