VALVE BODY ASSEMBLY > REMOVAL |
| 1. DISCONNECT CABLE FROM NEGATIVE BATTERY TERMINAL |
| 2. REMOVE ENGINE UNDER COVER LH |
| 3. DRAIN AUTOMATIC TRANSAXLE FLUID |
Remove the drain plug and gasket, and drain ATF.
Install a new gasket and the drain plug.
| 4. REMOVE AUTOMATIC TRANSAXLE OIL PAN SUB-ASSEMBLY |
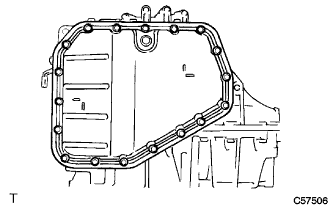
|
Remove the 18 bolts and remove the oil pan and oil pan gasket.
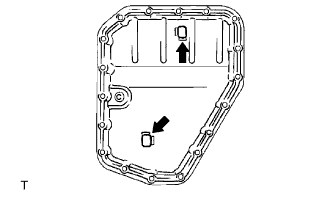 |
Remove the 2 magnets from the oil pan.
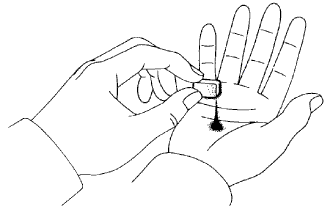 |
Examine the particles in the pan.
Collect any steel chips using the removed magnets.
Carefully inspect the foreign matter and particles in the pan and on the magnets to guess at the type of wear which might be found in the transaxle.
Steel (magnetic): bearing, gear and clutch plate wear
Brass (non-magnetic): bearing wear
| 5. REMOVE VALVE BODY OIL STRAINER ASSEMBLY |
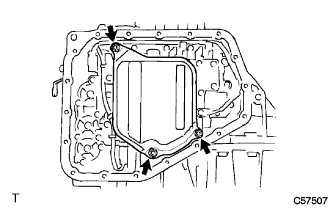 |
Remove the 3 bolts and remove the oil strainer.
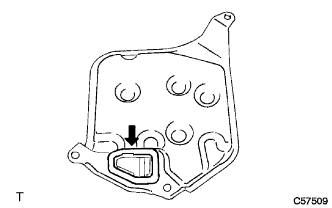 |
Remove the oil strainer gasket from the oil strainer.
| 6. REMOVE TRANSMISSION VALVE BODY ASSEMBLY |
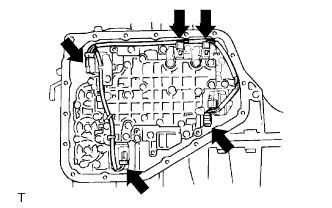 |
Disconnect the 5 solenoid connectors.
Disconnect the ATF temperature sensor from the clamp.
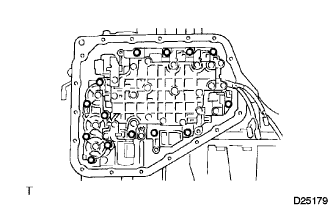 |
Remove the 14 bolts and remove the valve body assembly.
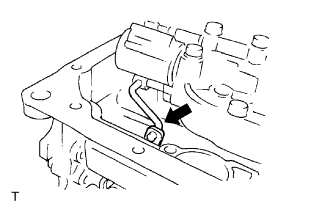 |
Disconnect the manual valve control rod from the manual valve lever, then remove the valve body.
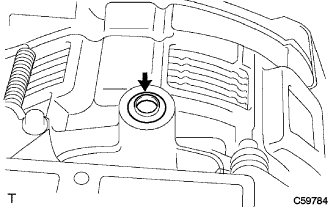 |
Remove governor apply gasket No. 1.