CAMSHAFT TIMING OIL CONTROL VALVE ASSEMBLY > INSTALLATION |
| 1. INSTALL CAMSHAFT TIMING OIL CONTROL VALVE ASSEMBLY |
|
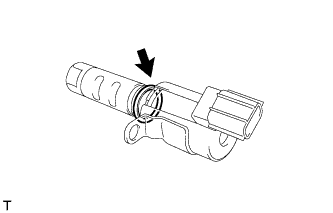
Apply a light coat of engine oil to a new O-ring and install it onto the camshaft timing oil control valve assembly.
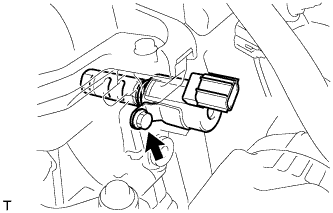 |
Install the camshaft timing oil control valve assembly with the bolt.
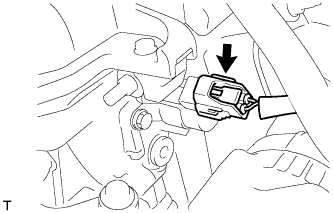 |
Connect the camshaft timing oil control valve assembly connector.
| 2. INSTALL FAN BELT ADJUSTING BAR |
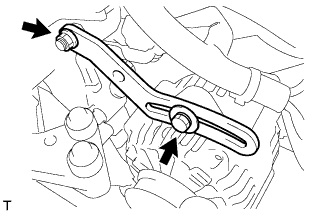 |
Provisionally install the fan belt adjusting bar with the bolt and nut.
Tighten the nut to the specified torque.
| 3. INSTALL FAN & GENERATOR V BELT |
Provisionally install the fan and generator V belt onto each pulley.
| 4. ADJUST FAN & GENERATOR V BELT |
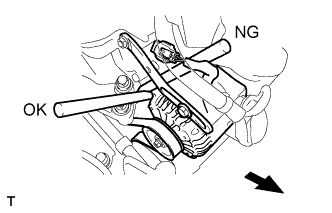 |
Insert an adjusting bar between the engine mounting bracket and generator assembly. Pull the adjusting bar towards the vehicle front to adjust the generator V belt tension.
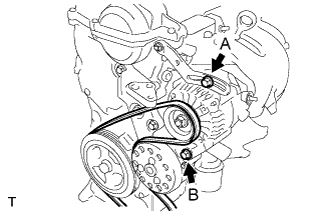 |
First tighten bolt A, then tighten bolt B.
| 5. INSPECT FAN & GENERATOR V BELT |
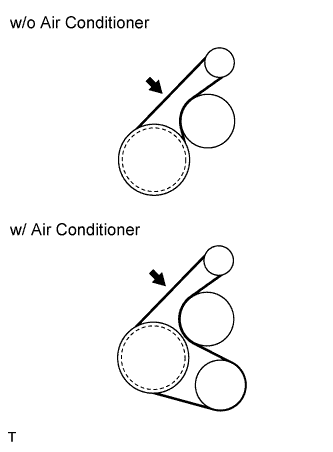 |
Check the V belt deflection and tension.
| Item | Specified Condition |
| New belt | 8.0 to 9.0 mm (0.31 to 0.35 in) |
| Used belt | 12.5 to 13.5 mm (0.49 to 0.53 in) |
| Item | Specified Condition |
| New belt | 700 to 800 N (71 to 82 kg, 157 to 180 lb) |
| Used belt | 300 to 400 N (31 to 41 kg, 67 to 90 lb) |
| 6. CONNECT CABLE TO NEGATIVE BATTERY TERMINAL |
| 7. CHECK FOR ENGINE OIL LEAKAGE |
| 8. INSTALL CYLINDER HEAD COVER NO. 2 |
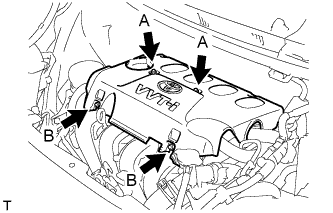 |
Tighten 2 A nuts, then 2 B nuts .
| 9. INSTALL ENGINE UNDER COVER RH |
| 10. INSTALL ENGINE UNDER COVER SUB-ASSEMBLY (for Rough Road Area Specification Vehicles) |