CLUTCH PEDAL (for RHD) > INSTALLATION |
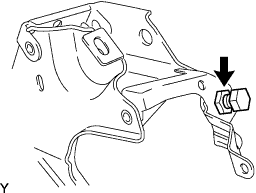
| 1. INSTALL CLUTCH PEDAL STOPPER BOLT |
|
Install the clutch pedal stopper bolt and provisionally tighten the lock nut.
| 2. INSTALL CLUTCH START SWITCH ASSEMBLY |
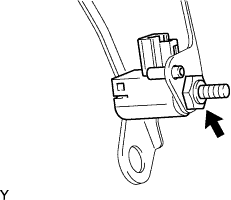 |
Install the clutch start switch with the nut.
| 3. INSTALL CLUTCH PEDAL STOPPER |
| 4. INSTALL CLUTCH PEDAL PAD |
Install the clutch pedal pad onto the clutch pedal.
| 5. INSTALL CLUTCH MASTER CYLINDER PUSH ROD CLEVIS BUSH |
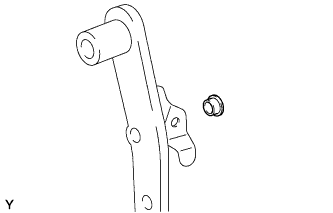 |
Apply MP grease to the inside of a new clevis bush.
Install the clevis bush onto the clutch pedal.
| 6. INSTALL NO. 1 CLUTCH PEDAL CUSHION |
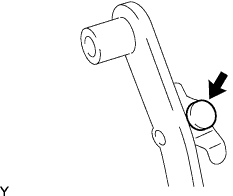 |
Install the No. 1 clutch pedal cushion onto the clutch pedal.
| 7. INSTALL CLUTCH PEDAL SHAFT COLLAR |
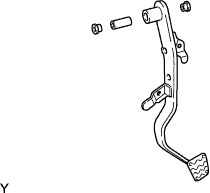 |
Apply MP grease to both sides of the 2 bushes and collar.
Install the 2 bushes and collar onto the clutch pedal.
| 8. INSTALL CLUTCH PEDAL SUB-ASSEMBLY |
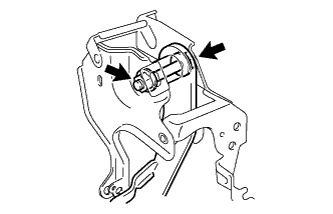 |
Install the clutch pedal to the clutch pedal support with the clutch pedal shaft bolt and the nut.
| 9. INSTALL CLUTCH PEDAL SUPPORT SUB-ASSEMBLY |
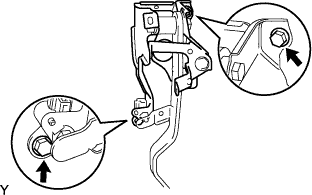 |
Install the clutch pedal support with the 2 clutch pedal support installation bolts.
Connect the clutch start switch connector.
Engage the wire harness clamp.
| 10. INSTALL CLUTCH MASTER CYLINDER ASSEMBLY |
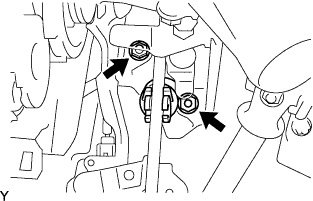 |
Install the clutch master cylinder to the clutch pedal support with the 2 nuts.
Apply MP grease to the contact surface of the push rod clevis pin and clevis bush.
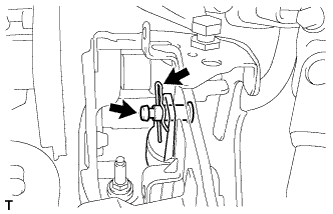 |
Connect the push rod clevis to the clutch pedal with the push rod clevis pin.
Install a new clip to the push rod clevis pin.
| 11. INSTALL CLUTCH PEDAL SPRING |
w/o Clutch Pedal Spring Bracket
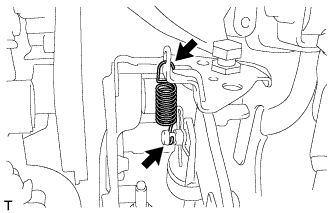 |
Install the clutch pedal spring to the clutch pedal support and the push rod clevis pin.
w/ Clutch Pedal Spring Bracket
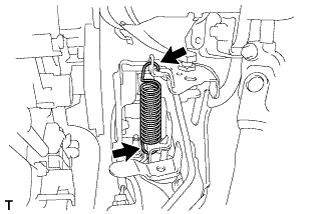 |
Install the clutch pedal spring to the clutch pedal support and the clutch pedal.
| 12. CONNECT CABLE TO NEGATIVE BATTERY TERMINAL |
| 13. INSPECT AND ADJUST CLUTCH PEDAL SUB-ASSEMBLY |
Pull back the floor carpet.
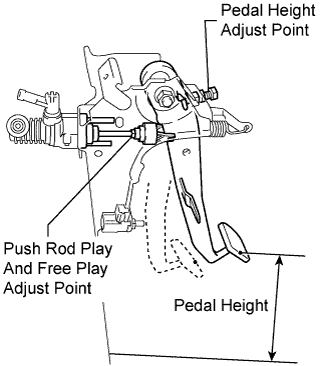 |
Check that the pedal height is correct.
If the pedal height is not as specified, adjust it as follows.
Loosen the lock nut and turn the stopper bolt until the correct height is obtained.
Tighten the lock nut.
| 14. INSPECT CLUTCH START SWITCH ASSEMBLY |
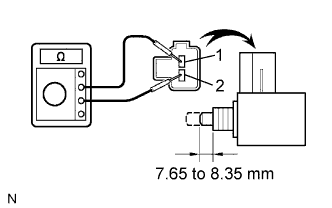 |
Check the resistance between the terminals when the switch is ON and OFF.
| Switch position | Specified Condition |
| ON (pushed in) | Below 1Ω |
| OFF (released) | 10 kΩ or higher |
| 15. INSTALL INSTRUMENT PANEL UNDER COVER SUB-ASSEMBLY LH (w/ Instrument Panel Under Cover) |
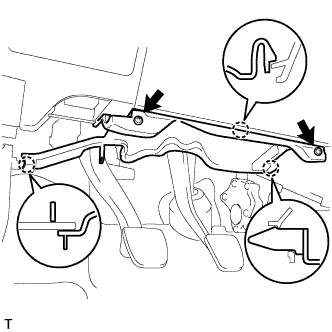 |
Engage the 3 claws and install the instrument panel under cover.
Tighten the 2 screws.