Home › BODY › EXTERIOR › NO. 2 BLACK OUT TAPE (for Hatchback)

NO. 2 BLACK OUT TAPE (for Hatchback) > INSTALLATION

for Preparation Click here


HINT:
The procedure described below is for the LH side. Use the same procedure for both the RH and LH sides, unless otherwise specified.


1. INSTALL NO. 2 BLACK OUT TAPE
  1. Application precautions .

  1. Clean the attachment surface (Using an infrared light) .

  1. Clean the attachment surface (Using a tape removal disc) .


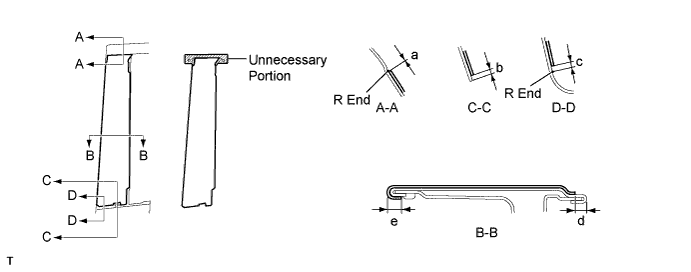
  1. Apply new No. 2 black out tape to the positions shown in the illustration.

    B114639E03

    Installation position:
    Mark
    Measurement (along surface)
    a
    +-1 mm (+-0.039 in.)
    b
    0 to 1.8 mm (0 to 0.071 in.)
    c
    2 mm (0.079 in.)
    d
    1.2 to 3.2 mm (0.047 to 0.126 in.)
    e
    2 to 4 mm (0.079 to 0.157 in.)
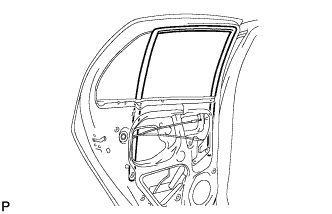


2. INSTALL REAR DOOR GLASS RUN


B116877
  1. Install the rear door glass run.


3. INSTALL REAR DOOR BELT MOULDING


    B114406
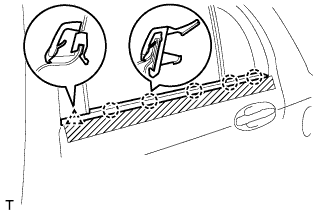
  1. Engage the 5 claws and the clip and install a new rear door belt moulding.


    B114404E01
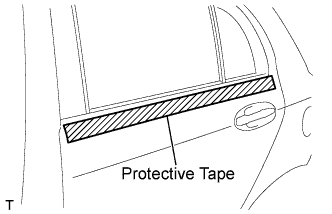
  1. Remove the protective tape.


4. INSTALL REAR DOOR TRIM BOARD SUB-ASSEMBLY
  1. w/ Power Window:

    1. Install the rear door trim board sub-assembly .

  1. w/o Power Window:

    1. Install the rear door trim board sub-assembly .


5. INSTALL REAR DOOR WINDOW REGULATOR HANDLE ASSEMBLY (w/o Power Window)


B116863
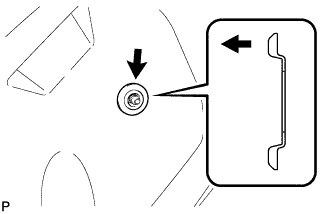
  1. Install the window regulator handle plate.

  1. Open all the windows.


    B121530E01
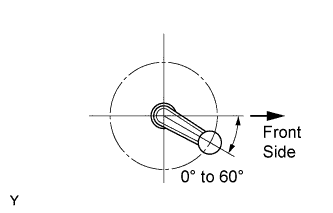
  1. Install the rear door window regulator handle with the clip at the angle shown in the illustration.