PILLAR SPEAKER (for Hatchback) > INSTALLATION |
| 1. INSTALL FRONT NO. 2 SPEAKER ASSEMBLY |
|
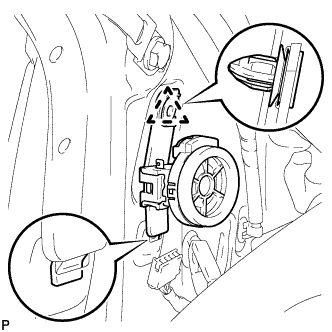
Fit the claw of the speaker bracket into the square hole in the body.
Engage the clip and install the speaker.
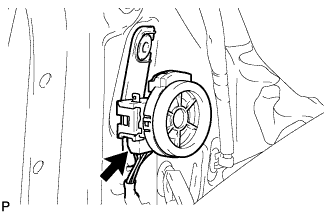 |
Connect the speaker connector.
| 2. INSTALL FRONT PILLAR GARNISH |
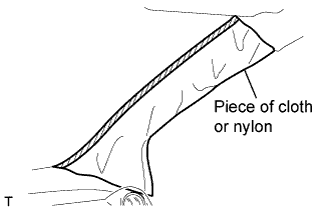 |
w/ Curtain Shield Airbag:
Remove the piece of cloth or nylon.
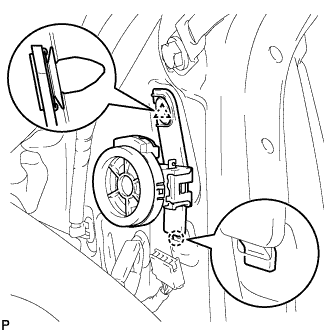 |
w/ Front No. 2 Speaker:
Insert the hook into the body hole.
Engage the clip and install the front speaker.
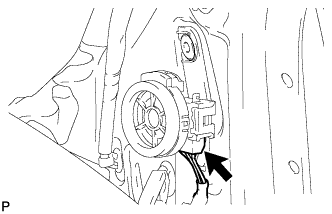 |
Connect the speaker connector.
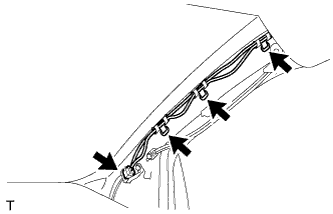 |
Install the 3 antenna cord clamps.
Connect the connector.
w/ Curtain Shield Airbag:
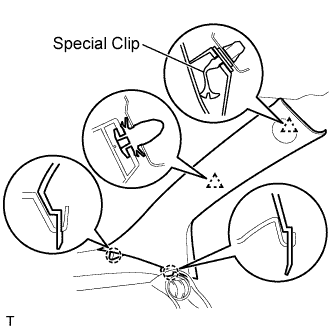 |
Install a new special clip and the clip onto a new front pillar garnish.
Engage the 2 clips and the 2 claws and install the front pillar garnish.
w/o Curtain Shield Airbag:
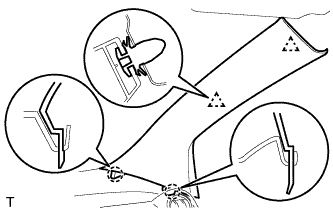 |
Engage the 2 clips and the 2 claws and install the front pillar garnish.
| 3. INSTALL FRONT DOOR OPENING TRIM WEATHERSTRIP |
Install the front door opening trim weatherstrip LH.
| 4. CONNECT CABLE TO NEGATIVE BATTERY TERMINAL |