Home › Vehicle Interior › HEATING / AIR CONDITIONING › ROOM TEMPERATURE SENSOR

ROOM TEMPERATURE SENSOR > REMOVAL

for Preparation Click here


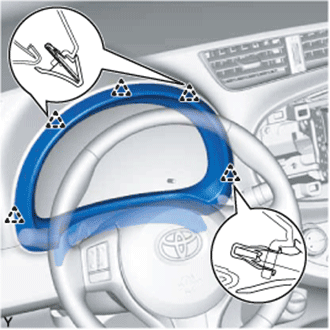
1. REMOVE INSTRUMENT CLUSTER FINISH PANEL GARNISH ASSEMBLY


    B290391E01
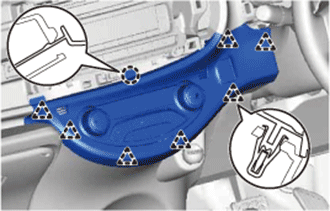
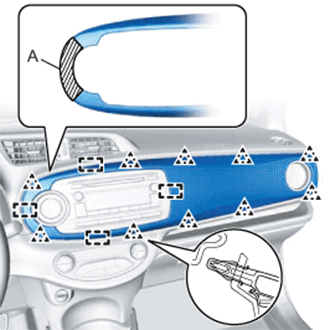
  1. Disengage the 10 clips and the 4 guides and remove the instrument cluster finish panel garnish.

    HINT:
    Disengage the clips in order starting from the outside of the vehicle.

    NOTICE:
    To prevent parts from breaking, do not pull on section A when disengaging the clips.
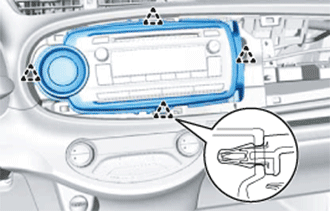


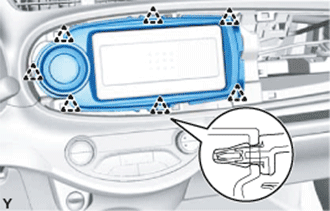
2. REMOVE INSTRUMENT CLUSTER FINISH CENTER PANEL SUB-ASSEMBLY (w/ Radio Receiver)


    B290376
  1. Disengage the 4 clips.

  1. Disconnect the connector and remove the instrument cluster finish center panel.


3. REMOVE INSTRUMENT CLUSTER FINISH CENTER PANEL SUB-ASSEMBLY (w/o Radio Receiver)


    B290375
  1. Disengage the 7 clips.

  1. Disconnect the connector and remove the instrument cluster finish center panel.


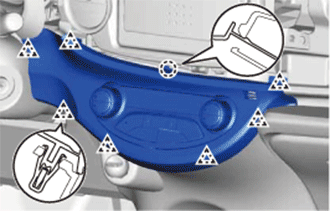
4. REMOVE NO. 1 INSTRUMENT CLUSTER FINISH PANEL


    B284246
  1. Disengage the 5 clips and remove the instrument cluster finish panel.


5. REMOVE AIR CONDITIONING CONTROL ASSEMBLY (for LHD)


    I106723
  1. Disengage the claw and 7 clips and remove the air conditioning control.


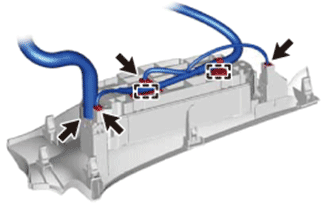
    I106724
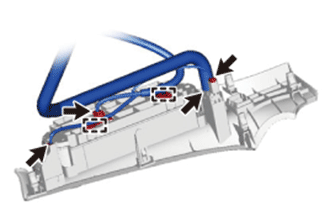
  1. Separate the cooler hose.

  1. Disconnect the connectors and disengage the clamps, then remove the air conditioning control.


6. REMOVE AIR CONDITIONING CONTROL ASSEMBLY (for RHD)


    I106008
  1. Disengage the claw and 7 clips and remove the air conditioning control.


    I106266
  1. Separate the cooler hose.

  1. Disconnect the connectors and disengage the clamps, then remove the air conditioning control.


7. REMOVE ROOM TEMPERATURE SENSOR (COOLER THERMISTOR)


    I106260E02
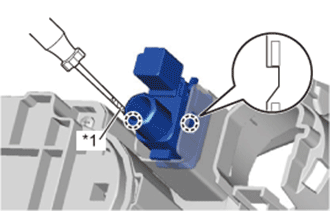
  1. Using a screwdriver with its tip wrapped in protective tape, disengage the 2 claws and room temperature sensor (cooler thermistor).
    Text in Illustration 
    *1
    Protective Tape