AIR CONDITIONING PANEL (for Automatic Air Conditioning System) > REMOVAL |
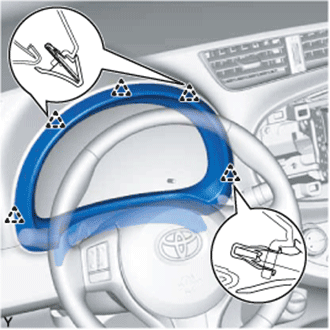
| 1. REMOVE INSTRUMENT CLUSTER FINISH PANEL GARNISH ASSEMBLY |
![]() |
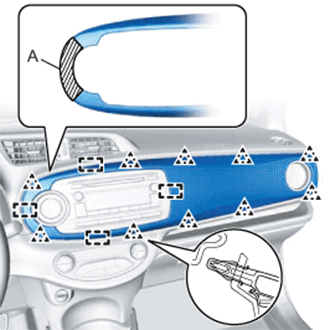
Disengage the 10 clips and the 4 guides and remove the instrument cluster finish panel garnish.
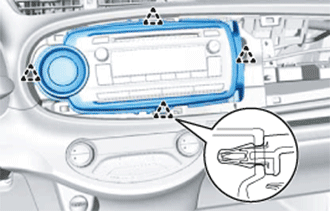
| 2. REMOVE INSTRUMENT CLUSTER FINISH CENTER PANEL SUB-ASSEMBLY (w/ Radio Receiver) |
![]() |
Disengage the 4 clips.
Disconnect the connector and remove the instrument cluster finish center panel.
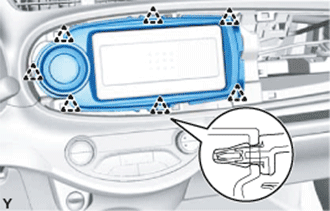
| 3. REMOVE INSTRUMENT CLUSTER FINISH CENTER PANEL SUB-ASSEMBLY (w/o Radio Receiver) |
![]() |
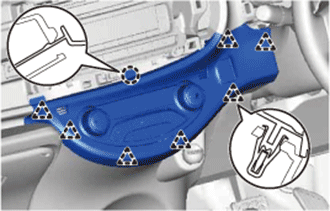
Disengage the 7 clips.
Disconnect the connector and remove the instrument cluster finish center panel.
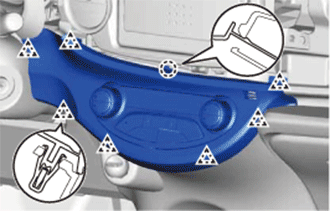
| 4. REMOVE NO. 1 INSTRUMENT CLUSTER FINISH PANEL |
![]() |
Disengage the 5 clips and remove the instrument cluster finish panel.
| 5. REMOVE AIR CONDITIONING CONTROL ASSEMBLY (for LHD) |
![]() |
Disengage the claw and 7 clips and remove the air conditioning control.
![]() |
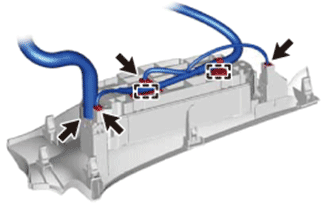
Separate the cooler hose.
Disconnect the connectors and disengage the clamps, then remove the air conditioning control.
| 6. REMOVE AIR CONDITIONING CONTROL ASSEMBLY (for RHD) |
![]() |
Disengage the claw and 7 clips and remove the air conditioning control.
![]() |
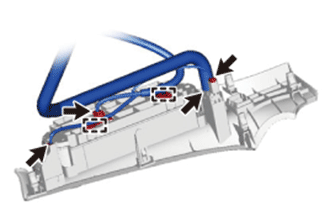
Separate the cooler hose.
Disconnect the connectors and disengage the clamps, then remove the air conditioning control.
| 7. REMOVE ROOM TEMPERATURE SENSOR (COOLER THERMISTOR) |
![]() |
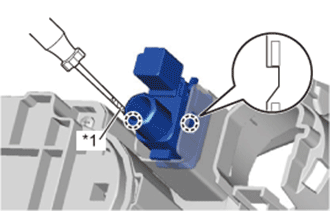
Using a screwdriver with its tip wrapped in protective tape, disengage the 2 claws and room temperature sensor (cooler thermistor).
| *1 | Protective Tape |
| 8. REMOVE AMPLIFIER MICROPHONE ASSEMBLY (w/ Microphone) |
![]() |
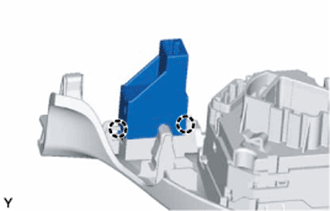
Disengage the 2 claws and remove the amplifier microphone assembly.