STABILIZER LINK BRACKET - SRT8
REMOVAL
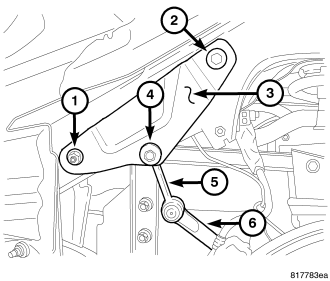
1. Raise and support the vehicle.
2. Remove the tire and wheel assembly.
3. Remove the stabilizer link upper nut and bolt (4).
4. Remove the stabilizer link (5) of the way of the bracket (3).
5. Remove the stabilizer link bracket upper bolt (2).
6. Remove the stabilizer link bracket lower nut (1) This nut/bolt is also used for the upper control arm do not remove the bolt from the frame pocket for bracket replacement.
7. Remove the bracket (3) form the vehicle.
INSTALLATION
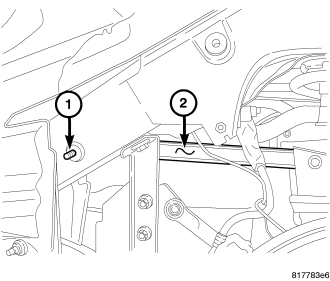
NOTE: This nut/bolt (1) is also used for the upper control arm (2) do not remove the bolt from the frame pocket for bracket replacement.
1. Install the bracket (3) to the vehicle.
2. Install the bracket lower nut (1). Tighten to 129 N·m (95 ft.lbs.).
3. Install the upper bracket bolt (2). Tighten to 129 N·m (95 ft.lbs.).
4. Install the stabilizer link (5) into place and install the nut/bolt (4) to the bracket. Tighten to 102 N·m (75 ft.lbs.).
5. Install the tire and wheel assembly.
6. Lower the vehicle.