DOOR UNLOCK RELAY CONTROL CIRCUIT OPEN OR SHORT TO GROUND
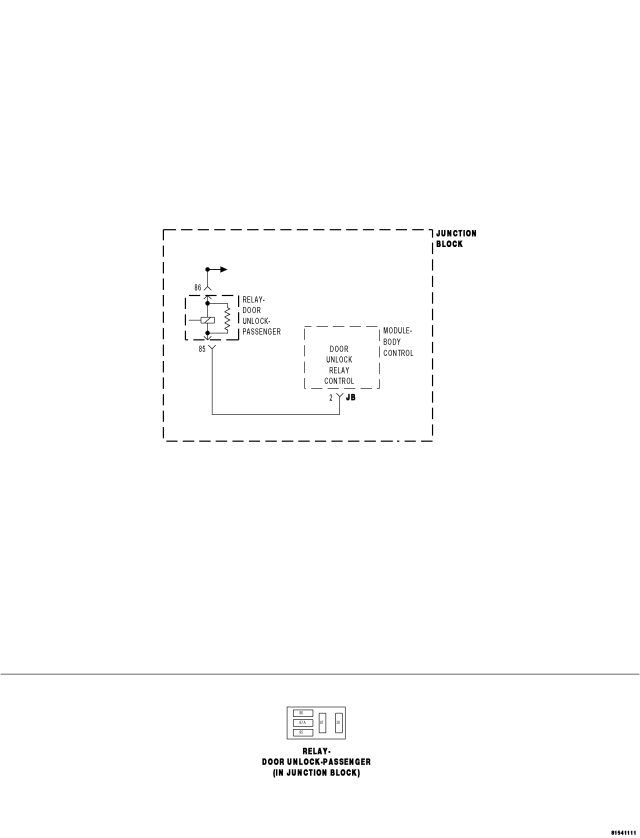
For a complete wiring diagram Refer to Section 8W.
- When Monitored:
With ignition on.
- Set Condition:
The BCM detects a low circuit on the Door Unlock Relay Control circuit even though it is not attempting to unlock the doors for more than 5 seconds. If the BCM is not grounding its side of the relay coil, the output should be high.
| Possible Causes |
| RELAY OPEN OR SHORTED |
| JUNCTION BLOCK - DOOR UNLOCK RELAY CONTROL SHORT TO GROUND |
| JUNCTION BLOCK - DOOR UNLOCK RELAY CONTROL OPEN |
| BODY CONTROL MODULE - OPEN OR SHORTED |
Diagnostic Test
1. CHECK TROUBLE CODENOTE: If the door locks are totally inoperative, check fuse No. 6 before proceeding.
Turn the ignition on.
With the scan tool, erase DTCs.
Operate the door locks several times.
With the scan tool, read DTCs.
Does the scan tool display DOOR UNLOCK RELAY CONTROL CIRCUIT OPEN OR SHORT TO GROUND?
Yes
- Go To2
No
- Problem is intermittent and not present at this time. Using the wiring diagram/schematic as a guide, inspect the wiring and connectors and repair as necessary. Ensure the relay is completely plugged in.
- Perform BODY VERIFICATION TEST - VER 1. (Refer to 8 - ELECTRICAL/ELECTRONIC CONTROL MODULES - STANDARD PROCEDURE)
2. CHECK FOR RELAY OPEN OR SHORTED
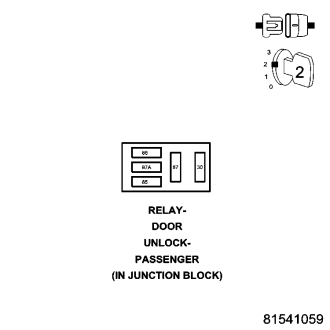
Turn the ignition off.
Remove the Door Unlock Relay from the Junction Block.
Install a substitute relay in place of the Door Unlock Relay.
Turn the ignition on.
With the scan tool, erase DTCs.
Operate the Door Locks several times.
With the scan tool, read DTCs.
Does the scan tool display DOOR UNLOCK RELAY CONTROL CIRCUIT OPEN/SHORT TO GROUND?
Yes
- Go To3
No
- Replace the original relay.
- Perform BODY VERIFICATION TEST - VER 1. (Refer to 8 - ELECTRICAL/ELECTRONIC CONTROL MODULES - STANDARD PROCEDURE)
3. CHECK THE JUNCTION BLOCK FOR THE DOOR UNLOCK RELAY CONTROL CIRCUIT SHORT TO GROUND
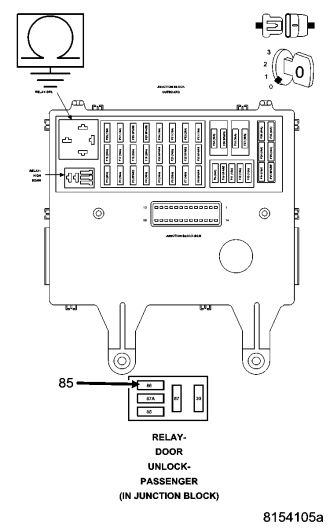
Turn the ignition off.
Remove the Door Unlock Relay from the Junction Block.
Remove the Body Control Module from the Junction Block.
NOTE: Ensure the Junction Block connectors are reconnected at this time.
Measure the resistance between ground and the (P334) Door Unlock Relay Control circuit in the relay connector of the Junction Block.
Is the resistance below 100.0 ohms?
Yes
- Replace the Junction Block in accordance with service information.
- Perform BODY VERIFICATION TEST - VER 1. (Refer to 8 - ELECTRICAL/ELECTRONIC CONTROL MODULES - STANDARD PROCEDURE)
No
- Go To4
4. CHECK THE JUNCTION BLOCK FOR THE DOOR UNLOCK RELAY CONTROL CIRCUIT OPEN
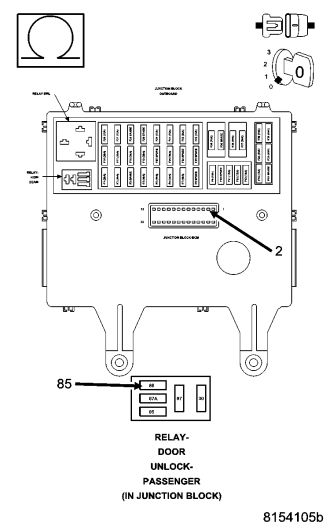
Measure the resistance of the (P334) Door Unlock Relay Control circuit between the Relay connector and the Junction Block - BCM connector.
Is the resistance below 2.0 ohms?
Yes
- Replace the Body Control Module in accordance with service information.
- Perform BODY VERIFICATION TEST - VER 1. (Refer to 8 - ELECTRICAL/ELECTRONIC CONTROL MODULES - STANDARD PROCEDURE)
No
- Replace the Junction Block.
- Perform BODY VERIFICATION TEST - VER 1. (Refer to 8 - ELECTRICAL/ELECTRONIC CONTROL MODULES - STANDARD PROCEDURE)