SEAL-REAR OUTPUT SHAFT
REMOVAL
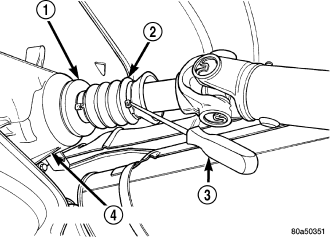
1. Shift the transmission and transfer case into NEUTRAL.
2. Raise and support vehicle.
3. Mark a line across the pinion shaft and at each end of the propeller shaft for installation reference.
4. Remove the U-joint strap bolts at the pinion shaft yoke.
5. Pry open clamp holding the dust boot (2) to propeller shaft yoke.
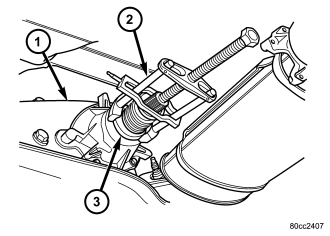
6. Slide the slip yoke off of the transmission/transfer case output shaft and remove the propeller shaft.
7. Spread band clamp which holds output shaft boot to the output shaft slinger with a suitable awl, or equivalent.
8. Remove output shaft boot from slinger and output shaft.
9. Remove the output shaft rear slinger (3) using Puller MD-998056-A (2).
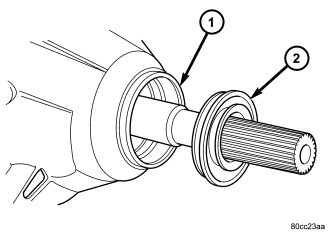
10. Use a suitable pry tool, or a slide hammer mounted screw, to remove the seal (2) from the rear retainer (1).
INSTALLATION
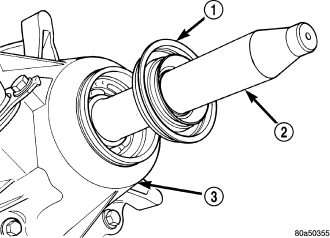
1. Apply liberal quantity of petroleum jelly to new rear seal and to output shaft. Petroleum jelly is needed to protect seal lips during installation.
2. Slide seal onto Seal Protector 8824 (2). Slide seal protector and seal onto output shaft.
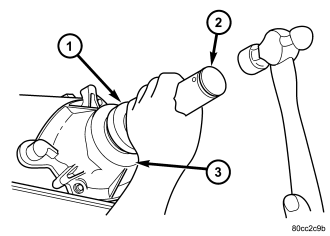
3. Slide Installer 8691 (1) onto seal and mainshaft. Drive seal into rear bearing retainer.
4. Install a new output shaft rear slinger with Installer 9023.
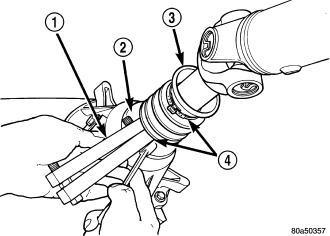
5. Install boot (3) on output shaft slinger and crimp retaining clamp with tool C-4975-A (1).
6. Slide the slip yoke on the transmission/transfer case output shaft. Align installation reference marks at the axle yoke and install the propeller shaft.
7. Tighten the U-joint strap/clamp bolts at the axle yoke to 19 N·m (14 ft. lbs.).
8. Crimp clamp with Clamp Tool C-4975A to hold dust boot to propeller shaft yoke.
9. Remove support and lower the vehicle.