FRONT AXLE - 216FBI
REMOVAL
NOTE: Procedure is the same for a 4x2 tube axle except for propeller shaft and axle vent removal.
1. With transmission in neutral, position vehicle on hoist.
2. Position and secure a lift under the axle.
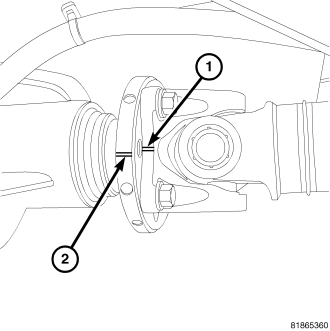
3. Mark an installation reference line across the front propeller shaft flange (1) and the axle flange (2).
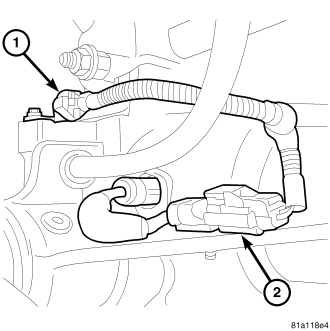
4. Disconnect Tru-Lok wiring connectors (1,2) and axle vent hose.
5. Remove brake calipers and rotors.
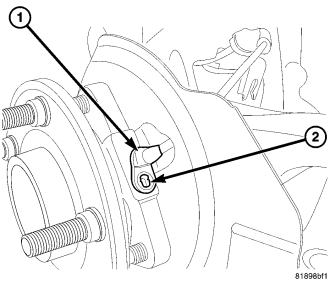
6. Remove wheel speed sensors (1) from hub bearings.
7. Remove brake lines and sensor wiring from axle.
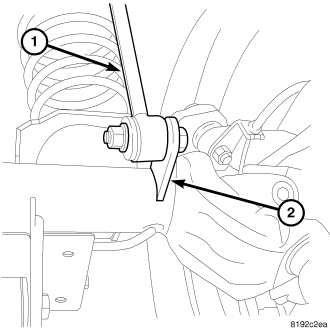
8. Remove stabilizer bar links (1) from axle brackets (2).
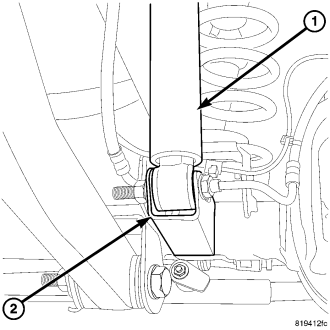
9. Remove shock absorbers (1) from axle brackets (2).
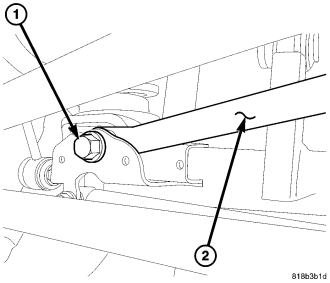
10. Remove track bar bolt (1) and track bar (2) from axle bracket.
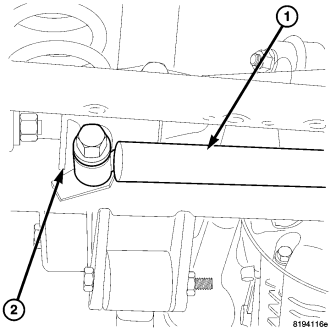
11. Remove steering damper (1) from axle bracket (2).
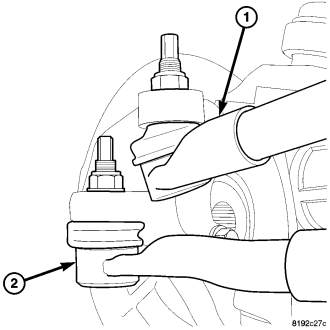
12. Remove drag link (1) and tie rod ends (2) from steering knuckles.
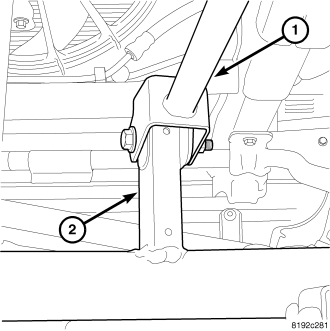
13. Remove upper control arms (1) from axle brackets (2).
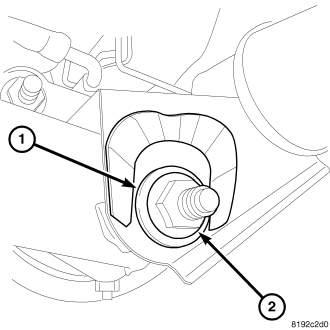
14. Mark lower control arm cams (1) for installation reference and loosen nuts (2).
15. Lower axle enough to remove coil springs from axle.
16. Remove lower control arm bolts remove axle from vehicle.
INSTALLATION
CAUTION: The weight of the vehicle must be supported by the springs before suspension arms and track bar fasteners can be tightened. Failure to follow these instruction will result in damaging the bushings.
NOTE: Procedure is the same for a 4x2 tube axle except for propeller shaft and axle vent installation.
1. Position axle under vehicle.
2. Install lower control arms in axle brackets.
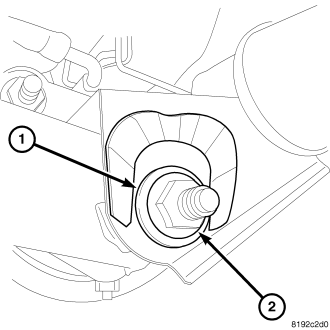
3. Install lower control arm bolts, cams (1) and loosely install nuts (2).
4. Install coil springs on axle and raise axle into position.
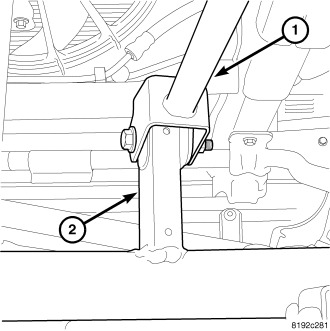
5. Install upper control arms (1) on axle brackets (2) and loosely install bolts and nuts.
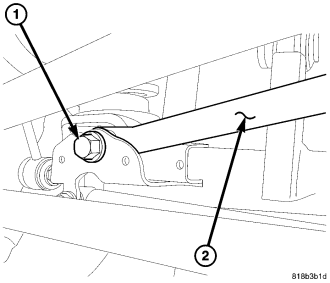
6. Install track bar (2) in axle bracket and loosely install bolt (1).
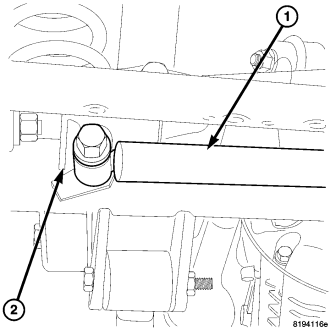
7. Install steering damper (1) on axle bracket (2) and tighten to specification.
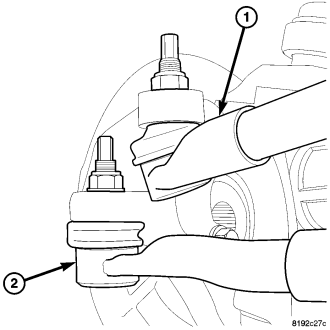
8. Install drag link (1) and (2) tie rod ends on steering knuckles and tighten to specification.
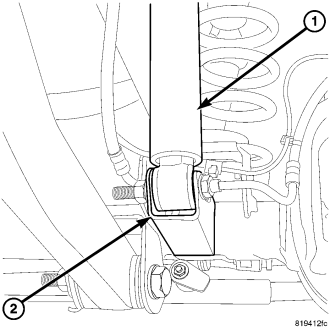
9. Install shock absorbers (1) on axle brackets (2) and tighten to specification.
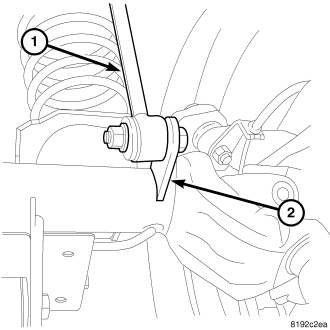
10. Install stabilizer bar links (1) on axle brackets (2) and tighten to specification.
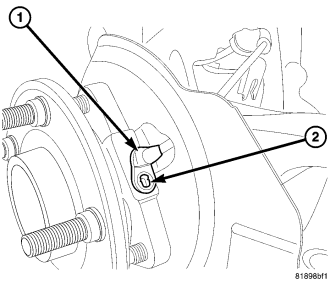
11. Install wheel speed sensors harness on axle and install sensors (1) in hub bearings.
12. Install brake rotors, calipers and brakes lines.
13. Connect Tru-Lok wiring connectors (1,2) and axle vent hose.
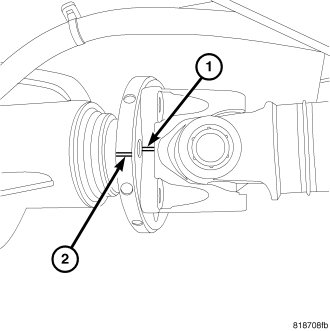
NOTE: Clean all propeller shaft bolts and apply Mopar® Lock & Seal Adhesive or equivalent to the threads before installation.
14. Install propeller shaft with axle flange (2) and propeller shaft (1) marks aligned.
15. Remove lift from the axle.
16. Install wheel and lower vehicle.
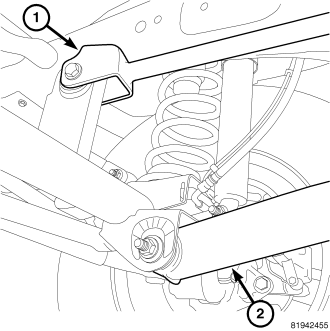
17. Align lower control arm (2) cams to reference marks and tighten control arm nuts to specification.
18. Tighten upper (1) control arm nuts to specification.
19. Tighten track bar (2) bolt (1) at axle bracket to torque specification.