SEAL-PINION
REMOVAL
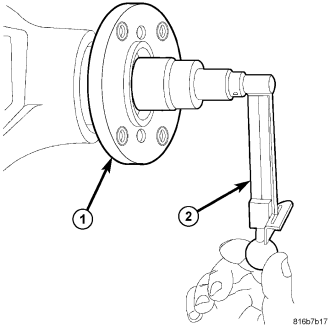
1. With transmission in neutral, position vehicle on hoist.
2. Mark propeller shaft, pinion flange and pinion shaft for installation reference.
3. Remove propeller shaft.
4. Remove brake calipers to prevent drag.
5. Rotate pinion gear three or four times and verify it rotates smoothly.
6. Record pinion torque to rotate (1) with an inch pound torque wrench (2) for installation reference.
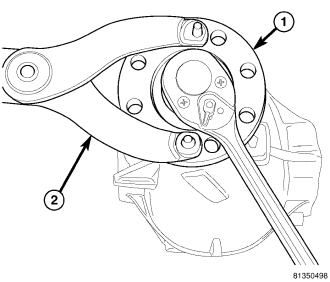
7. Hold pinion flange (1) with Flange Wrench C-3281 (2) and remove pinion nut.
8. Mark a reference line across the pinion shaft and flange for installation reference.
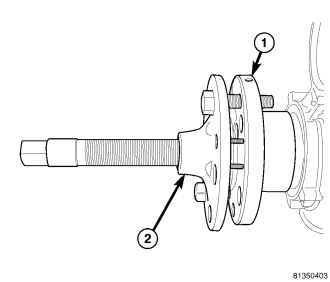
9. Remove pinion flange (1) with Puller C-452 (2).
10. Remove seal with a seal puller.
INSTALLATION
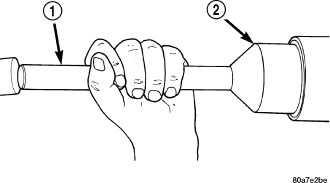
1. Apply a light coating of gear lubricant on the lip of pinion seal. Install seal with Handle C-4171 (1) and Installer 8681 (2).
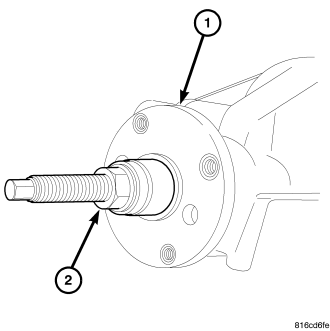
2. Place pinion flange on the pinion shaft with reference marks aligned.
3. Install flange (1) with Installer 8112 (2) and Cup 8109.
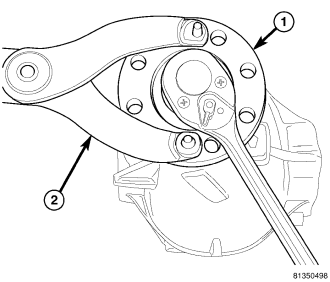
4. Install new pinion nut.
5. Hold pinion flange (1) with Flange Wrench C-3281 (2) and tighten pinion nut to 217 N·m (160 ft. lbs.).
6. Measure pinion torque to rotate (1) with an inch pound torque wrench (2). Pinion torque to rotate is recorded reading plus 0.56 N·m (5 in. lbs.). If torque to rotate is low, tighten pinion nut in 6.8 N·m (5 ft. lbs.) increments until torque to rotate is achieved.
CAUTION: If maximum tightening torque of 271 N·m (200 ft. lbs.) is reached before torque to rotate is achieved, the collapsible spacer may have been damaged. Never loosen pinion gear nut to decrease pinion gear bearing rotating torque and never exceed specified preload torque. Failure to follow these instruction may result in damage.
7. Install propeller shaft with reference marks aligned.
8. Install brake calipers.
9. Check and add gear lubricant to axle if necessary.