SEAL, Output Shaft
REMOVAL
REMOVAL
- Remove the propeller shaft (Refer to 03 - Differential and Driveline/Propeller Shaft/SHAFT, Drive - Removal) . Move propeller shaft to the right and tie up.
-
Verify that the transmission is in PARK in order to prepare for the removal of the output shaft nut.
NOTE: When removing the propeller shaft flange be certain the shim remains on the output shaft.
- Remove the nut, with a 30 mm 12 point socket, holding the propeller shaft flange to the output shaft and remove the flange.
- Remove the output shaft seal with suitable screw and slide hammer.
INSTALLATION
INSTALLATION
Special Tools: Click to display a list of tools used in this procedure
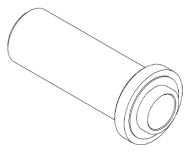
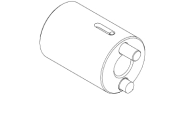
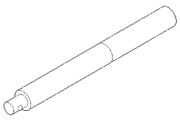
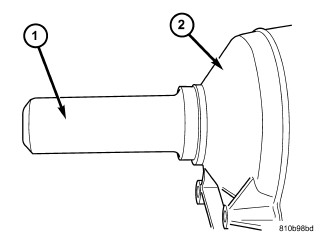 |
- Position the new output shaft seal over the output shaft and against the transmission case.
- Use Seal Installer 8902A (1) to install the seal.
-
Verify that the transmission is in PARK in order to prepare for the installation of the output shaft nut.
NOTE: When installing the propeller shaft flange be certain the shim remained on the output shaft.
-
Install the propeller shaft flange onto the output shaft and install an new flange nut. Tighten the flange nut, with a 30 mm 12 point socket, to 200 N·m (147.5 ft.lbs.).
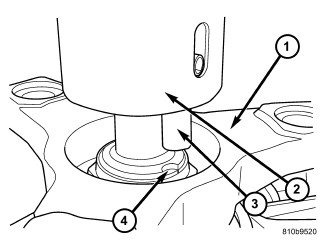
- Stake the output shaft nut to the output shaft as follows.Place the Staking Tool 9078 (2) and Driver Handle C-4171 onto the output shaft.
-
Rotate the Staking Tool 9078 (2) until the alignment pin (3) engages the output shaft notch (4) .
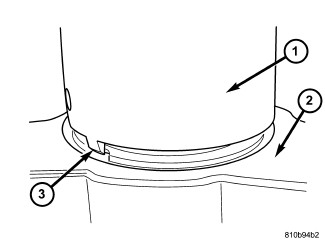
- Press downward on the staking tool until the staking pin (3) contacts the output shaft nut flange (2) .
- Strike the Driver handle C-4171 with a suitable hammer until the output shaft nut is securely staked to the output shaft.
-
Install the propeller shaft (Refer to 03 - Differential and Driveline/Propeller Shaft/SHAFT, Drive - Installation)
.