SHAFT, Drive, Rear
REMOVAL
 |
- With vehicle in neutral, position vehicle on hoist.
-
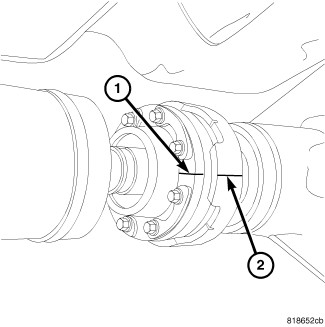
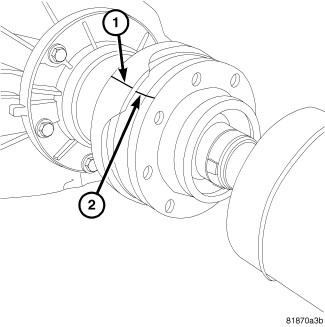
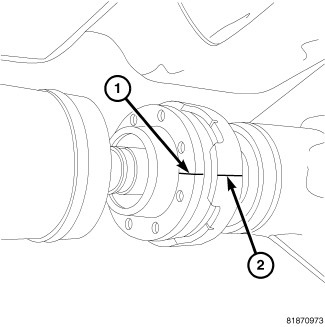
Mark installation reference line across the rear propeller shaft CV joint (1) and the axle flange (2). Also mark to indicate propeller shaft axle end.
NOTE: Propeller shaft can be install either way.
-
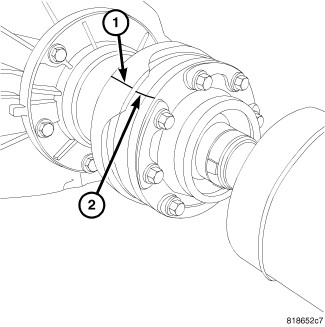
Mark installation reference line across the front propeller shaft CV joint (1) and the transmission/transfer case flange (2). Also mark to indicate propeller shaft transmission/transfer case flange end.
-
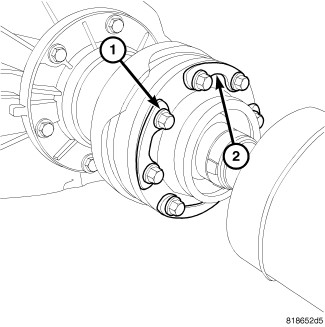
Remove front propeller shaft CV joint bolts (1) and retainers (2).
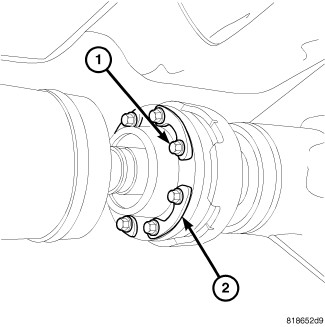
- Remove rear propeller shaft CV joint bolts (1) and retainers (2).
-
Compress the propeller shaft enough to remove it from the axle flange and transmission/transfer case flange.
INSTALLATION
 |
| NOTE: |
Clean all propeller shaft bolts and apply Mopar® Lock AND Seal Adhesive or equivalent to the threads before installation. |
- Compress the propeller shaft enough to install it into the axle flange and transmission/transfer case flange.
-
Align installation
reference marks on the transmission/transfer case flange (1) and propeller
shaft transmission/transfer end CV joint (2).
-
Install propeller shaft
CV joint retainers (2) and bolts (1). Tighten bolts to 20 N·m (15
ft. lbs.).
-
Align installation
reference marks on the propeller shaft CV joint (1) and axle flange
(2).
-
Install propeller shaft
CV joint retainers (2) and bolts (1). Tighten bolts to 20 N·m (15
ft. lbs.).