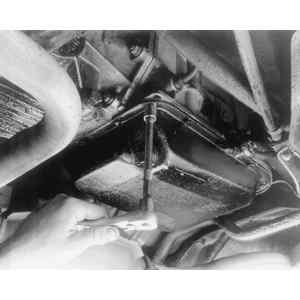
| Fig. 1: Loosen the fluid pan retaining bolts — 1.8L
engine
|
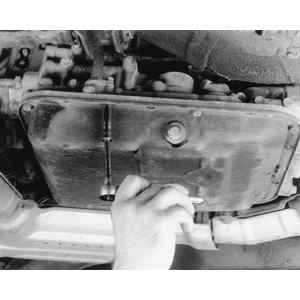
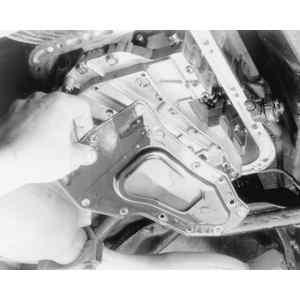
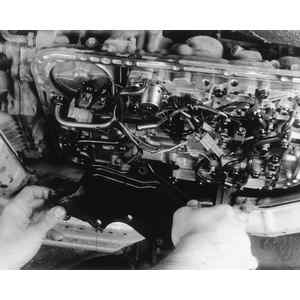
| Fig. 2: After the fluid has been drained, loosen the
pan bolts — Legacy transaxle shown
|
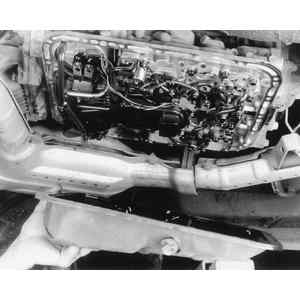
| Fig. 3: Lower the transaxle's fluid pan and . . .
|
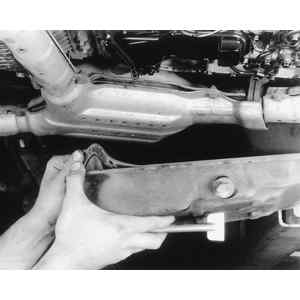
| Fig. 4: . . . remove the gasket from the fluid pan
|
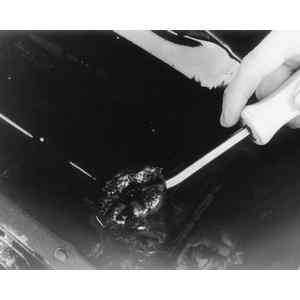
| Fig. 5: Remove and clean the magnet inside the pan
|
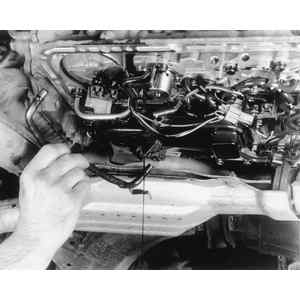
| Fig. 6: Loosen and remove the filter screen retainer
bolts
|
| Fig. 7: On some models, a fluid tube must be removed
before the filter can be detached
|
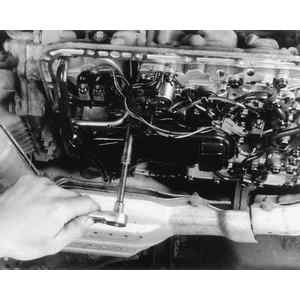
| Fig. 8: After the filter has been removed, inspect
the screen for debris — 1.8L transaxle shown
|
| Fig. 9: Removing the filter screen from a Legacy transaxle
|
| Fig. 10: Automatic transaxle filter and retaining bolts
|
Normal maintenance does not require removal of the transaxle oil pan, or changing or cleaning of the filter. However, if a leak is detected at the transaxle oil pan gasket, it must be replaced. Some models do not incorporate an oil strainer.
To install: