Rear Door Channel Tape Replacement (4D)
Rear Door Channel Tape Replacement
NOTE:- Keep dust away from the working area.
- When working at lower temperatures, heat the door channel and door channel tape with a hair dryer.
Door channel: about 15°C (59°F).
Door channel tape: about 30°C (86°F). - When heating the door channel tape, heat it evenly and gradually to prevent deformation.
- When pressing the door channel tape, slowly press it from the corner to prevent air bubbles and wrinkles.
- If there are air bubbles in the door channel tape, release the air with your finger or a plastic squeegee.
- If the air bubble is more than 10 mm (0.4 in.) in diameter, peel up the door channel tape, then reapply it.
| 1. | The following tools are required to replace the door channel tape:
|
| 2. | Remove these items:Rear door outer channel tape replacement
Rear door inner channel tape replacement |
| 3. | Slowly peel up the old door channel tape while heating it with a hair dryer. |
| 4. | Clean the door channel bonding surface with a sponge dampened in alcohol. After cleaning, keep oil, grease, and water from getting on the surface. |
| 5. | Attach the door channel tape.
|
| 6. | As necessary, repeat the preceding steps. |
| 7. | Reinstall all remaining removed parts. |
| 8. | Check that the body color on the door channel is covered by the door channel tape. |
| 9. | Check for water leaks. Attachment Point (Reference): 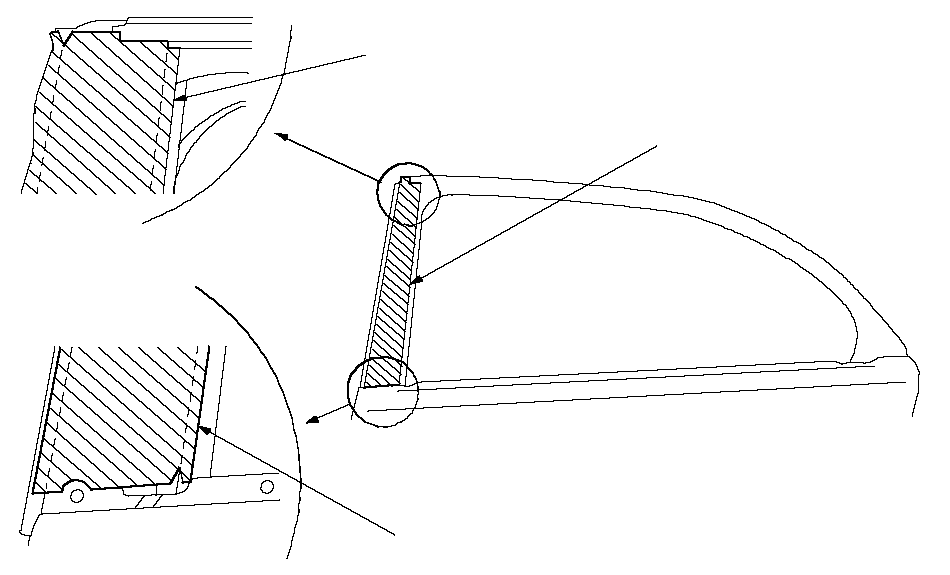 DOOR CENTER OUTER DOOR CENTER OUTERCHANNEL TAPEDOOR CENTER OUTER CHANNEL TAPEDOOR CENTER OUTER CHANNEL TAPE 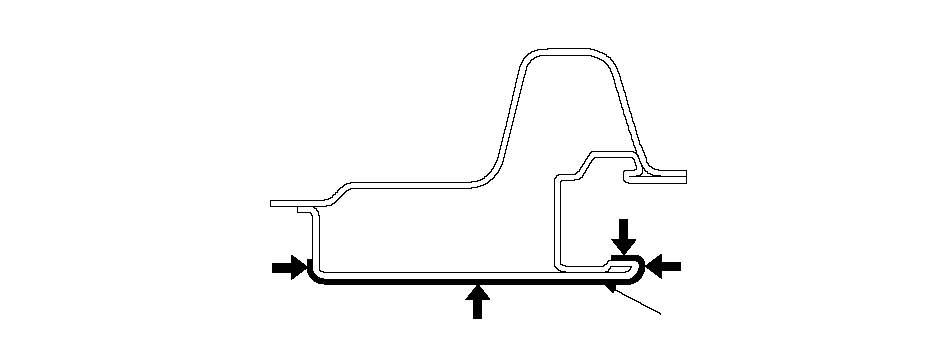 (1)(3)(4)(2)NOTE: Press in numbered sequence.DOOR CENTER OUTER (1)(3)(4)(2)NOTE: Press in numbered sequence.DOOR CENTER OUTERCHANNEL TAPE Attachment Point (Reference): 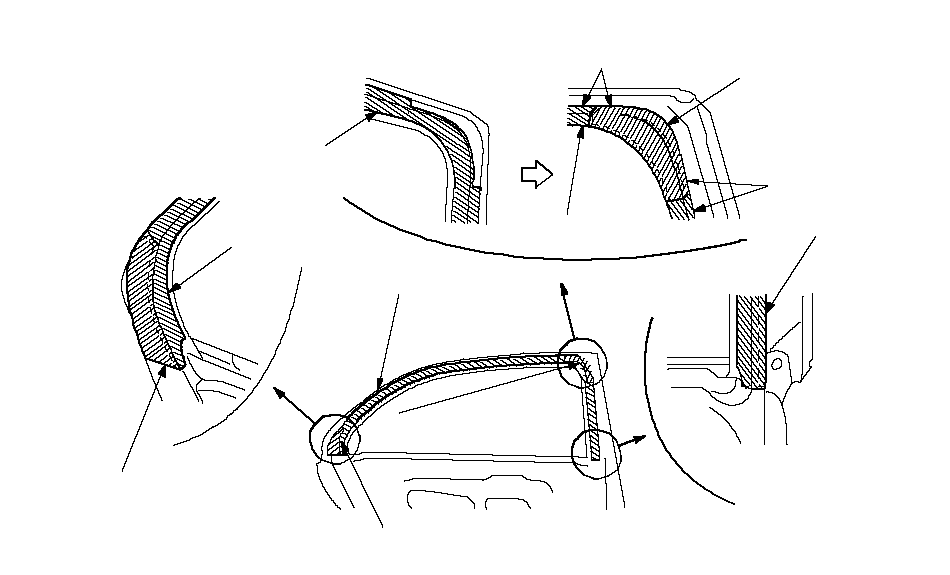 DOOR ROOF INNER DOOR ROOF INNERCHANNEL TAPEDOOR REAR CORNER INNER CHANNEL TAPEDOOR ROOF INNER CHANNEL TAPEDOOR CORNER INNER CHANNEL TAPEAlign.Align.DOOR ROOF INNER CHANNEL TAPE(1)(2)(3)DOOR ROOF INNER CHANNEL TAPEDOOR CORNER INNER CHANNEL TAPEDOOR REAR INNER CHANNEL TAPEDOOR ROOF INNER CHANNEL TAPENOTE: Apply in numbered sequence. 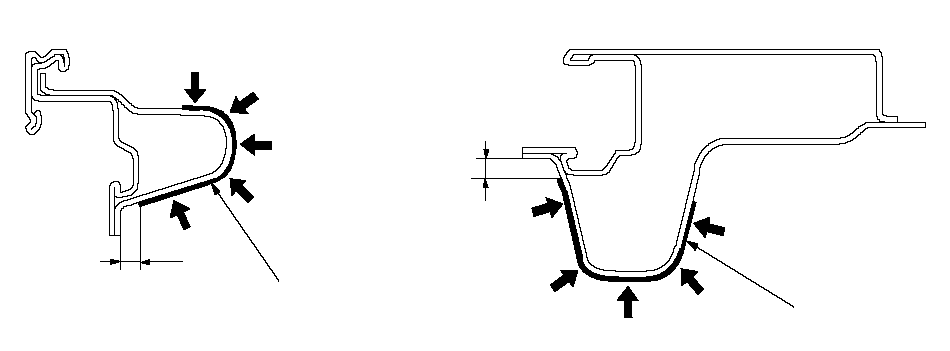 (3)(4)(5)(2)(1)DOOR ROOF (3)(4)(5)(2)(1)DOOR ROOF INNER CHANNEL TAPE4 mm (0.16 in.)4 mm (0.16 in.)(1)(2)(3)(4)(5)DOOR ROOF INNER CHANNEL TAPENOTE: Press in numbered sequence. |