REMOVAL
Removal / installation
| 1. REMOVE ROOF DRIP SIDE FINISH MOULDING |

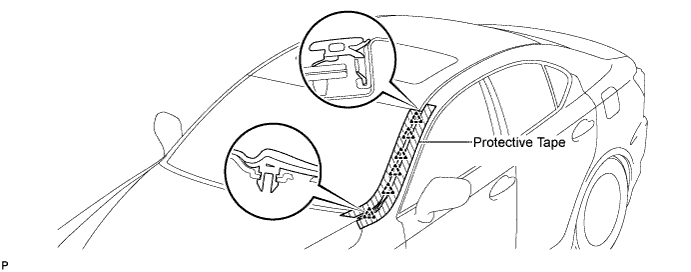
Put protective tape around the roof drip side finish moulding.
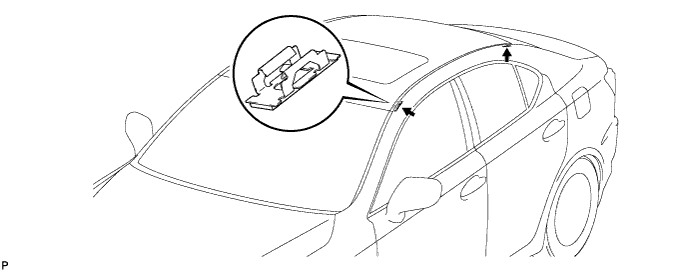
Using a moulding remover, disengage the 6 clips and remove the roof drip side finish moulding.
- NOTICE:
- Do not remove the clips.
- If the clips are damaged or fall off, replace them with new clips.
- Do not remove the clips.

| 2. REMOVE NO. 1 WINDSHIELD OUTSIDE MOULDING CLIP |
- HINT:
- Perform the following procedure if replacing the No. 1 windshield outside moulding clips.
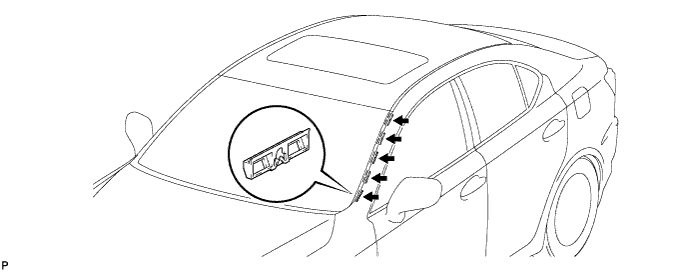
Remove the 5 No. 1 windshield outside moulding clips.
| 3. REMOVE ROOF DRIP SIDE FINISH MOULDING CENTER |
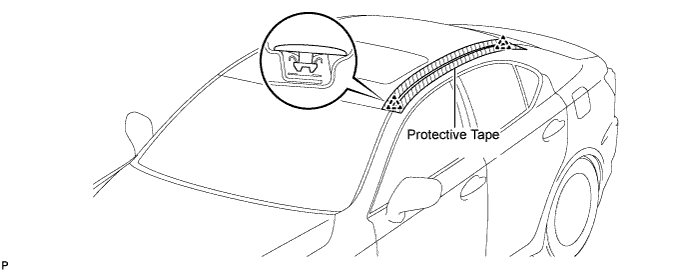
Put protective tape around the roof drip side finish moulding center.
Using a moulding remover, disengage the 2 clips and remove the roof drip side finish moulding center.
- NOTICE:
- Do not remove the clips.
- If the clips are damaged or dropped off, replace them with new clips.
- Do not remove the clips.
| 4. REMOVE NO. 1 ROOF DRIP SIDE FINISH MOULDING CLIP |
- HINT:
- Perform the following procedure if replacing the No. 1 roof drip side finish moulding clips.
Remove the 2 No. 1 roof drip side finish moulding clips.