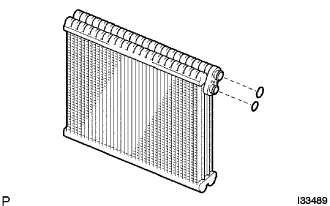
DISASSEMBLY
Removal / installation
| 1. REMOVE HEATER TO REGISTER DUCT CENTER |

Release the 4 claws and remove the heater to register duct center.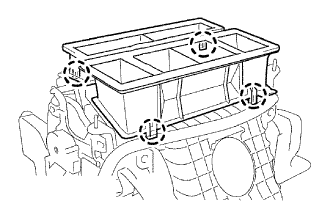

| 2. REMOVE AIR OUTLET CONTROL SERVOMOTOR |
Remove the 3 screws and air outlet control servomotor.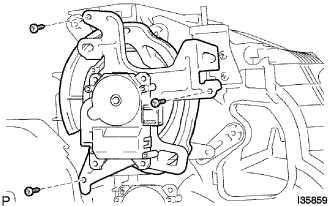
| 3. REMOVE AIR MIX CONTROL SERVOMOTOR |
LH side: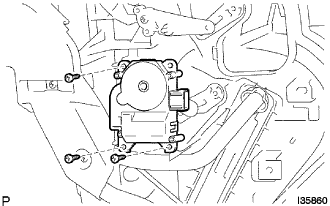
Remove the 3 screws and air mix control servomotor.
RH side: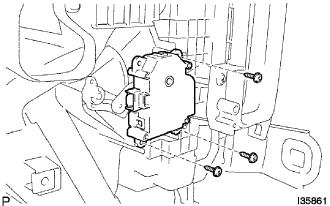
Remove the 3 screws and air mix control servomotor.
| 4. REMOVE EVAPORATOR TEMPERATURE SENSOR |
Release the clamp and connector.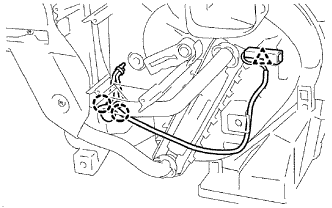
Release the 2 claws and remove evaporator temperature sensor.
| 5. REMOVE HEATER RADIATOR UNIT SUB-ASSEMBLY |
Remove the 2 screws and piping cover.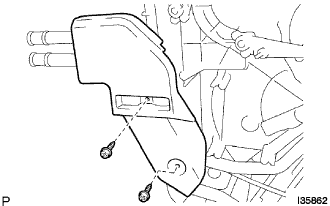
Remove the screw and bracket.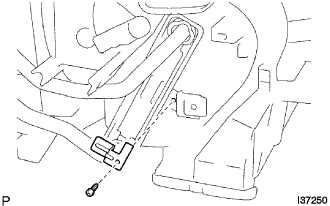
Remove the heater radiator unit sub-assembly.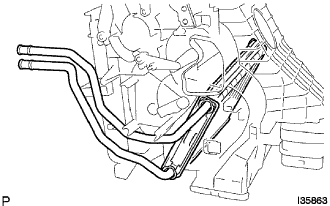
- NOTICE:
- Prepare a drain pan or cloth for cooling water leaks.
| 6. REMOVE AIR CONDITIONING TUBE ASSEMBLY |
Remove the packing.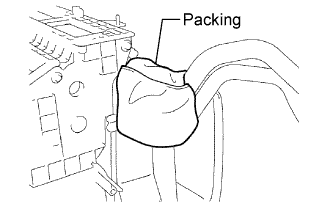
Using a hexagon wrench 4.0 mm, remove the 2 hexagon bolts and air conditioning tube assembly.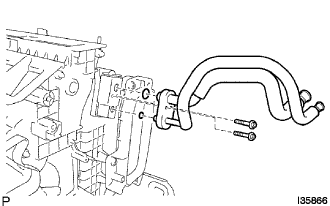
Remove the 2 O-rings from the air conditioning tube assembly.
| 7. REMOVE COOLER EXPANSION VALVE |
Remove the cooler expansion valve from the cooler evaporator sub-assembly No.1.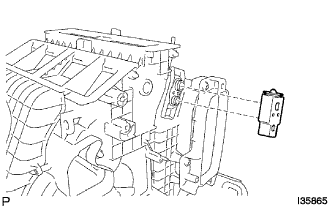
| 8. REMOVE COOLER EVAPORATOR NO.1 SUB-ASSEMBLY |
Remove the 3 screws and air duct sub-assembly.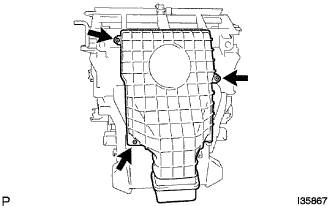
Release the 4 claws and remove the air duct sub-assembly.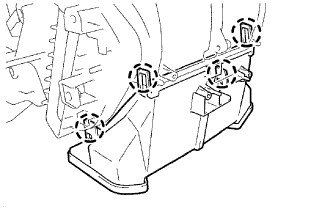
Remove the 11 screws and separate the heater case.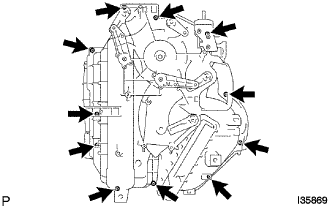
Remove the cooler evaporator No.1 sub-assembly.
Remove the 2 O-rings from the cooler evaporator No.1 sub-assembly.