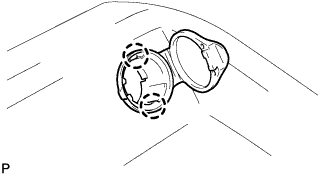
REMOVAL
Removal / installation
| 1. REMOVE CONSOLE BOX HOLE COVER |

Slide the front seat assemblies RH and LH forward.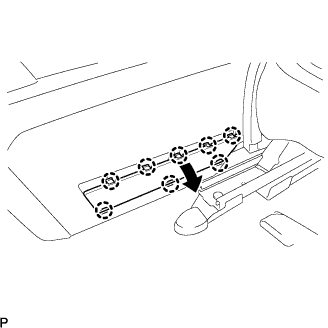

Slide the console box assembly fully to the back end and remove the console box hole cover.
| 2. REMOVE NO.2 CONSOLE BOX HOLE COVER |
- HINT:
- Use the same procedures for the console box No.2 hole cover and the console box hole cover.
| 3. REMOVE REAR CONSOLE BOX |
Separate the console box lock control cable assembly from the rear console box.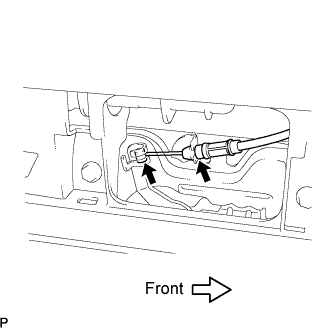
Keeping the rear console box pulled in the rear direction of the vehicle, remove the 6 bolts from the left and right sides.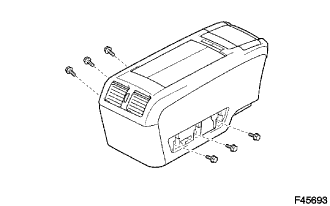
Disconnect each of the clamp and connector.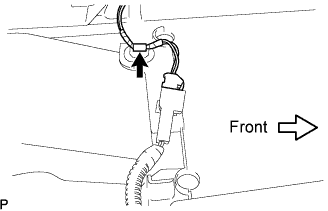
Remove the rear console box.
| 4. REMOVE CONSOLE COVER LOWER |
Disengage the clamp.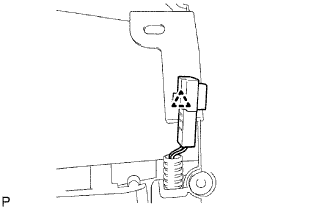
Remove the 2 screws and disengage the 3 clips.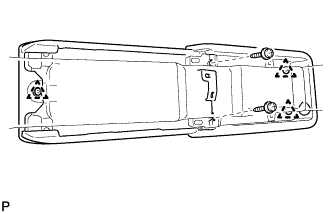
Disconnect the connector and remove the console cover lower.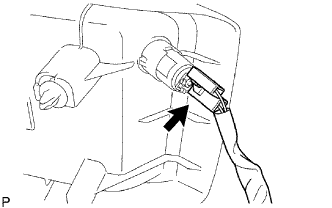
| 5. REMOVE POWER POINT SOCKET |
Turn the power point socket in counterclockwise as shown in the illustration and disengage the claw between the power point socket and power point socket cover.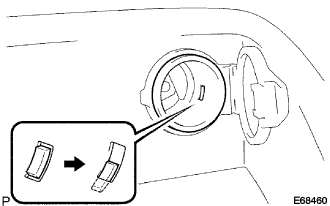
Push out the power point socket.
Align the power point socket with the notch on the power point socket cover, and remove the power point socket.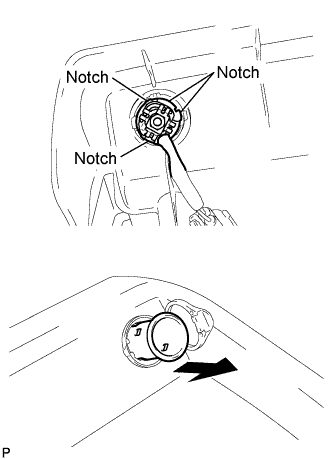
| 6. REMOVE POWER POINT SOCKET COVER |
Disengage the 2 claws and remove the power point socket cover.