REMOVAL & INSTALLATION
Except 1995–98 2.0L Non-Turbo Engines
Disconnect the negative battery cable.
Unplug the sensor electrical connector from the sensor.
If necessary, carefully remove the lid of the air filter housing.
Unfasten the retainers, then remove the sensor from the air cleaner housing.
Installation is the reverse of the removal procedure.
1995–98 2.0L Non-Turbo Engines
Disconnect the negative battery cable.
Detach the IAT sensor harness connector.
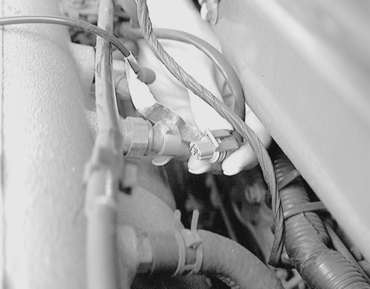
Fig. 1: Unplug the IAT sensor electrical connector
Unthread the IAT sensor and remove from the intake plenum.
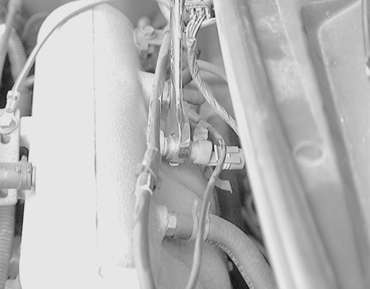
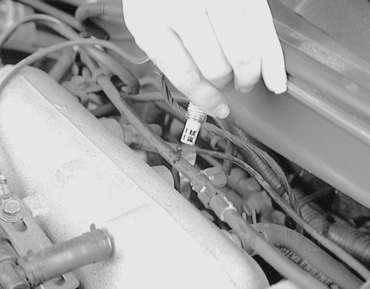
Fig. 2: Use a open-end wrench to loosen . . .
. . . then remove the IAT sensor from the vehicle
To install:
Apply Loctite® 24200 or equivalent sealant to the threads of the sensor and install in the intake plenum. Tighten the sensor to 5 ft. lbs. (7 Nm.
Attach the sensor electrical connector. Make sure it is connected securely.
Connect the negative battery cable.