Previous Next

ENTERTAINMENT SYSTEMS

Radio/Tape Player/CD Player

REMOVAL & INSTALLATION

Fig. 1: Exploded view of the radio, tape player or CD player removal — 1990–94 vehicles

Fig. 2: For 1995–98 vehicles, you must remove the console in order to access the radio

  1. Disconnect the negative battery cable. Wait at least 60 seconds before beginning the remainder of the procedure, in order to disarm the Supplemental Restraint System (SRS).
  2. Using a plastic trim tool, remove the radio panel. Pry the lower part of the radio panel away first, then separate and remove the panel.

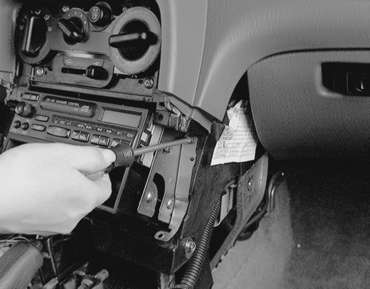
    Fig. 3: Using a plastic trim tool, carefully pry the radio trim panel away

    Fig. 4: Remove the center trim panel for access to the radio retainers

    WARNING
    When removing and installing the floor console, do NOT allow it to bump against the SRS-ECU!

  3. For 1995–98 vehicles, remove the floor console assembly, as outlined in Section 10 of this manual.
  4. Remove the mounting bolts and pull the radio receiver, tape player or CD player out slightly. Detach all harness connectors and remove the unit from the vehicle.

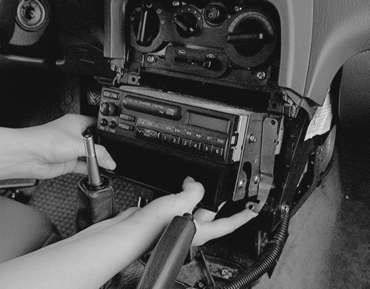
    Fig. 5: After removing the console, unfasten the radio mounting screws

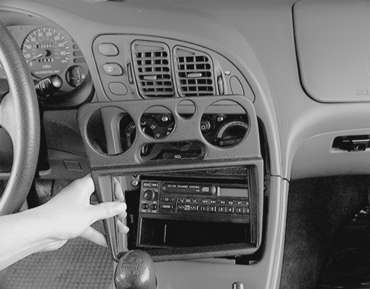
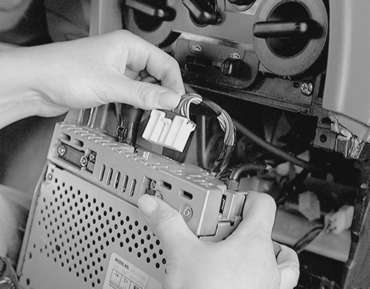
    Fig. 6: Pull the radio out enough to access the connectors

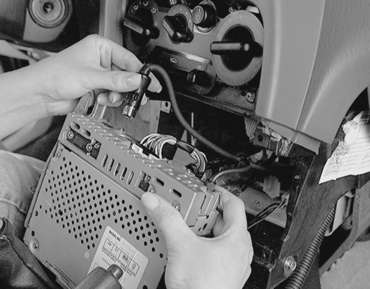
    Fig. 7: . . . then disconnect the antenna lead and remove the radio from the vehicle

  5. Installation is the reverse of the removal procedure.

Previous Next