| Fig. 1: Front turn signal and combination light
removal
|
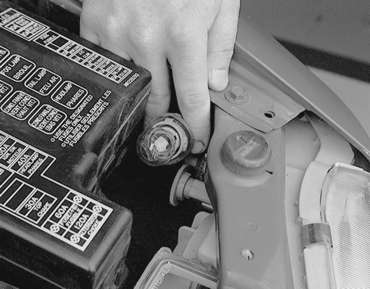
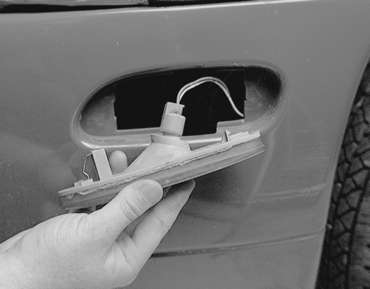
| Fig. 2: Remove the turn signal light bulb and socket
from the housing assembly . . .
|
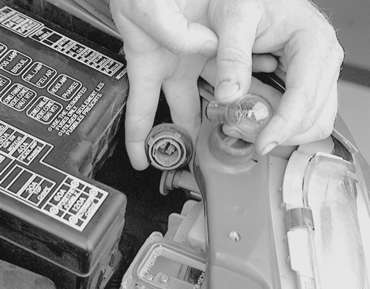
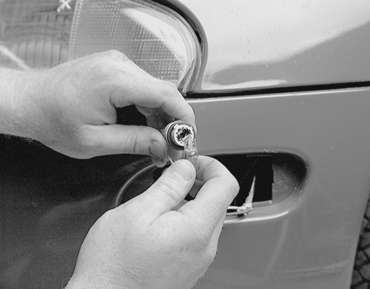
| Fig. 3: . . . then twist and pull the parking light
bulb out of the socket assembly
|
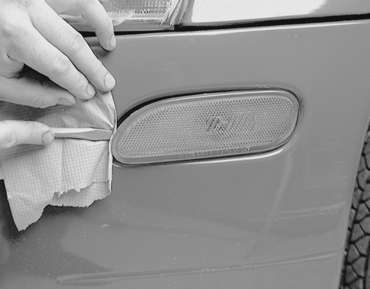
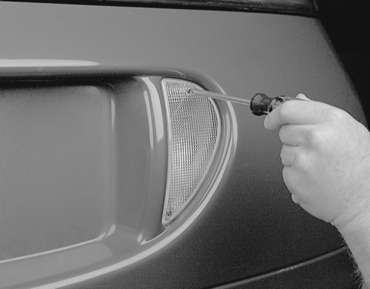
| Fig. 4: On some vehicles you may have to remove
the side marker lens by carefully prying it off
|
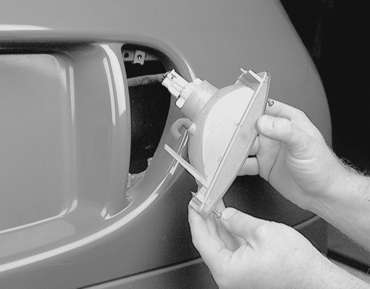
| Fig. 5: Pull the side marker lens and bulb assembly
from the vehicle
|
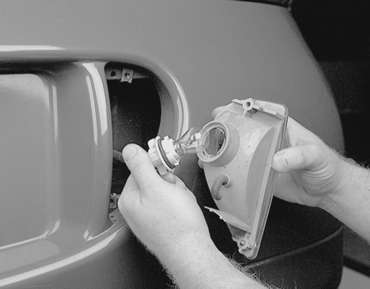
| Fig. 6: Twist the bulb and socket 1/4 turn, then
pull the socket from the housing
|
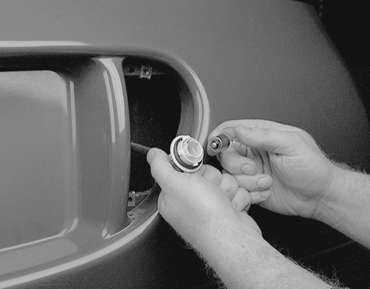
| Fig. 7: Pull the side marker bulb from the socket
and replace, if necessary
|
To install:
| Fig. 8: Exploded view of the rear combination light
removal — 1990–94 Talon
|
| Fig. 9: Rear combination light removal — 1990–94
Eclipse and Laser shown
|
To install:
| Fig. 10: You must tighten the rear combination
light in the proper sequence to ensure proper sealing
|
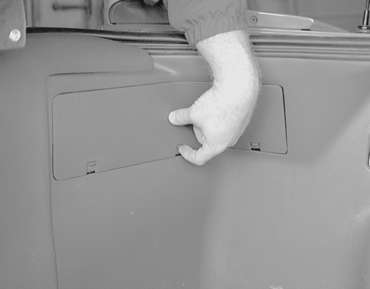
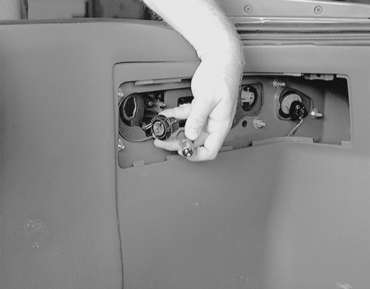
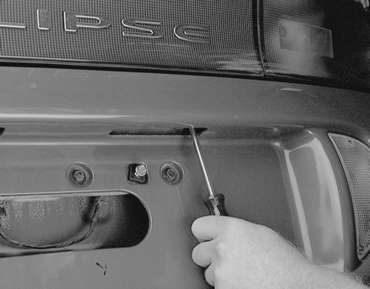
| Fig. 11: From inside the trunk, unlatch the retaining
clips . . .
|
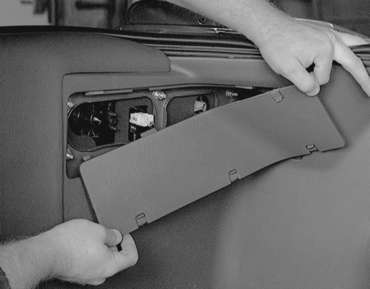
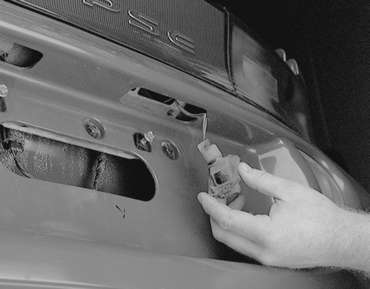
| Fig. 12: . . . then remove the trim panel for access
to the rear light assemblies
|
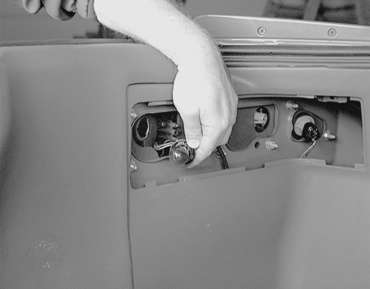
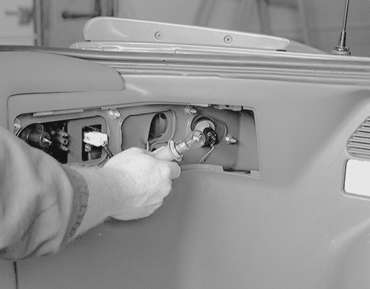
| Fig. 13: Pull the garnish light bulb and socket
from the housing
|
| Fig. 14: . . . then twist and pull the bulb from
the socket and replace if necessary
|
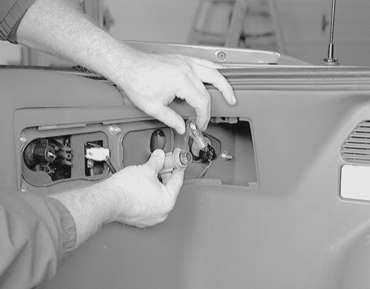
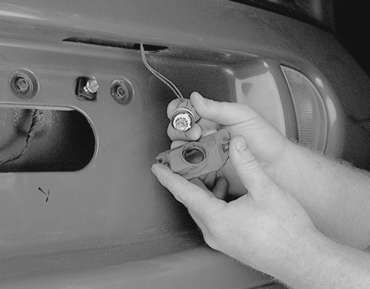
| Fig. 15: Remove the brake/turn signal socket from
the housing assembly . . .
|
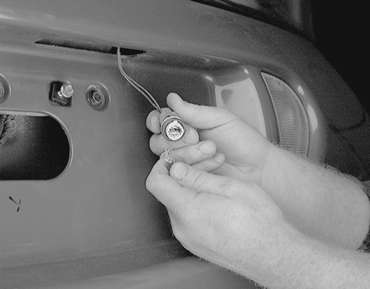
| Fig. 16: . . . then twist and pull the bulb straight
out of the socket
|
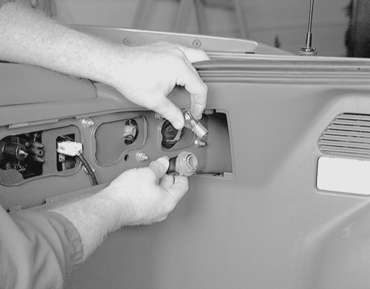
| Fig. 17: If necessary, twist and remove the other
(side) brake/turn signal socket from the housing . . .
|
| Fig. 18: . . . then remove the bulb from the socket
|
| Fig. 19: If necessary to replace the reverse light
bulb, unfasten the lens retaining screws
|
| Fig. 20: Pull the lens and socket assembly away
from the rear bumper fascia
|
| Fig. 21: Twist the bulb and socket to unlock it,
then pull it from the reverse lamp housing
|
| Fig. 22: Pull the bulb from the socket and replace,
if necessary
|
| Fig. 23: High-mount brake light mounting — early
model vehicles with rear spoiler shown, late models similar
|
| Fig. 24: High-mount stop light removal — early
model vehicles without rear spoiler, late models similar
|
| Fig. 25: Remove the license plate lamp retaining
screws . . .
|
| Fig. 26: . . . then lower the license plate lamp
from its mounting position
|
| Fig. 27: Twist, then pull the bulb and socket from
the housing . . .
|
| Fig. 28: . . . then pull the license plate bulb
from the socket and replace if necessary
|
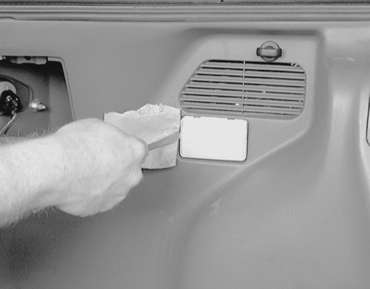
To replace the interior cargo area light bulbs, disconnect the negative battery cable, then refer to the accompanying figures.
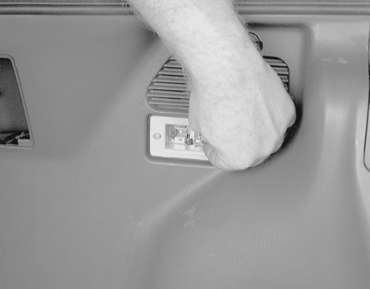
| Fig. 29: Use a prytool with a rag behind it (to avoid
scratching the trim) to remove the cargo area lens
|
| Fig. 30: Remove the cargo area light lens to access
the bulb . . .
|
| Fig. 31: . . . then pull the trunk light bulb out of
the lamp housing
|
To remove the bulb(s) from the rear view mirror, disconnect the negative battery cable, then refer to the accompanying figures.
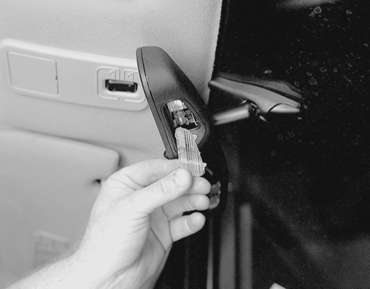
| Fig. 32: Remove the lens from the bottom of the rear
view mirror
|
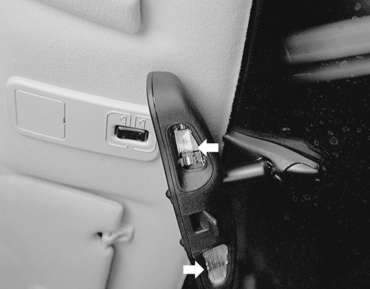
| Fig. 33: After the lens is removed, you can access
the map light bulb(s) at the bottom of the rear view mirror
|