NOTE: The speed sensor has a pole piece projecting from it. This exposed tip must be protected from impact or scratches. Do not allow the pole piece to contact the toothed wheel during removal or installation.
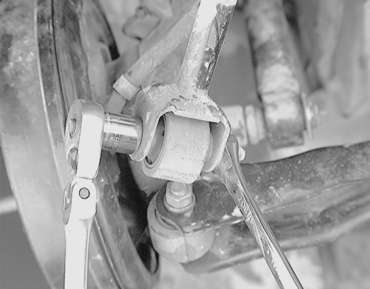
| Fig. 1: Secure axle with special tool and remove
self-locking nut
|
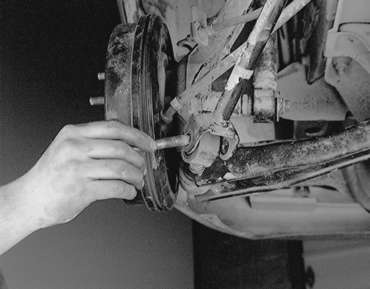
| Fig. 2: Removing rear axle using special tool
|
| Fig. 3: Rear trailing arm removal — AWD
vehicle
|
To install:
NOTE: The wiring in the harness is easily damaged by twisting and flexing. Use the white stripe on the outer insulation to keep the sensor harness properly placed.
| Fig. 4: Exploded view of the trailing arm and related
components — 1995–98 vehicles
|
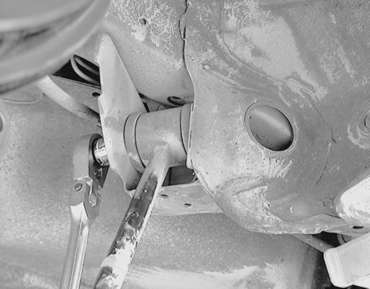
| Fig. 5: With a wrench holding the nut, use a ratchet
to loosen the knuckle-to-trailing arm connecting bolt
|
| Fig. 6: . . . then remove the through bolt
|
| Fig. 7: Unfasten the trailing arm mounting bolt
|
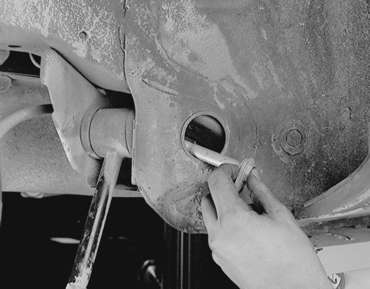
| Fig. 8: Pull the bolt out through the access hole
in the crossmember
|