Previous Next

REMOVAL & INSTALLATION

  1. Disconnect the negative battery cable.
  2. Remove some of the brake fluid from the master cylinder reservoir. The reservoir should be no more than 12 full.
  3. Raise the vehicle and support safely.
  4. Remove the appropriate tire and wheel assembly. Loosen the parking brake cable adjusting nut.
  5. Remove the brake drum.
  6. If removing all of the brake drum components, remove the shoe-to-shoe spring.

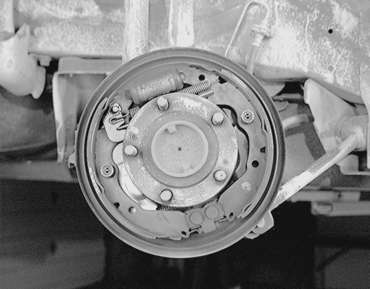
    Fig. 1: Overall view of the brake drum components (installed)

  7. Remove the shoe-to-lever spring. Although there are special tools to remove this, a pair of pliers usually works just as well.

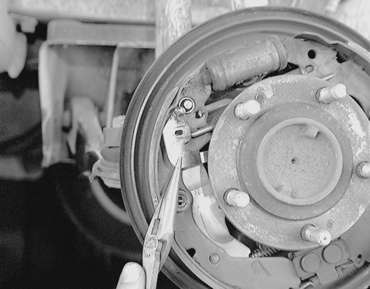
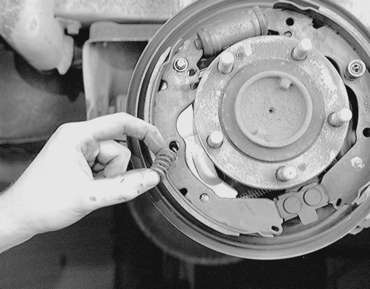
    Fig. 2: Use a pair of pliers or a special brake tool to remove the shoe-to-lever spring

  8. Remove the adjuster lever, then remove the auto adjuster assembly.

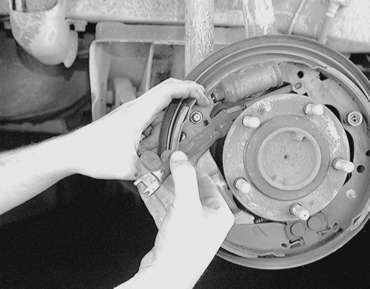
    Fig. 3: Remove the adjuster lever assembly

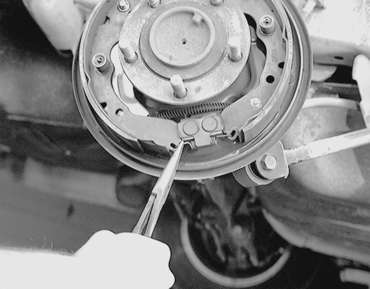
    Fig. 4: Remove the auto adjuster assembly

  9. Remove the lower brake hose retainer spring.

    Fig. 5: Remove the lower brake shoe retaining spring

  10. Remove the front hold-down cup and spring, then remove the rear hold-down cup.

    Fig. 6: Remove the hold-down spring and cup assembly

  11. If just replacing the shoe and linings, not other components such as the brake backing plate, perform the following:
    1. With the shoes still attached by the spring, pull them apart to clear the hub, then disconnect the parking brake cable and remove the shoe and lining assembly from the vehicle.

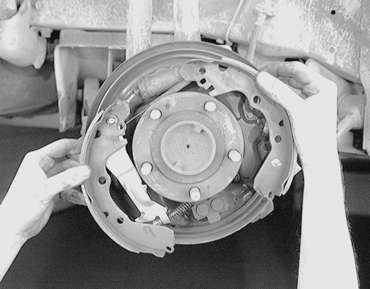
      Fig. 7: With the shoes attached by the spring, pull them apart to clear the hub and bearing . . .

      Fig. 8: . . . then detach the parking brake cable and remove the shoe and linings from the vehicle

    2. Unfasten the spring and separate the shoe and linings.
  12. If its necessary to remove all of the drum brake components, perform the remainder of the procedure.
  13. Remove the shoe-to-shoe spring, then remove the rear shoe and lining assembly.
  14. Remove the shoe and lever assembly.

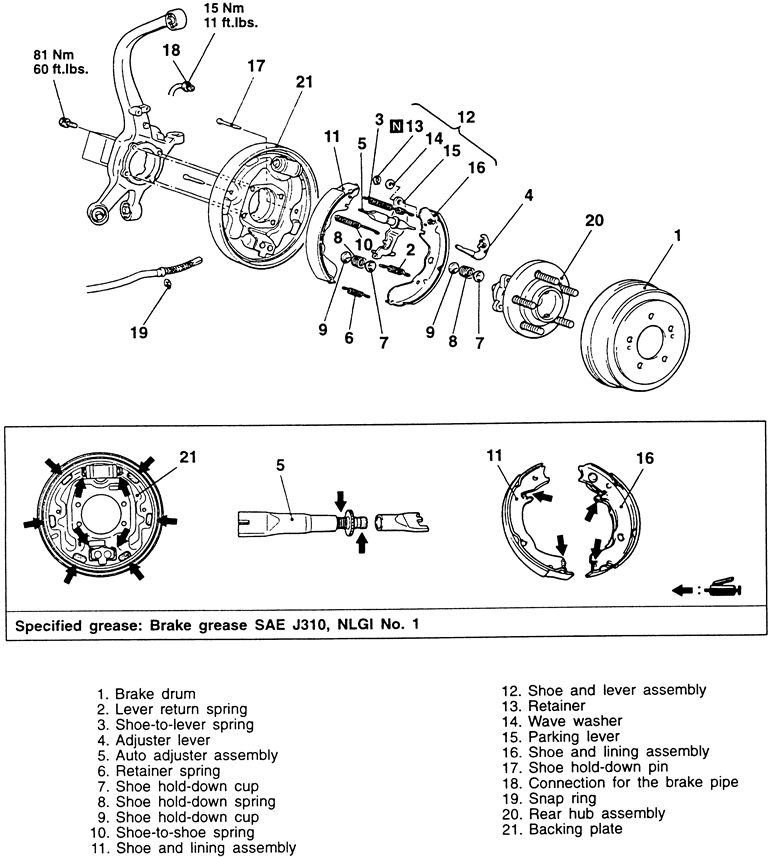
    Fig. 9: Exploded view of the rear drum brake components

  15. Use a prytool to open the retainer joint, then remove the retainer.

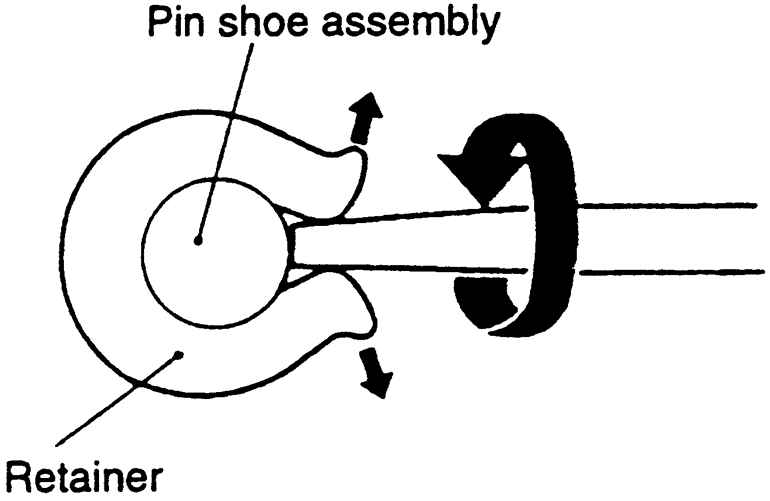
    Fig. 10: Use a small prytool to twist open the retainer joint to remove the retainer

  16. Remove the wave washer, then remove the parking brake lever.
  17. Remove the other shoe and lining assembly and the shoe hold-down pin.
  18. If necessary, unfasten the rear brake pipe connection.
  19. Remove the snap ring.
  20. Remove the brake backing plate assembly, if necessary.
  21. Installation is the reverse of the removal procedure. Grease the points shown in the accompanying figure.
  22. Make sure to install the wave washer as shown in the accompanying figure.

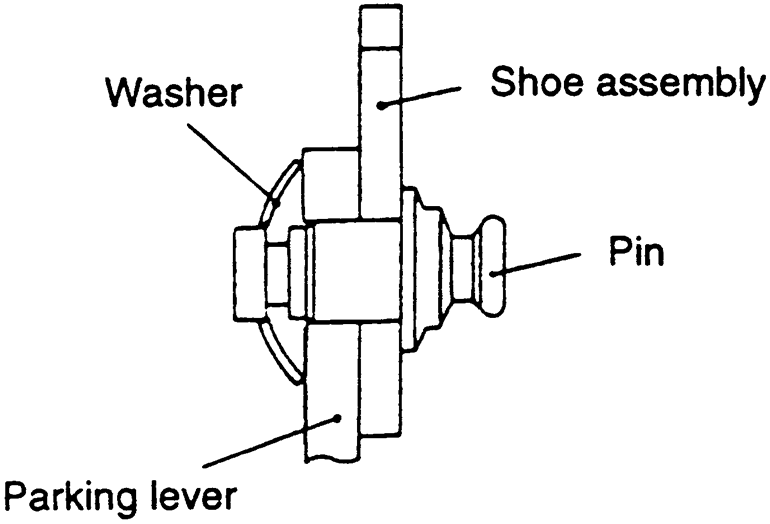
    Fig. 11: Proper installation of the wave washer

  23. Use a suitable pair of pliers to install the retainer on the pin securely.

Previous Next