Previous Next

Wheel Cylinder

REMOVAL & INSTALLATION

  1. Disconnect the negative battery cable.
  2. Remove some of the brake fluid from the master cylinder reservoir. The reservoir should be no more than 12 full.
  3. Raise the vehicle and support safely.
  4. Remove the appropriate tire and wheel assembly. Loosen the parking brake cable adjusting nut.
  5. Remove the brake drum.
  6. Remove the shoe-to-lever spring and the shoe-to-shoe spring.
  7. Remove the auto adjuster assembly.
  8. Disconnect the brake line connection from the rear of the brake backing plate. Plug or cap the line to avoid contaminating the system.

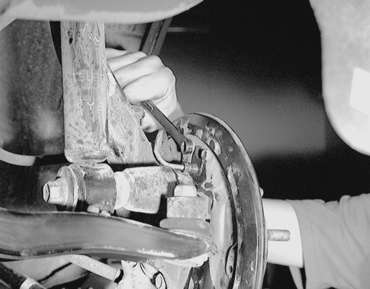
    Fig. 1: Remove the brake line from the rear of the brake backing plate

  9. Unfasten the retainers, then remove the wheel cylinder from the brake backing plate.

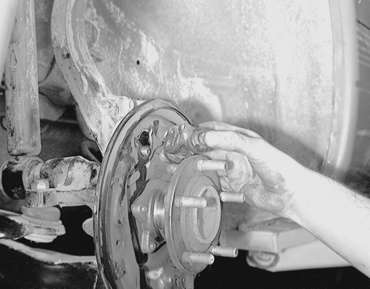
    Fig. 2: Unfasten the wheel cylinder mounting nuts . . .

    Fig. 3: . . . then remove the wheel cylinder from the brake backing plate

  10. If necessary, remove the bleeder screw.

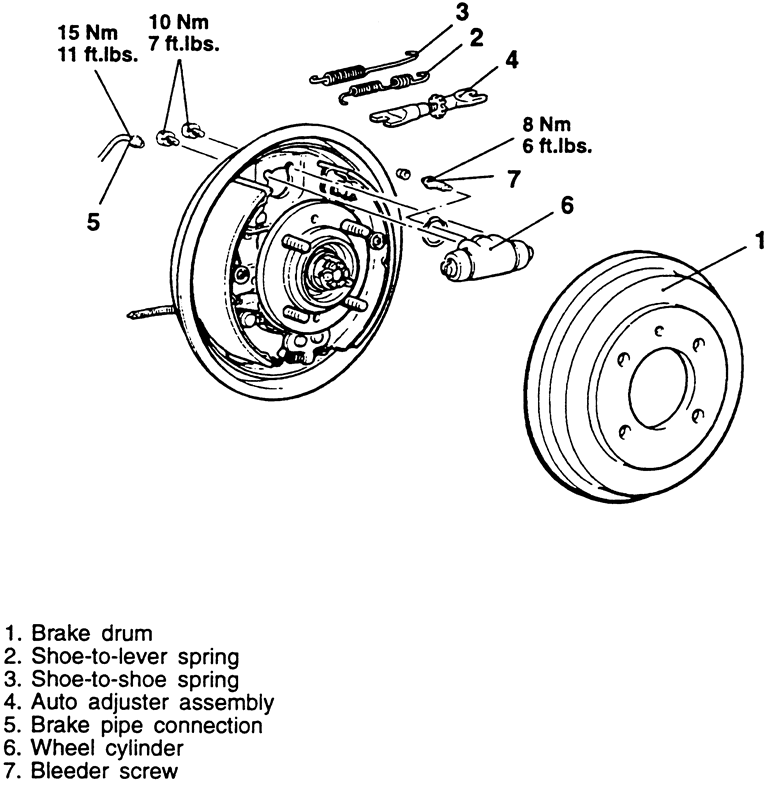
    Fig. 4: Exploded view of the wheel cylinder mounting and related components

    To install:

  11. If removed, install the bleeder screw and tighten to 6 ft. lbs. (8 Nm).
  12. Position the wheel cylinder to the backing plate and secure with the retainers. Tighten to 7 ft. lbs. (10 Nm).
  13. Unplug the brake pipe, then connect and tighten to 11 ft. lbs. (15 Nm).
  14. Install the auto adjuster, shoe-to-shoe spring and shoe-to-lever spring.
  15. Install the brake drum.
  16. Install the wheel and tire assembly, then carefully lower the vehicle.
  17. Properly bleed the brake system, as outlined earlier in this section.

Previous Next