Previous Next

REMOVAL & INSTALLATION

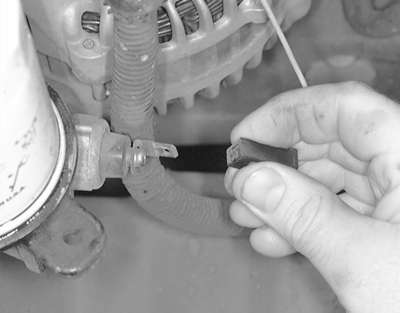
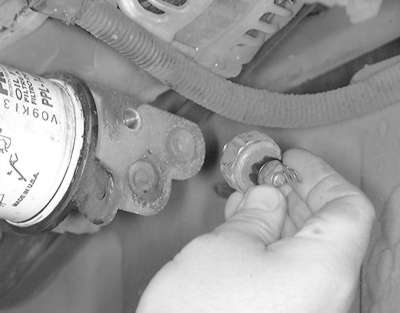
Fig. 1: Detach the connector from the oil pressure sending unit

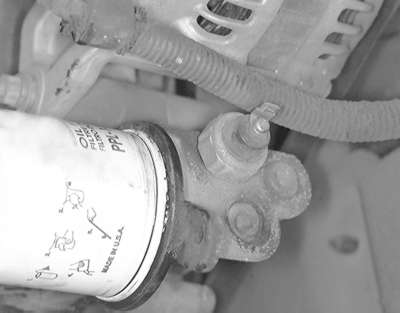
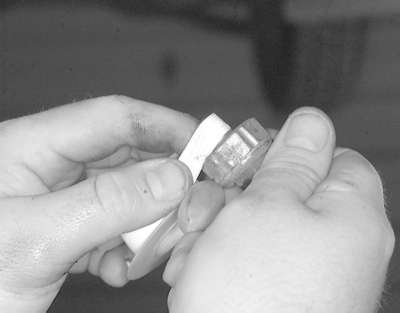
Fig. 2: The body of the sending unit has a unique shape . . .

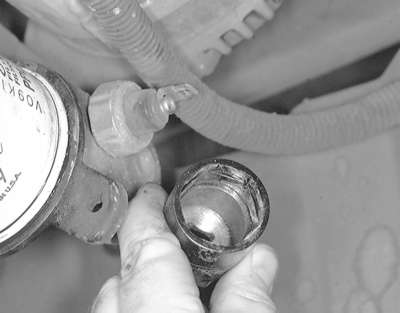
Fig. 3: . . . and the use of an oil pressure sending unit socket greatly aids the removal and installation

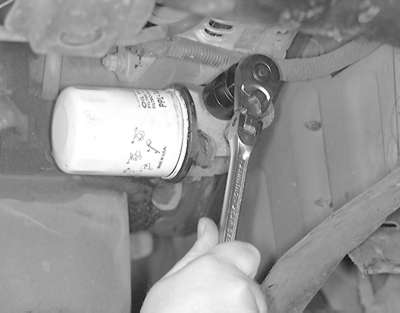
Fig. 4: Using the socket and a suitable drive tool, loosen the sending unit . . .

Fig. 5: . . . then remove the sending unit from the oil filter head

Fig. 6: Before installing the sending unit, it is a good idea to place Teflon® tape on the threads

  1. Disconnect the negative battery cable.
  2. Raise and support the vehicle safely.
  3. Detach the electrical harness connector from the sending unit, then remove the unit from the oil filter head.

    To install:

  4. Apply a thin bead of sealant to the threaded portion of the oil pressure sending unit. Do not allow sealer to contact the end of the threaded portion of the sending unit.
  5. Install the sending unit and tighten to 8 ft. lbs. (12 Nm). Do not overtighten the sending unit.
  6. Attach the electrical harness connector to the sending unit.
  7. Carefully lower the vehicle, then connect the negative battery cable.

Previous Next