Previous Next

Speakers

REMOVAL & INSTALLATION

Front (Instrument Panel Mounted) Speaker

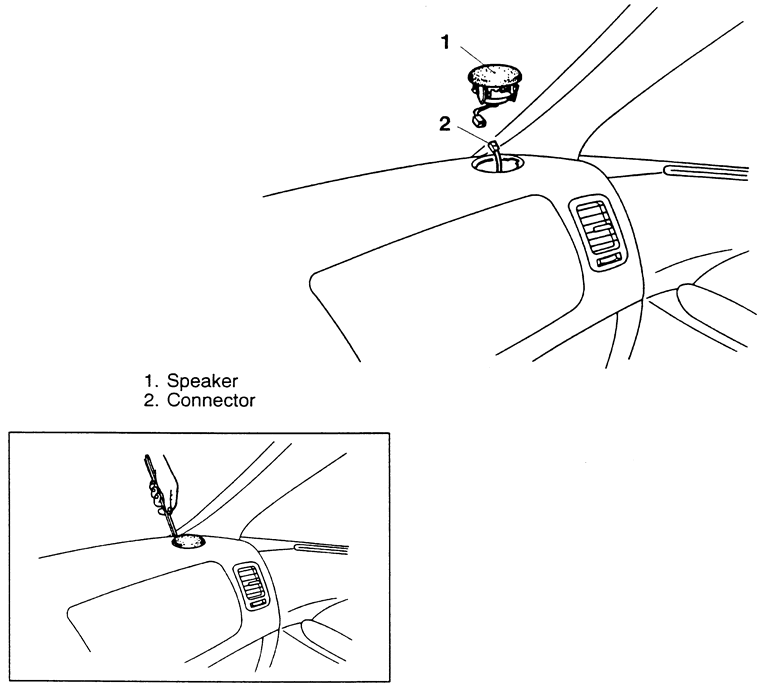
Fig. 1: Typical front (instrument panel mounted) speaker mounting

  1. Disconnect the negative battery cable.
  2. Remove the front speaker garnish.
  3. Remove the retainers, detach the harness connector and remove the front speaker.

    WARNING
    Handle the speaker carefully to avoid damaging the cone during removal and installation.

  4. Installation is the reverse of the removal procedure
Door Mounted Tweeters

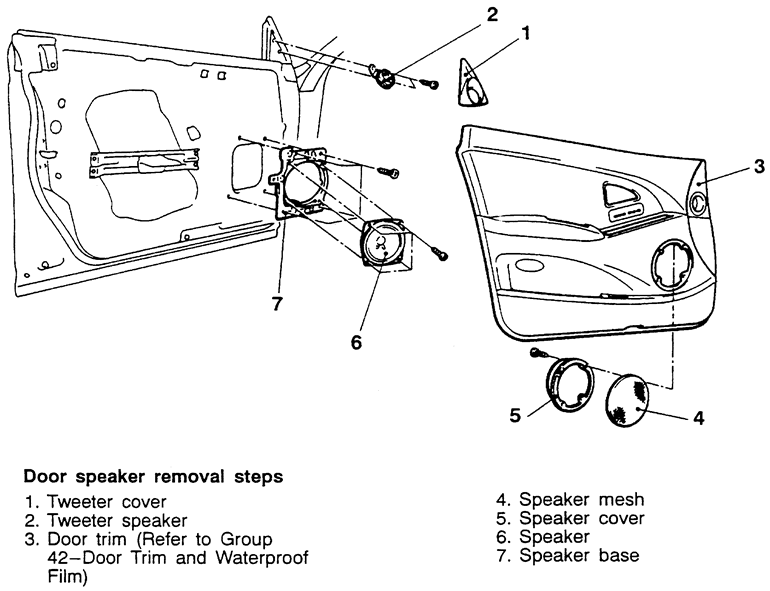
Fig. 2: Door mounted speaker with separate tweeter

  1. Disconnect the negative battery cable.
  2. Remove the delta cover (triangular shaped cover behind the side mirror and above the door panel.
  3. Remove the speaker retaining screws.
  4. Lift the speaker out of the cavity.
  5. Detach the electrical and remove the speaker.
  6. The installation is the reverse of removal.
Door Speakers

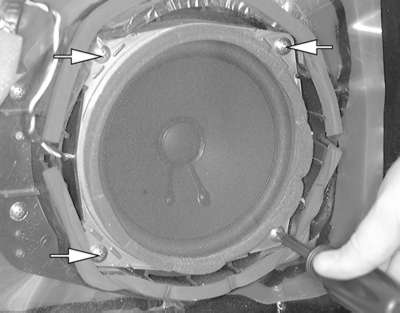
Fig. 3: Remove the four speaker retaining screws

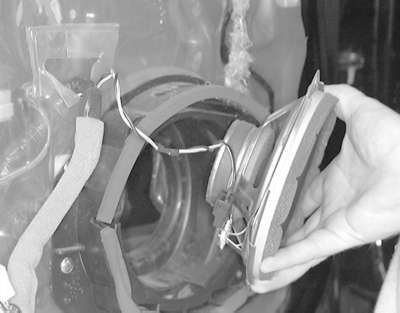
Fig. 4: Lift the speaker from the door cavity . . .

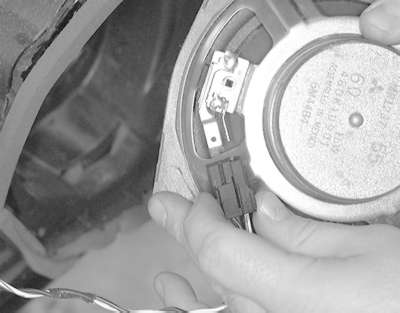
Fig. 5: . . . then detach the connector from the back of the speaker

  1. Disconnect the negative battery cable.
  2. Remove the door trim panel. Refer to the procedure in Section 10.
  3. Remove the mounting screws, detach the harness connector and remove the front speaker.

    WARNING
    Handle the speaker carefully to avoid damaging the cone during removal and installation.

  4. Installation is the reverse of the removal procedure
Rear Deck Speakers

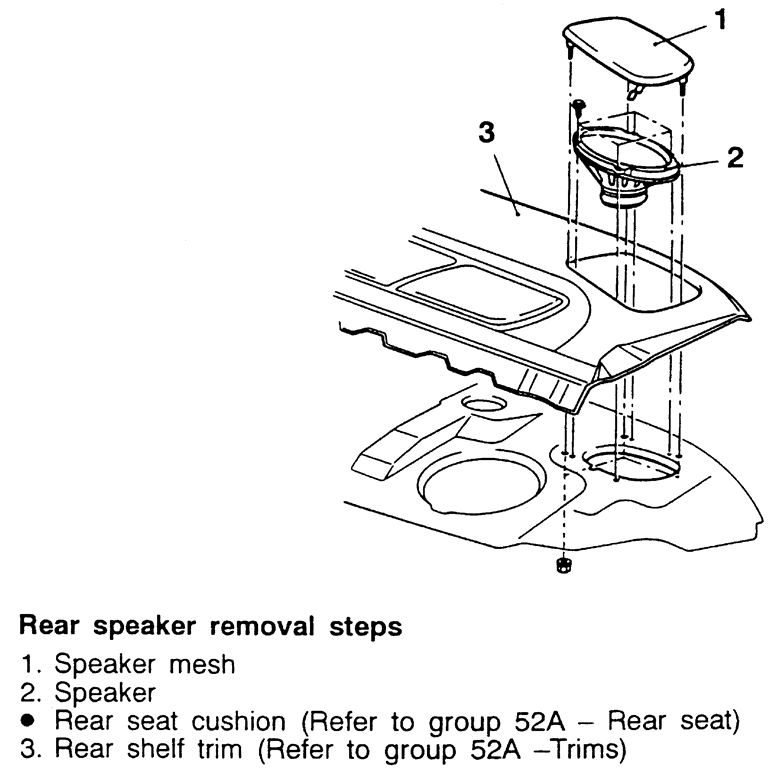
Fig. 6: Typical rear deck mounted speaker

  1. Disconnect the negative battery cable.
  2. Remove the speaker cover.
  3. Remove the speaker retaining screws.
  4. Lift the speaker out of the cavity.
  5. Detach the electrical and remove the speaker.
  6. The installation is the reverse of removal.

Previous Next