|
|
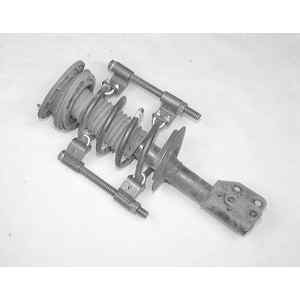
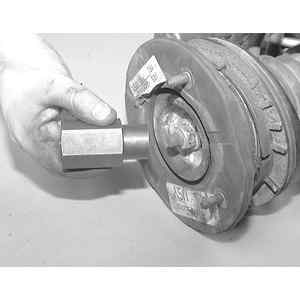
| Fig. 1: Install a suitable strut spring compressor onto
the strut spring
|
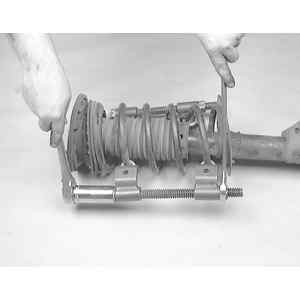
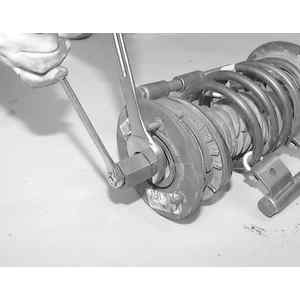
| Fig. 2: Tighten down the nuts on the top of the forcing
screws on this type of spring compressor
|
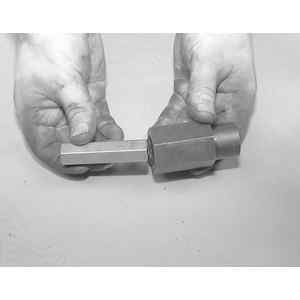
| Fig. 3: A special set of sockets is available to remove
the nut from the top of the strut assembly
|
| Fig. 4: Place the larger socket over the nut . . .
|
| Fig. 5: . . . then install the small socket over the
strut rod
|
| Fig. 6: Hold the small socket (strut rod) tight while
loosening the larger socket (strut top nut) . . .
|
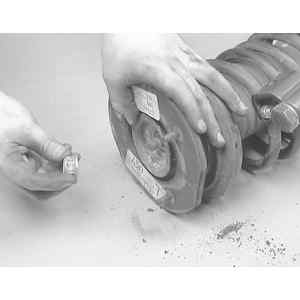
| Fig. 7: . . . then remove the top nut from the strut
. . .
|
| Fig. 8: . . . and remove the washer underneath
|
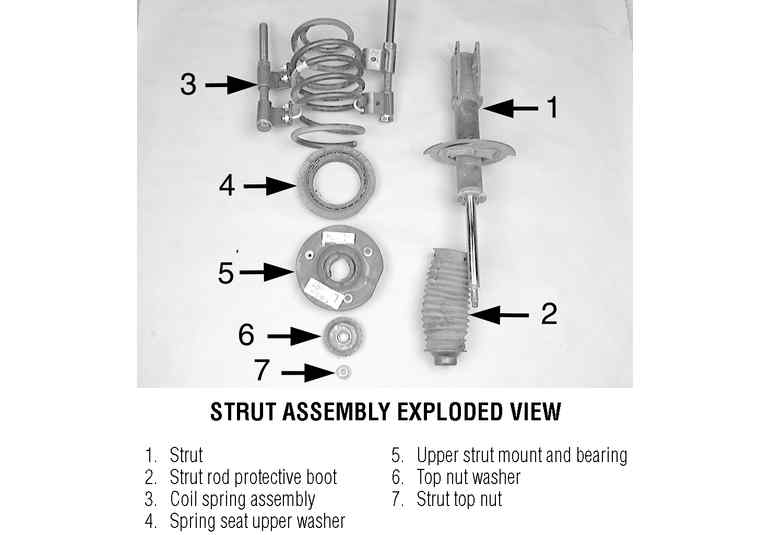
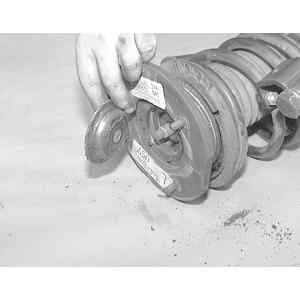
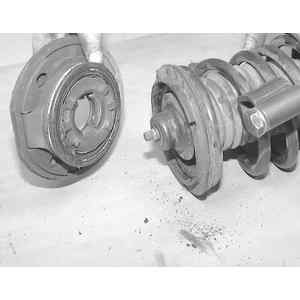
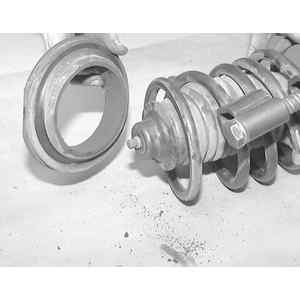
| Fig. 9: Remove the strut mount and bearing assembly
|
| Fig. 10: Remove the upper spring seat washer
|
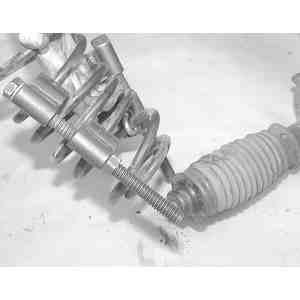
| Fig. 11: Remove the coil spring assembly
|
WARNING
Never bottom the spring or dampener rod!
To install: