Previous Next

Brake Pads

REMOVAL & INSTALLATION

CAUTION
Older brake pads or shoes may contain asbestos, which has been determined to be cancer causing agent. Never clean the brake surfaces with compressed air! Avoid inhaling any dust from any brake surface! When cleaning brake surfaces, use a commercially available brake cleaning fluid.

Mirage and 1990–93 Galant
FRONT

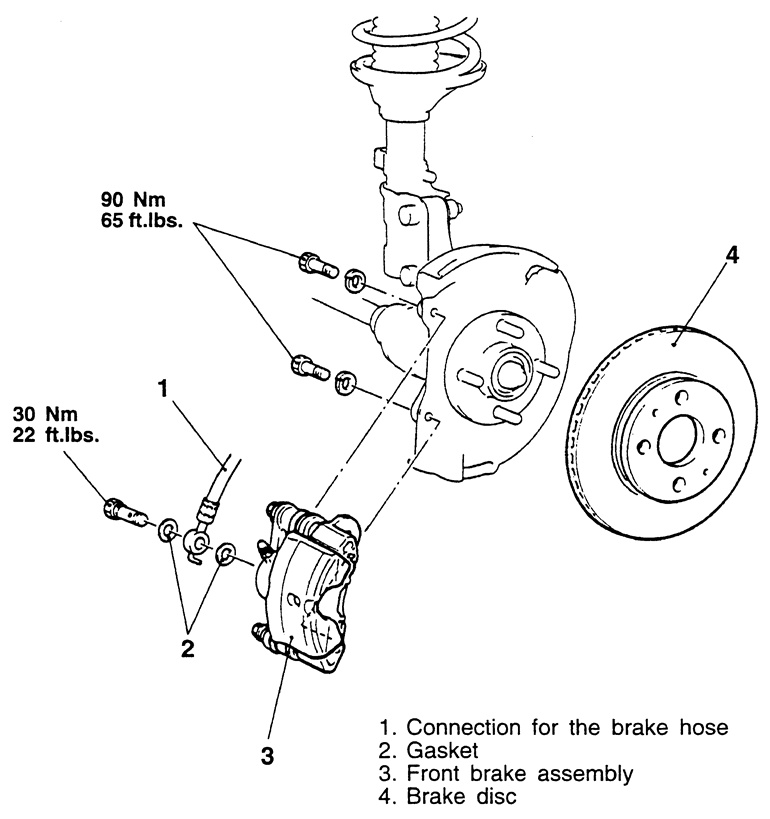
Fig. 1: Front disc brake components — Mirage

  1. Remove some of the brake fluid from the master cylinder reservoir. The reservoir should be no more than half full. When the pistons are pressed into the calipers, excess fluid will flow up into the reservoir.
  2. Raise the vehicle and support safely.
  3. Remove the appropriate tire and wheel assemblies.
  4. Remove the caliper guide and lock pins and lift the caliper assembly from the caliper support. Tie the caliper out of the way using wire. Do not allow the caliper to hang by the brake line.

    NOTE: On some vehicles, the caliper can be flipped up by leaving the upper pin in place and using it as a pivot point.

  5. Remove the brake pads, spring clip and shims. Take note of positioning to aid installation.
  6. Install two wheel lug nuts onto the studs and lightly tighten. This is done to hold the disc on the hub.

    To install:

  7. Use a large C-clamp to compress piston(s) back into caliper bore. On two piston calipers both pistons will have to be retracted together.
  8. Lubricate slide points and install the brake pads, shims and spring clip onto the caliper support. Install the caliper over the brake pads.

    NOTE: Be careful that the piston boot does not become caught when lowering the caliper onto the support. Do not twist the brake hose during caliper installation.

  9. Lubricate and install the caliper guide and lock pins in their original positions. Tighten the caliper guide and locking pins.
  10. Install the tire and wheel assemblies. Lower the vehicle.

    NOTE: Pump the brake pedal several times, until firm, before attempting to move the vehicle.

  11. Road test the vehicle and check brakes for proper operation.
REAR

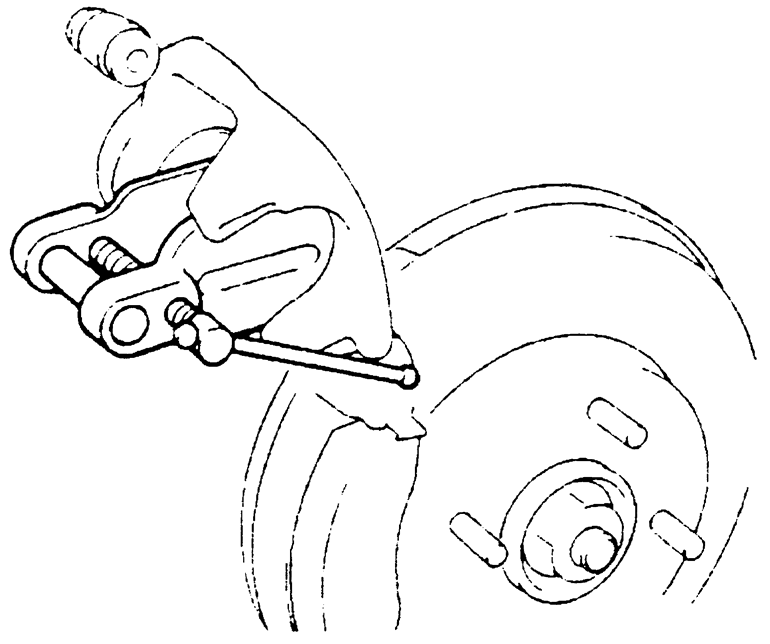
Fig. 3: Retracting brake caliper piston and aligning pad to piston — Mirage

  1. Remove some of the brake fluid from the master cylinder reservoir. The reservoir should be no more than half full. When the pistons are depressed into the calipers, excess fluid will flow up into the reservoir.
  2. Raise the vehicle and support safely.
  3. Remove the appropriate tire and wheel assemblies.
  4. Loosen the parking brake cable adjustment from inside the vehicle.
  5. Disconnect the parking brake cable end installed to the rear brake caliper assembly.
  6. Remove the caliper lower pin and swing the caliper assembly upwards. Tie the caliper out of the way using wire.
  7. Remove the outer shim, brake pads and spring clips from the caliper support. Take note of positioning of each to aid in installation.
  8. Install two of the wheel lug nuts onto the studs and lightly tighten. This is done to hold the disc on the hub.
  9. Thread the piston into the caliper bore clockwise using disc brake driver tool MB990652 or its equivalent.

    To install:

  10. Lubricate all sliding and pivot points.
  11. Install the brake pads, shims and spring clip to the caliper support.
  12. Install the caliper over the brake pads.

    NOTE: Be careful that the piston boot does not become caught when lowering the caliper onto the support. Do not twist the brake hose during caliper installation.

  13. Lubricate, install and tighten the lower pin.
  14. Install the tire and wheel assemblies. Lower the vehicle.
  15. Test the brakes for proper operation.
Diamante and 1994–00 Galant

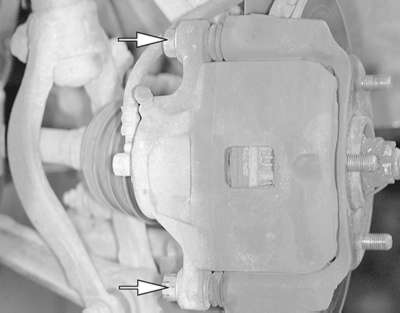
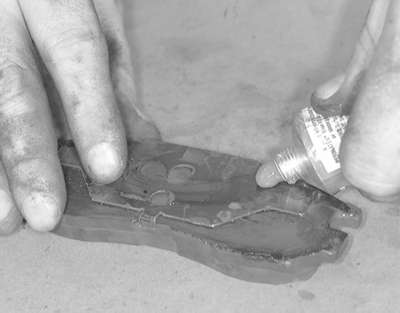
Fig. 4: The brake caliper is mounted to the caliper support with two bolts

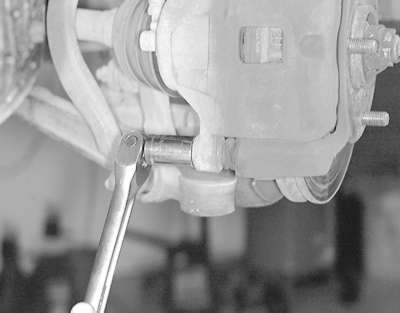
Fig. 5: Remove the brake caliper-to-caliper support retaining bolts

Fig. 6: Grasp the caliper and lift it from the caliper assembly from the caliper support

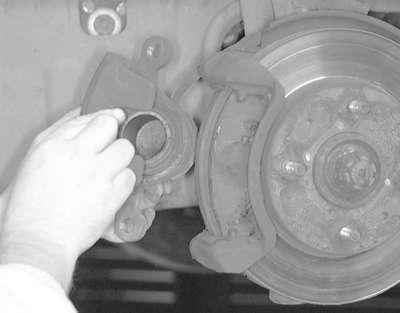
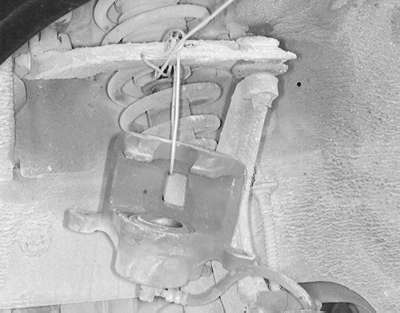
Fig. 7: Use mechanic's wire or a similar device to support the caliper out of the way

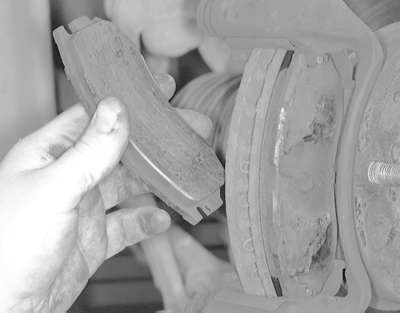
Fig. 8: Remove the inner brake pad and . . .

Fig. 9: . . . also the outer pad from the caliper

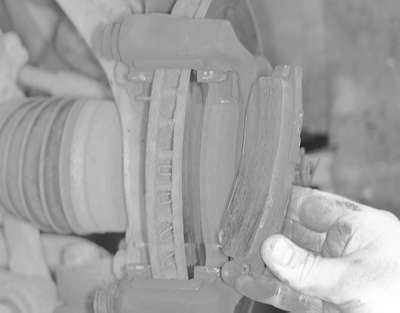
Fig. 10: Remove the spring clips and replace if necessary

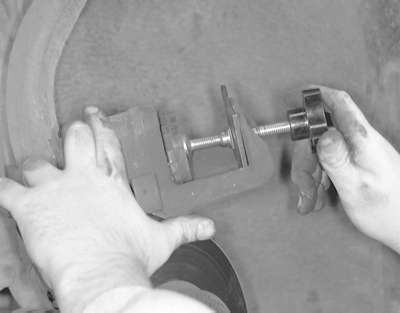
Fig. 11: The caliper piston can be depressed using a special tool, such as this one from Lisle® or . . .

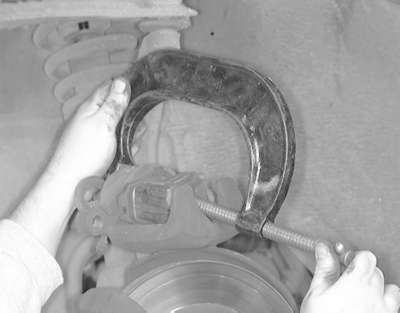
Fig. 12: . . . a large C-clamp will also work to compress the caliper piston

Fig. 13: Thoroughly clean the caliper slides . . .

Fig. 14: . . . then make sure to lubricate the caliper slides with a quality lubricant before installation

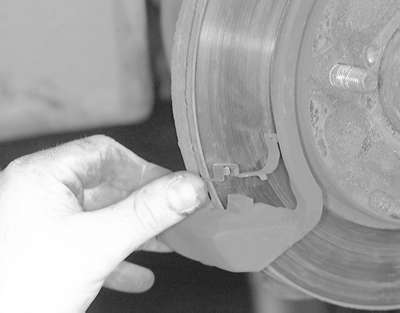
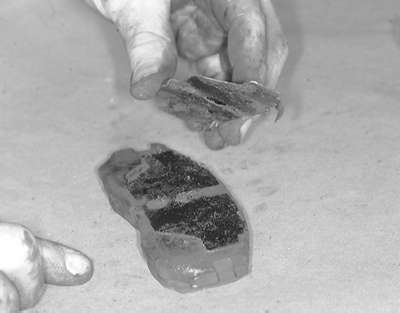
Fig. 15: Remember to remove the shims from the old pads to install on the new pads

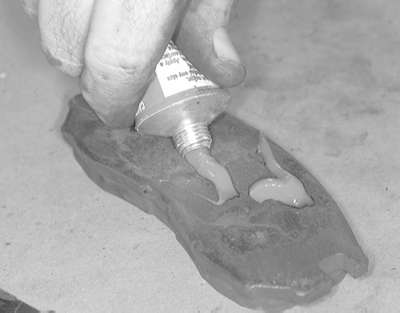
Fig. 16: A quality disc brake quiet or equivalent should be applied to the new pads

Fig. 17: Spread the brake quiet evenly over the pad surface . . .

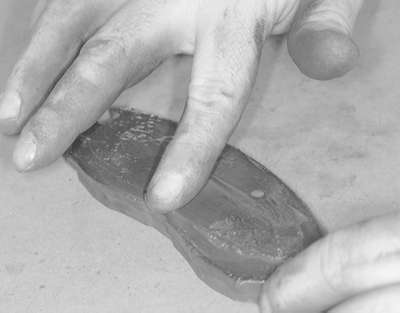
Fig. 18: . . . then install the shim on the pads

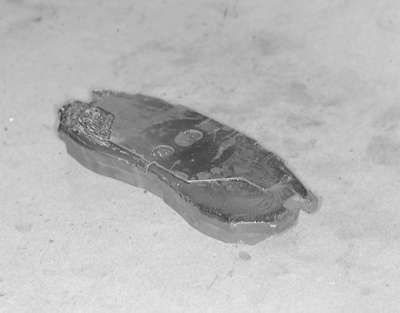
Fig. 19: Apply more brake quiet over the outside of the shim before installing the pads on the vehicle

CAUTION
Brake pads and shoes contain asbestos, which has been determined to be a cancer causing agent. Never clean the brake surfaces with compressed air! Avoid inhaling any dust from brake surfaces! When cleaning brakes, use commercially available brake cleaning fluids.

NOTE: Unlike most rear disc brake designs, this system does not incorporate the parking brake system, into the rear brake caliper, therefore, the rear brake system is serviced the same as the front system.

  1. Remove some of the brake fluid from the master cylinder reservoir. The reservoir should be no more than 12 full. When the pistons are depressed into the calipers, excess fluid will flow up into the reservoir.
  2. Raise the vehicle and support safely.
  3. Remove the appropriate tire and wheel assemblies.
  4. Remove the caliper guide and lock pins and lift the caliper assembly from the caliper support. Tie the caliper out of the way using wire.

    WARNING
    Do not allow the caliper to hang by the brake line.

    NOTE: On some vehicles, the caliper can be flipped up by leaving the upper pin in place and using it as a pivot point.

  5. Remove the brake pads, spring clip and shims. Take note of positioning to aid installation.
  6. Install the wheel lug nuts onto the studs and lightly tighten. This is done to hold the disc on the hub.

    To install:

  7. Use a large C-clamp to compress the piston(s) back into caliper bore.
  8. Lubricate slide points and install the brake pads, shims and spring clip onto the caliper support.
  9. Install the caliper over the brake pads.

    NOTE: Be careful that the piston boot does not become caught when lowering the caliper onto the support. Do not twist the brake hose during caliper installation.

  10. Lubricate and install the caliper guide and lock pins in their original positions.
  11. Tighten the guide and locking pins to 54 ft. lbs. (75 Nm) on the front, and 20 ft. lbs. (27 Nm) on the rear.
  12. Install the tire and wheel assemblies.
  13. Lower the vehicle.

    WARNING
    Pump brake pedal several times, until firm, before attempting to move vehicle.

  14. Road test the vehicle and check brakes for proper operation.

Previous Next