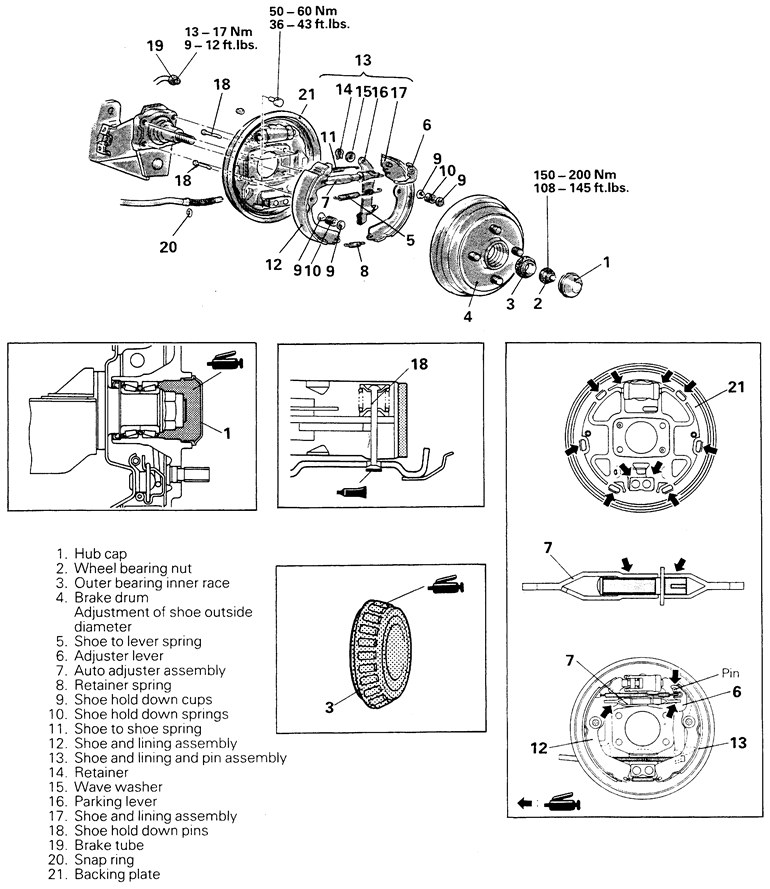
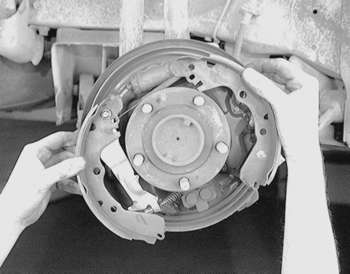
| Fig. 1: Exploded view of the drum brake components — 1990–92
Mirage
|
WARNING
Brake shoes contain asbestos, which has been determined to be a cancer causing
agent. Never clean the brake surfaces with compressed air! Avoid inhaling
any dust from brake surfaces! When cleaning brakes, use commercially available
brake cleaning fluids.
NOTE: Note the location of all springs and clips for proper reassembly.
To install
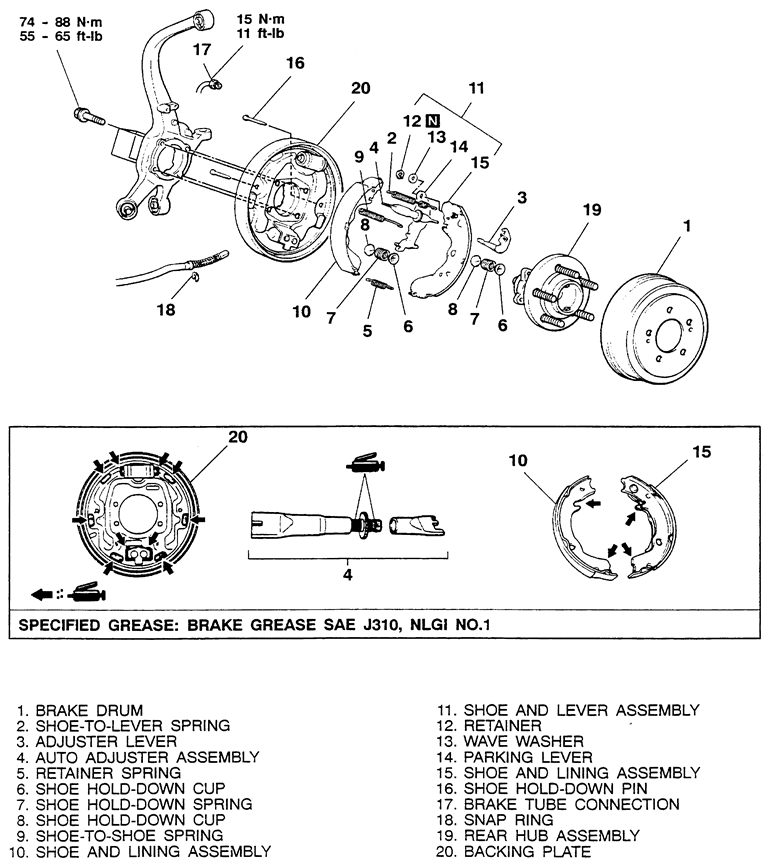
| Fig. 2: Rear drum brake components — Galant
|
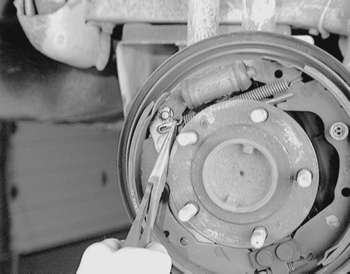
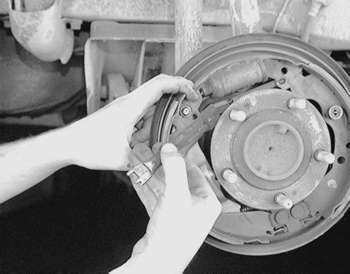
| Fig. 3: Use a pair of pliers or a special brake tool
to remove the shoe-to-lever spring
|
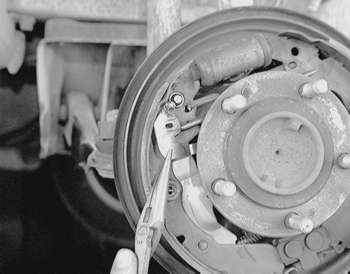
| Fig. 4: Remove the adjuster lever assembly
|
| Fig. 5: Remove the auto adjuster assembly
|
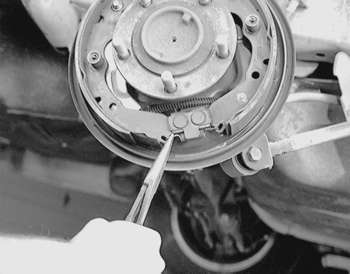
| Fig. 6: Remove the lower brake shoe retaining spring
|
| Fig. 7: Using a suitable hold-down spring tool, compress
the hold-down spring and . . .
|
| Fig. 8: . . . remove the hold-down spring and cup assembly
|
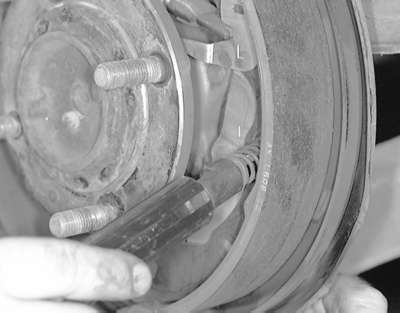
| Fig. 9: With the shoes attached by the spring, pull
them apart to clear the hub and bearing . . .
|
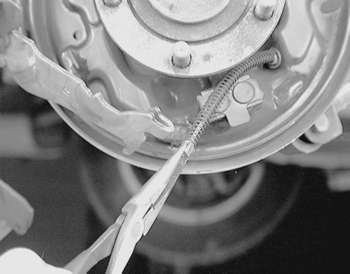
| Fig. 10: . . . then detach the parking brake cable
and remove the shoe and linings from the vehicle
|
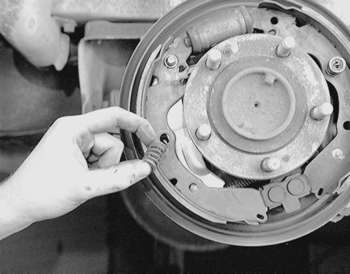
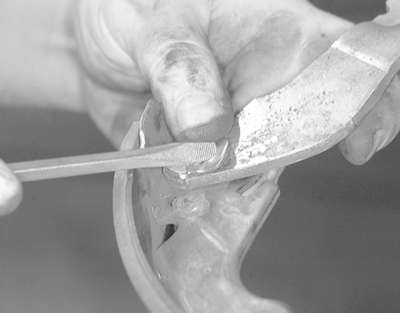
| Fig. 11: Use a small prytool to twist open the retainer
joint and remove the retainer . . .
|
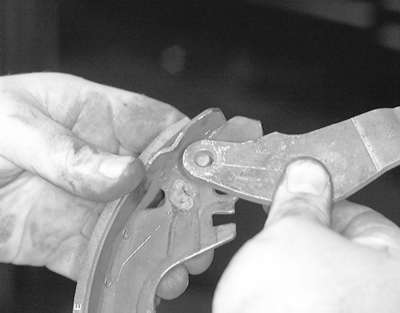
| Fig. 12: . . . then remove the parking brake lever
from the shoe
|
| Fig. 13: Using a wire brush or other suitable tool,
clean the shoe contact points on the backing plate
|
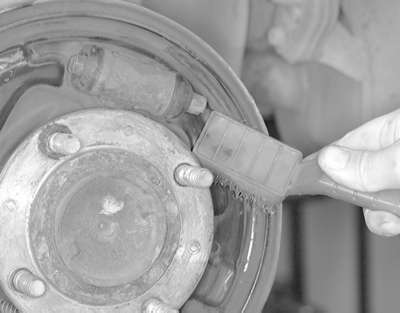
| Fig. 14: Apply a high temp lubricant to the shoe contact
points on the backing plate
|
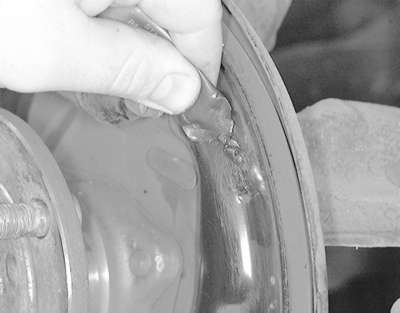
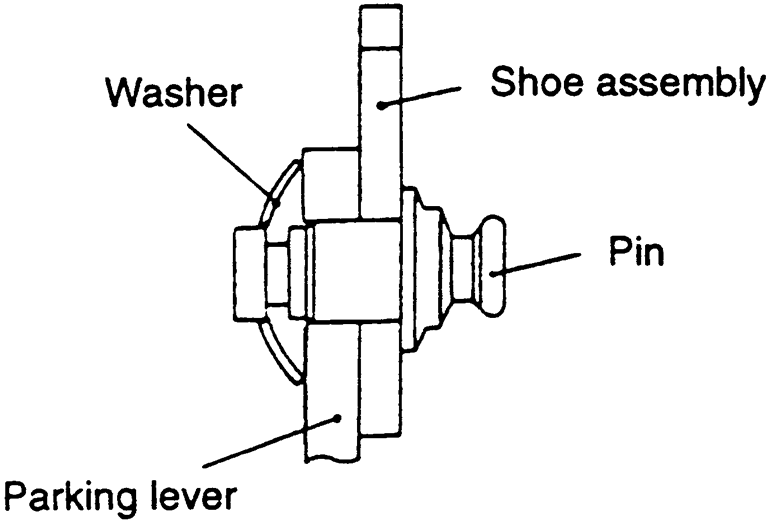
| Fig. 15: Proper installation of the wave washer
|
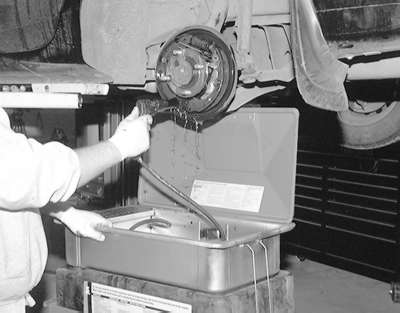
| Fig. 16: A portable cleaning tub made especially for
cleaning brakes, like this one from SafetyKleen® , is extremely
helpful
|
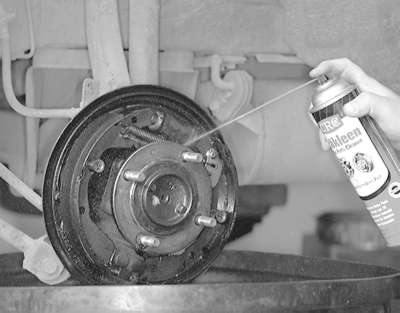
| Fig. 17: If a cleaning tub is not available, a quality
aerosol cleaning solvent can be used
|
To install: