Previous Next

REMOVAL & INSTALLATION

  1. Use a wrench to unscrew the PCV valve at the valve cover. It may be necessary to disconnect the hose at the outer end of the PCV to avoid twisting it too much (see the first part of the next step). If necessary, reconnect the PCV hose. Then, start the engine and run it at idle. You should hear a hissing sound as air is drawn into the valve. Place your finger over the inlet. You should be able to feel a strong vacuum. If either test is failed, the valve will have to be replaced. Stop the engine.
  2. Using a pair of pliers, pinch open the clamp that fastens the hose to the outer end of the PCV and then slide the clamp back a few inches. Pull the valve out of the hose. Then, blow through the threaded end of the valve. If air will pass freely through the valve, the valve is okay. If not, try to flush it out with spray solvent and if that doesn't work, replace it. PCV valves are not serviceable.
  3. Clean both PCV hoses by spraying a safe solvent, such as a fuel injection safe throttle body cleaner and gum cutter solvent, through them. Inspect the hoses for cracks or excessive stiffness, and replace, as necessary.
  4. Install the old PCV valve or replace it with a new one in reverse order. Be careful not to crossthread the valve into the aluminum valve cover, and do not overtighten it.

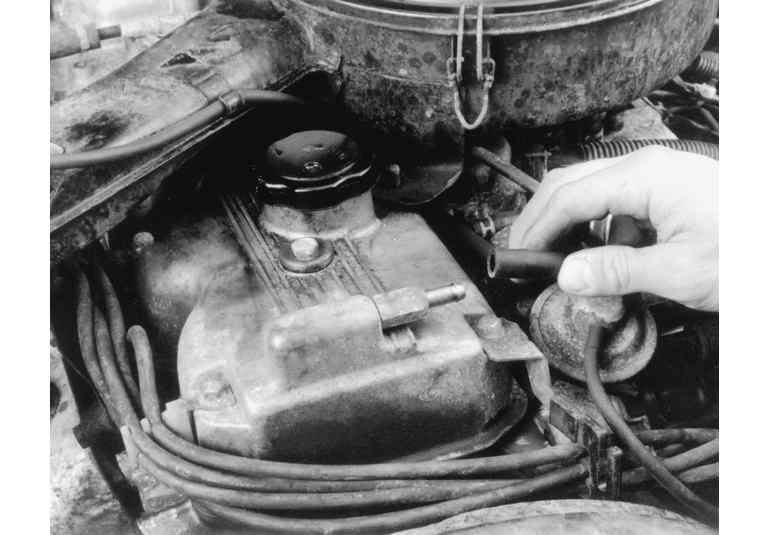
    Fig. 1: Disconnect the vacuum hose from the PCV valve located in the right-hand rocker arm cover

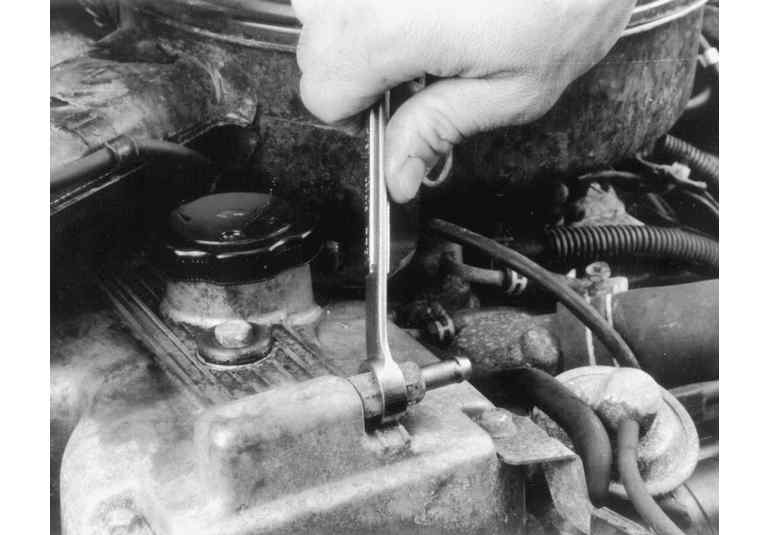
    Fig. 2: Use a wrench or socket to loosen the PCV valve and remove it

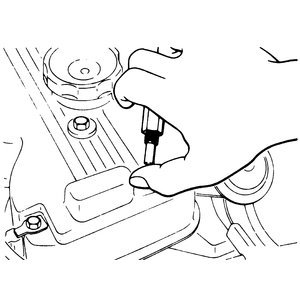
    Fig. 3: Once the PCV valve is removed, vacuum can be tested and the valve can be cleaned

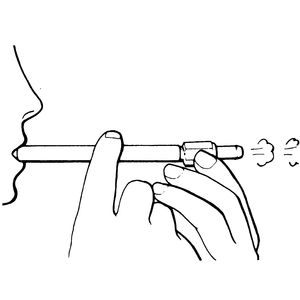
    Fig. 4: Test for vacuum at the PCV valve with the engine idling

    Fig. 5: Testing for clogging of the PCV valve

Previous Next