On these vehicles, the clock is mounted behind the instrument cluster. Refer to the instructions regarding the removal and installation of the combination meter/instrument cluster and remove the cluster from the vehicle. Remove the clock from the back of the instrument cluster.
To install the clock, simply attach the clock to the back of the instrument cluster and connect the wires. Install the instrument cluster in the instrument panel.
The 1987–91 Monteros have their clocks mounted behind the center panel. Disconnect the negative battery cable from the battery. Remove the center panel from the instrument panel and the floor. Disconnect the wiring from the back of the clock and unscrew the mounting screws. Pull the clock off of the back of the center panel.
To install the clock, mount it in its place with the mounting screws. Plug the wires back into it and install the center panel to the instrument panel and floor. Connect the battery cable back to the battery. Refer to the procedures regarding removal and installation of the center panel in Section 10 for more instructions.
For these models, the clock is simply an assembly which is plugged into the dashboard. To remove the clock, use a plastic trim tool and pry the clock assembly out towards the front of the dashboard. Disconnect the negative battery cable from the battery. The clock should pop right out of its mounting hole. Disconnect the wiring to the back of it.
To install the clock, attach the wiring to the back of it and push it back into its mounting hole until it pops in place. Reconnect the negative battery cable.
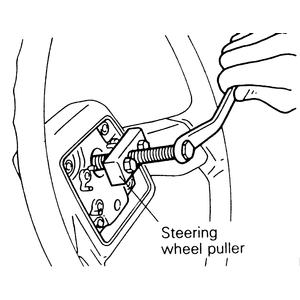
| Fig. 1: Use a steering wheel puller to remove the steering
wheel — do NOT hammer on the steering wheel to remove
it
|
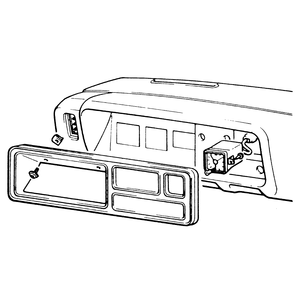
| Fig. 2: The clock is mounted behind, and attached to,
the instrument cluster — 1983–86 Montero and Pick-up
|