NOTE: Removing the door lock will require disconnecting some
of the link rods within the door. Many of the clips used to hold the rods are
non-reusable and may break when disassembled. Make certain there is a supply
of new clips on hand for reassembly.
- Remove the inner door liner. Make sure the window glass is in the down position
before removing the window controls.
- Carefully remove the inner moisture liner. Take your time and do not rip
or damage the liner.
- Disconnect or release the clips holding the link rods to both the lock cylinder
and the door handle. Depending on the model, it may be easier to disconnect
the other end of the rod (at the latch assembly) first.
- Disconnect any wiring harnesses running to the lock or handle. Generally
these cables have connectors in the line; do not try to disconnect the wiring
right at the lock.
- Remove the retaining nuts or bolts holding the handle assembly to the door
and remove the handle. The lock portion can be removed by a competent locksmith.
Disassembly by the owner/mechanic is not recommended due to the number of
small parts and springs within the lock.
To install:
- The lock assembly must be installed in the door handle and the small lever
(arm) attached. Place the handle in the door and secure the mounting nuts
and bolts.
- Connect the wiring to the handle or lock if any was removed.
- Carefully connect the link rods to the handle and lock, using new clips
where necessary. Reconnect the rods to the latch, if any were removed.
- Reinstall the window glass (and the window track) if they were removed.
- Reinstall the moisture liner. Apply a bead of waterproof sealer to the outer
edge all the way around and align the plastic carefully.
- Install the door liner and trim pieces.
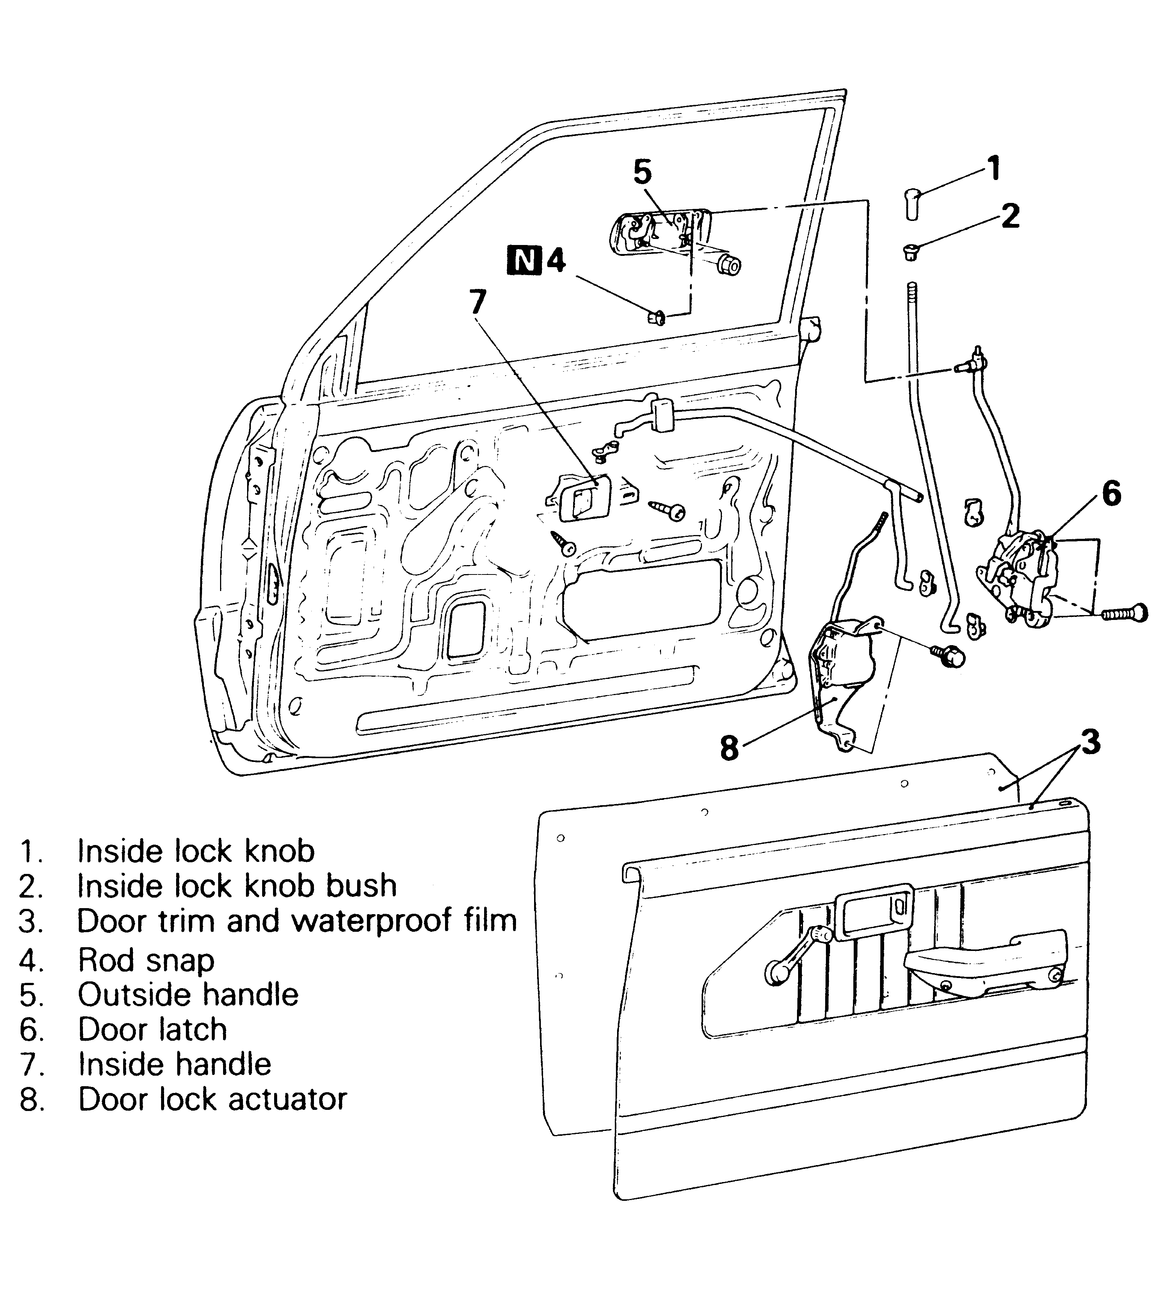
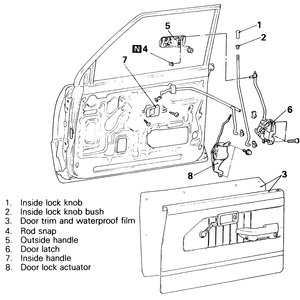
| Fig. 1: Door handle and lock assembly removal and
installation components — Pick-ups
|
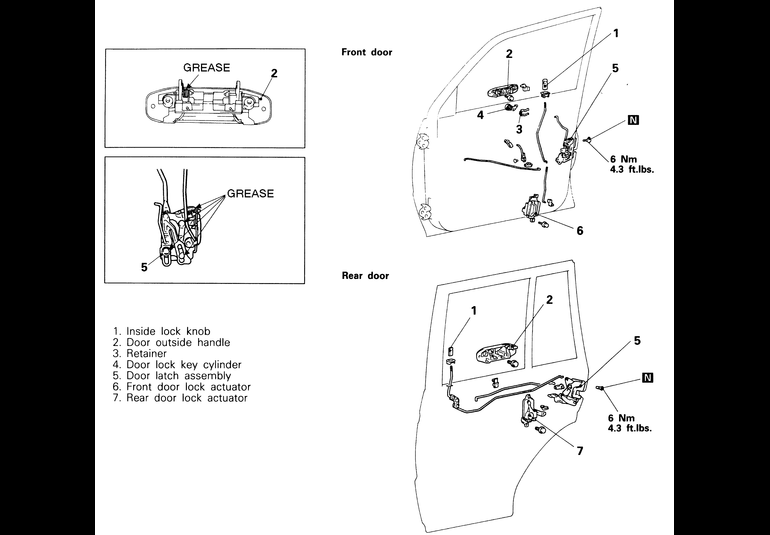
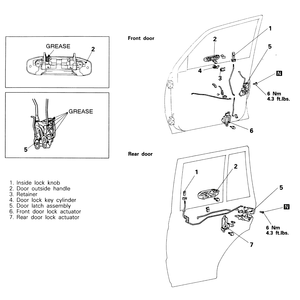
| Fig. 2: Door handle and lock assembly removal and
installation components — Monteros
|
- Remove the inner door liner. Make sure the window glass is in the up or
closed position before removing the window controls.
- Carefully remove the inner moisture liner. Take your time and do not rip
or damage the liner.
- Disconnect or release the clips holding the link rod to the lock cylinder.
Depending on the model, it may be easier to disconnect the other end of the
rod (at the latch assembly) first.
- Disconnect any wiring harnesses running to the lock. Generally these cables
have connectors in the line; do not try to disconnect the wiring right at
the lock.
- The lock cylinder is held to the door by a horseshoe-shaped spring clip.
Remove the clip and remove the lock cylinder. The cylinder may be repaired
by a competent locksmith. Disassembly by the owner/mechanic is not recommended
due to the number of small parts and springs within the lock.
To install:
- Install the cylinder into the door and fit the horseshoe clip. Make sure
the cylinder is held firmly in place.
- Connect any other wiring which was removed.
- Connect the link rod, using new clips as necessary.
- Reinstall the moisture liner. Apply a bead of waterproof sealer to the outer
edge all the way around and align the plastic carefully.
- Install the door liner and trim pieces.