- Separate the brake line below the master cylinder, at the three way connector.
- Remove the connecting tube from the master cylinder and drain the fluid
from the reservoir into a suitable container.
WARNING
Avoid spilling brake fluid on painted surfaces.
- Remove the two master cylinder retaining bolts.
- Remove the master cylinder from the bracket.
| Fig. 1: Exploded view of the master cylinder — ff–1
and 1300G
|
To install:
- Bench bleed the master cylinder prior to installation.
- Install the master cylinder and fasten the retaining bolts.
- Install the connecting tube.
- Engage the brake line below the master cylinder, at the three way connector.
- Refill the master cylinder with fresh brake fluid and bleed the system.
WARNING
Avoid spilling brake fluid on painted surfaces.
- Disconnect the negative (-) battery cable.
- Remove the brake line or lines from the master cylinder and drain the fluid
into a suitable container.
- If equipped with a fluid level indicator, disengage the electrical harness
connector from the master cylinder.
- On 1972–74 models and on 1975 2-door sedans, remove the nuts which
connect the master cylinder to the pedal bracket.
- On models from 1975–80 (except 1975 2-door sedan), remove the nuts
connecting the master cylinder to the power brake unit.
- Pull the master cylinder assembly forward and out.
To install:
- Bench bleed the master cylinder prior to installation.
- Install the master cylinder and fasten the retaining nuts.
- Engage the fluid level indicator harness connector (if equipped).
- Engage the brake line or lines to the master cylinder.
- Connect the negative battery cable.
- Refill the master cylinder with fresh brake fluid and bleed the system.
NOTE: Do not use the old brake fluid drained from the master
cylinder to refill it after installation. Use new fluid. See Section 1 for
the correct type.
CAUTION
Avoid spilling brake fluid on painted surfaces, it will lift the paint.
- Disconnect the negative (-) battery cable.
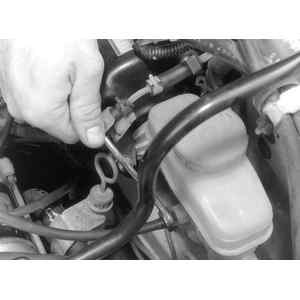
| Fig. 2: Use a flare nut wrench to disconnect the
brake lines. Be sure to plug them to prevent the entry of dirt
|
| Fig. 3: Remove the master cylinder retaining fasteners
|
- Disconnect and plug the brake lines at the master cylinder.
NOTE: It is advised to thoroughly drain the fluid from
the master cylinder before performing any removal procedures.
- If equipped with fluid level indicator, disengage the electrical harness
connector from the master cylinder.
- Remove the master cylinder-to-power booster nuts and the master cylinder
from the vehicle.
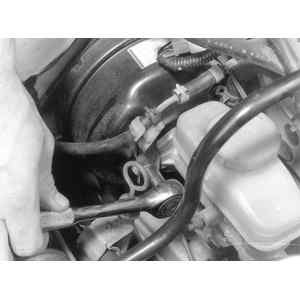
| Fig. 4: When removing the master cylinder from the
vehicle be, careful not to spill any brake fluid
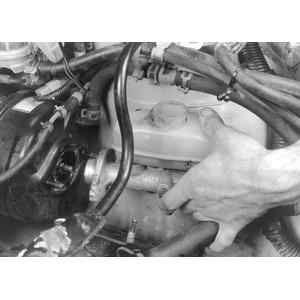
|
To install:
- Bench bleed the master cylinder prior to installation.
- Install the master cylinder on the power booster and tighten the nuts to
7–13 ft. lbs. (10–18 Nm).
- Connect the fluid level indicator.
- Connect the brake lines and tighten the flare nut to 9–13 ft. lbs.
(13–18 Nm).
- Connect the negative battery cable.
- Refill the master cylinder with fresh brake fluid and bleed the system.
- Bleed the brake system as required.