Previous Next

REMOVAL & INSTALLATION

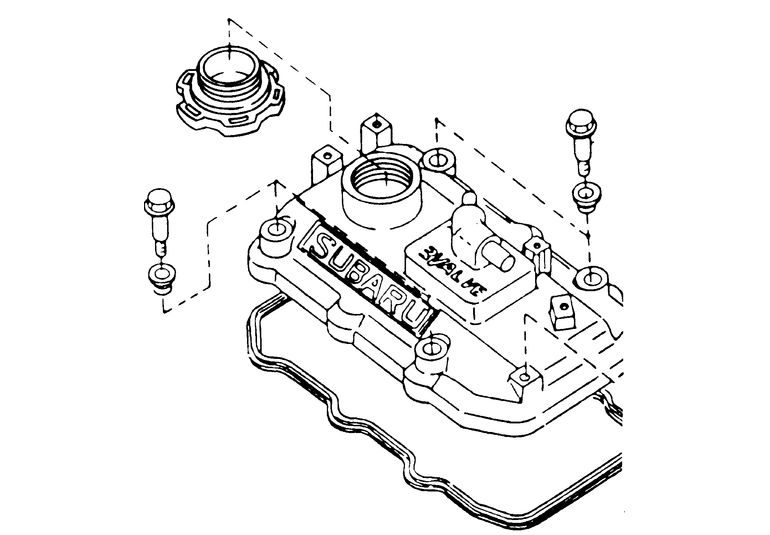
Fig. 1: Exploded view of a typical valve cover assembly — 1.2L engine shown

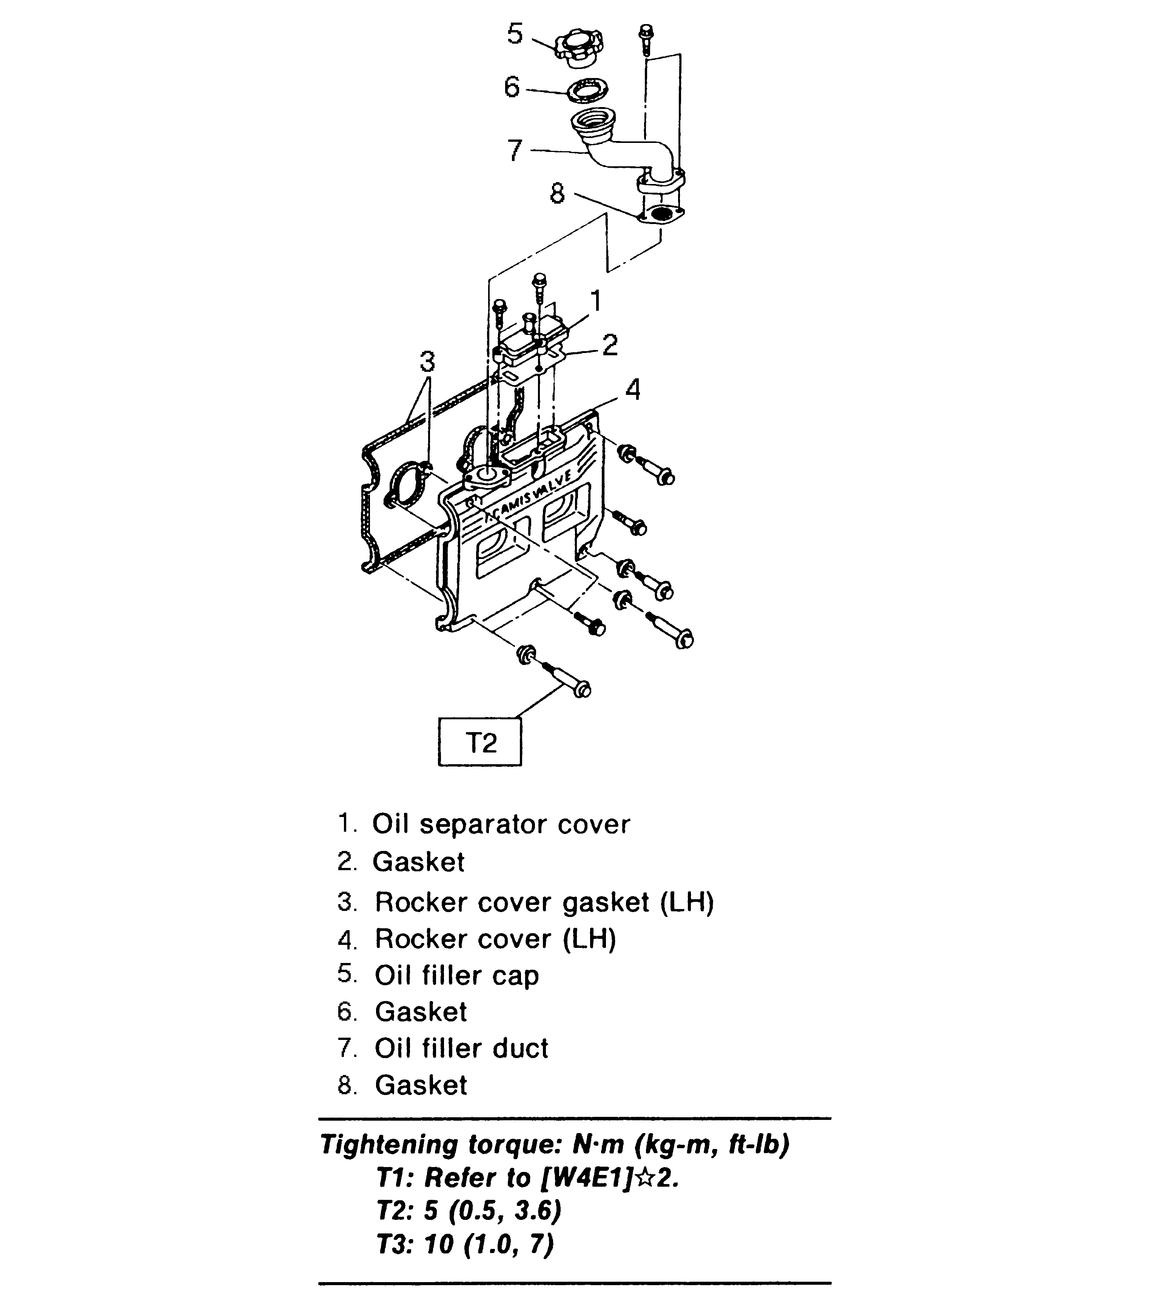
Fig. 2: Late model valve cover assembly — 2.5L engine shown

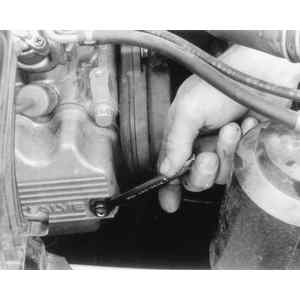
Fig. 3: Remove the valve cover retainer bolts — 2.2L engine shown

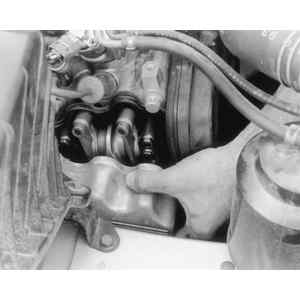
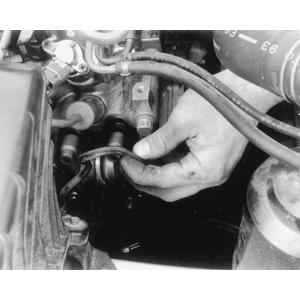
Fig. 4: Lift the valve cover off and out of the engine compartment

Fig. 5: Remove the valve cover gasket. This one remained stuck to the cylinder head surface

  1. Disconnect the negative battery cable.
  2. Disconnect the breather hose attached to the valve cover, if equipped. Depending on which valve cover is being removed, there may not be an attached hose.
  3. Remove the retainer bolts from the rocker cover(s). Depending on engine, there may be as few as two bolts or as many as eight.
  4. If needed, using a rubber hammer, tap the rocker covers to break the seal between the gasket and the valve cover.

    WARNING
    Do not tap the rocker cover too hard, or the cover may be damaged or distorted.

  5. Remove the rocker cover from the cylinder head.
  6. Remove the old gasket from the rocker cover. Clean the surface of the cylinder head and the rocker cover.

    To install:

  7. Spread a thin layer of Permatex® or equivalent adhesive on the mating surface of the rocker cover to hold the gasket in place during installation. Install a new gasket, and press lightly to seat.
  8. Position the rocker cover on the cylinder head and install the retainer bolts. Tighten the bolts to 5–6 ft. lbs. (6–8 Nm) for 1.2L engines, 3–4 ft. lbs. (4–5 Nm) for 1.6L, 1.8L, 2.7L and 3.3L engines, or 4 ft. lbs. (5 Nm) for 2.2L and 2.5L engines.
  9. Attach the breather hose to the valve cover, if removed.
  10. Connect the negative battery cable.

Previous Next