| Fig. 1: Fuel injector assembly — 1.2L
engine

|
- Relieve the fuel system pressure.
- Disconnect the negative battery cable.
- Tag and disconnect the electrical harnesses from the fuel injectors.
- Disconnect and tag the hoses attached to the fuel rail.
- Remove the fuel rail mounting bolts, then remove the fuel rail assembly
carefully.
- Remove the individual injectors from the rail by pulling lightly with a
slight twist.
- Remove the fuel injector O-rings and discard.
To install:
- Install the injectors using new gaskets and O-rings. Lubricate the O-rings
with fuel before installation.
- Carefully install the fuel rail on the engine and install the mounting bolts.
- Connect the electrical harnesses to the fuel rail.
- Connect the hoses to the fuel rail.
- Connect the negative battery cable.
- Pressurize the fuel system and verify that there are no fuel leaks.
| Fig. 2: Exploded view of fuel system components — 1.8L
engine
|
| Fig. 3: Exploded view of fuel system components — 2.7L
engine
|
- Relieve the fuel system pressure.
- Disconnect the negative battery cable.
NOTE: On some engines, it may be necessary to remove the
intake plenum to gain access to the fuel lines connecting the injectors.
- Remove the fuel lines connecting the injectors.
- Disconnect the fuel injector electrical harnesses.
- Remove the injectors by pulling with a slight twist. Discard the gaskets
and O-rings.
- Remove the injector holder plate, insulator, holder and seal. Discard the
insulator and seal.
- Install the injectors using new gaskets, seals, insulators and O-rings.
Lubricate the O-rings with clean engine oil prior to installation. Install
the fuel lines connecting the injectors.
- Installation is the reverse of removal. Tighten all components accordingly.
- Start the engine and check for leaks.
| Fig. 4: Fuel injector assembly — 2.2L
and 2.5L engines
|
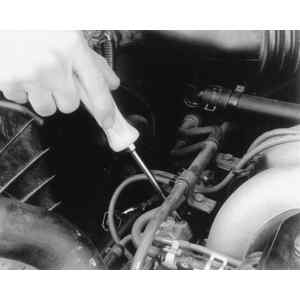
| Fig. 5: Unfasten the fuel injector wire harness from
the top of the injector assembly
|
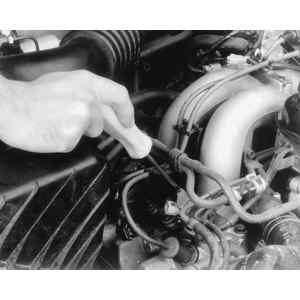
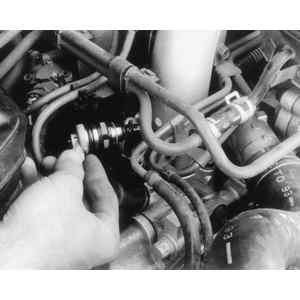
| Fig. 6: Remove the fuel injector cover retainer screw
from one side of the injector . . .
|
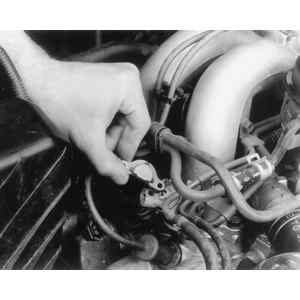
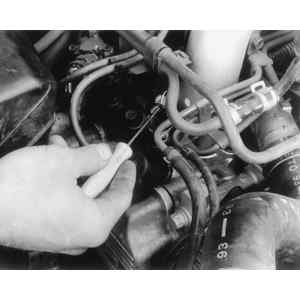
| Fig. 7: . . . then unfasten the other retainer screw
|
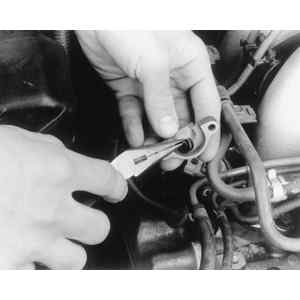
| Fig. 8: Lift the cover off . . .
|
| Fig. 9: . . . and remove the seal
|
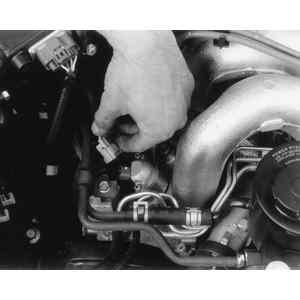
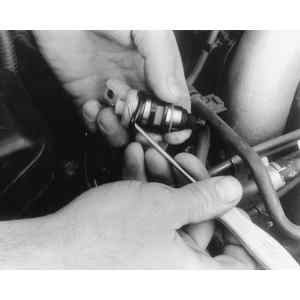
| Fig. 10: Carefully remove the fuel injector from the
cylinder head
|
| Fig. 11: Remove the lower injector O-ring

|
| Fig. 12: If necessary, remove a stuck O-ring with a pick
tool
|
| Fig. 13: Remove the upper O-ring from the injector. Discard
all used O-rings
|
CAUTION
Fuel injection systems remain under pressure after the engine has been turned
OFF. Properly relieve fuel pressure before disconnecting any fuel lines. Failure
to do so may result in fire or personal injury.
- Relieve the fuel system pressure.
- Disconnect the negative battery cable.
- Disconnect the fuel injector electrical harness.
- Remove the fuel injection cover.
- Remove the fuel injector from the fuel pipe assembly.
- Remove and discard the fuel injector O-rings and insulators,
- Installation is the reverse of removal. Install the injector with two new
O-rings and a new insulator. Tighten the bolts to 24 inch lbs. (3 Nm).
- Start the engine and check for leaks.
| Fig. 14: Exploded view of fuel system components — 3.3L
engine
|
CAUTION
Fuel injection systems remain under pressure after the engine has been turned
OFF. Properly relieve fuel pressure before disconnecting any fuel lines. Failure
to do so may result in fire or personal injury.
- Relieve the fuel system pressure.
- Disconnect the negative battery cable.
- Remove the collector cover.
- Remove the air duct between the throttle body and mass airflow sensor.
- Remove the retainer bolts attaching the power steering hose to the collector
and position the hose out of the way.
- Disconnect the fuel injector electrical harness.
- Remove the two screws securing the injector cover, then remove the cover.
- Pull the injector out while rotating it.
- Remove and discard the fuel injector O-rings.
- Installation is the reverse of removal. Install the fuel injector using
O-rings coated with clean engine oil.
- Pressurize the fuel system and verify that there are no leaks.