To Remove:
|
|
|
|
|
|
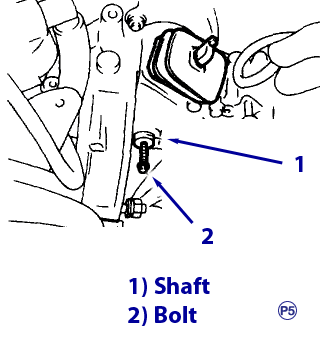
Note: You can remove the other bolts while rotating the engine using ST. (ST 499977400 Crank Pulley Wrench), or equivalent.
CAUTION
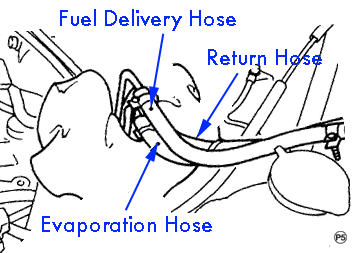
Wrap hose end with cloth to prevent fuel from leaking. Catch fuel from hose into container.
CAUTION
Before moving the engine away from transmission, check to be sure no work has been overlooked.
|
To Install:
|
|
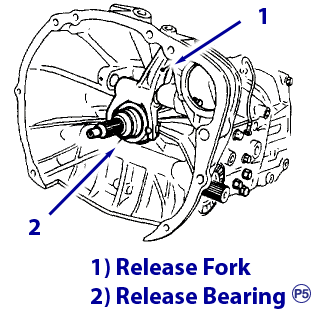
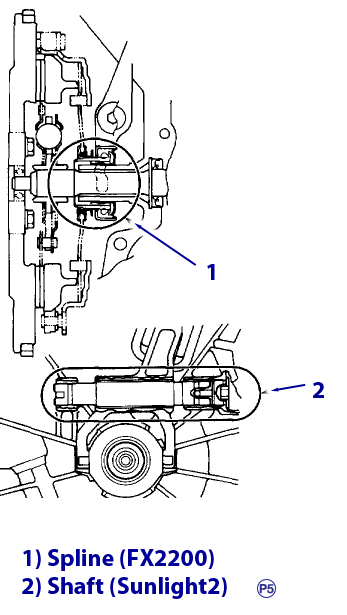
Note: Apply a small amount of grease to splines of mainshaft. (M/T vehicles)
Note: You can tighten other bolts while rotating the engine by using ST.
To Remove:
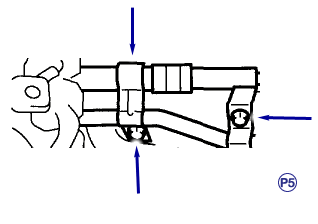
| Fuel Hose Pressure Relief
|
| Air Cleaner Assembly
|
| Air Cleaner Stay
|
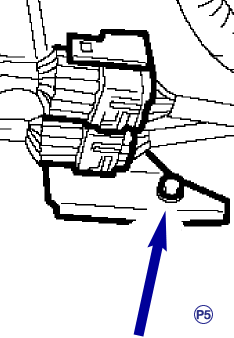
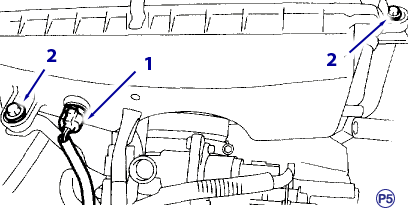
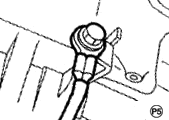
| Engine Ground
|
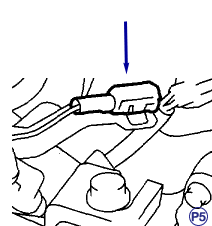
| Engine Harness Connectors
|
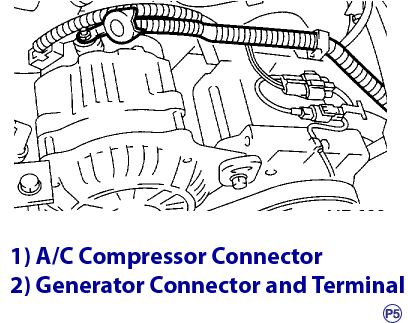
| A/C and Alternator Connectors
|
| Accelerator and Cruise Control Cables (if equipped w/cruise)
|
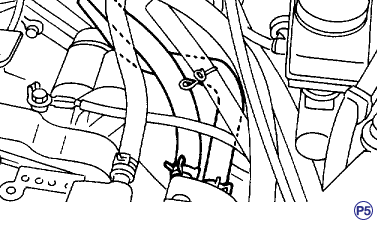
| Brake Booster Vacuum Hose
|
| Heater Hoses
|
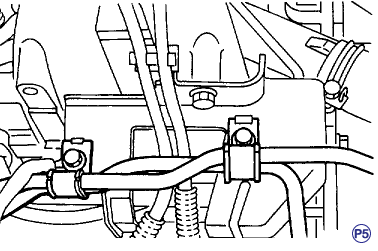
| Power Steering Pump Bracket Bolts
|
| Pipe with Bracket
|
|
Note: Using a fender cover on the right fender area, place the power steering pump on the right side wheel apron.
| Rubber Cushion Mounting Bolts
|
Note: Additional bolts can be removed by manually rotating the crank shaft pulley. It may be nec. To install a flex plate holding device to insure engine does not turn over while removing bolts.
CAUTION
Disconnect the hose with its end wrapped in cloth to prevent fuel from splashing. Catch fuel in an approved container.
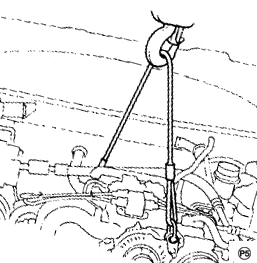
| Lifting Device
|
| Floor Jack
|
CAUTION
Before lifting engine away from transmission, check to be sure additional wires, hoses, cables or connections are not still connected to engine. Doing this is very important for reinstallation and because transmission lowers under its own weight.
CAUTION
Be careful not to damage adjacent parts or body panels with crank pulley, oil level gauge, etc.
To Install:
CAUTION
Be careful not to damage adjacent parts or body panels with crank pulley, oil level gauge, etc.
WARNING
Be sure not to pinch bodily appendages as engine may shift until mounts are re-connected!
Note: Additional bolts can be installed by manually rotating the crank shaft pulley. Remember to remove the flex plate holding device.
CAUTION
Be sure the front cushion rubber mounting bolts (A) and locator (B) are securely installed.