BODY WELD POINT ROOF PANEL(for Sliding Roof) ASSEMBLY REPLACEMENT
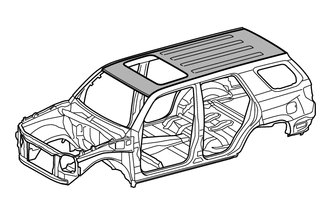
REMOVAL
| Symbol Meaning | |
|---|---|

|
Remove Weld Points |

|
Remove Weld Points |
If reusing the roof panel reinforcement, trim the hemming location using a disc sander, etc.
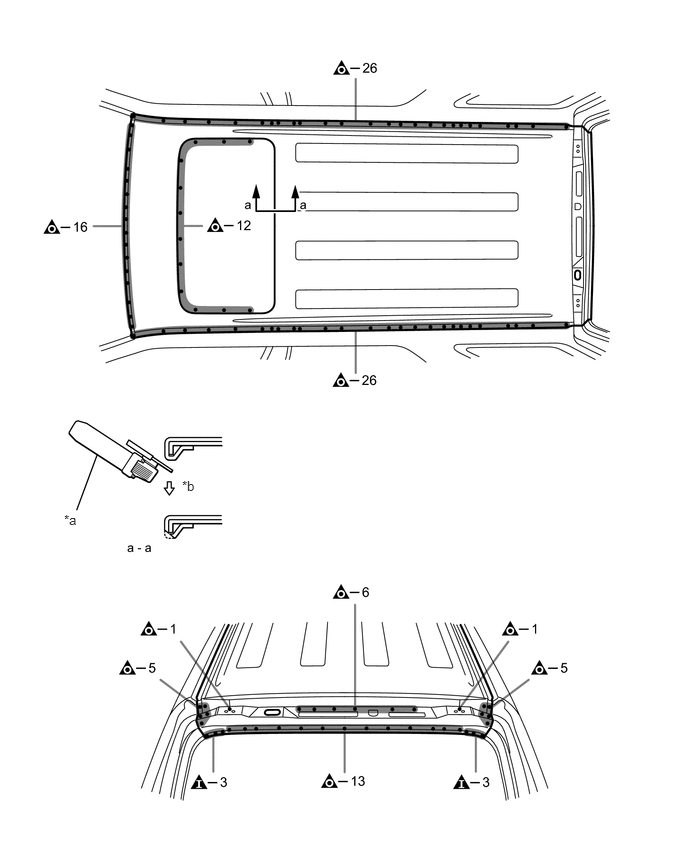
| *a | Disc Sander | *b | Hemming Location |
INSTALLATION
| Symbol Meaning | |
|---|---|

|
Plug Weld |

|
Plug Weld |

|
Body Sealer |
Inspect the fitting of the related parts around the new parts before welding. This affects the appearance of the finish.
Temporarily install the new parts and measure each part of the new parts in accordance with the body dimension diagram. (See the body dimensions)
After the roof panel reinforcement is welded to the new parts, install the roof panel to the vehicle side.
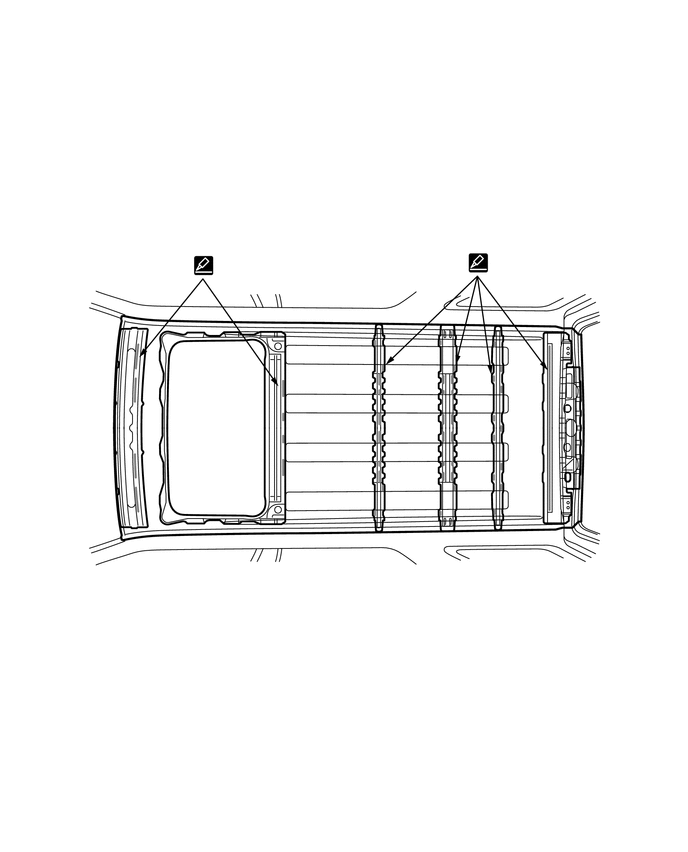
Before temporarily installing the new parts, apply body sealer to the windshield header panel, roof panel reinforcement and back door opening frame.
- HINT:
-
Apply just enough body sealer for the new parts to make contact.
Bend the flange hem with a wooden hammer and dolly.
- HINT:
-
Perform hemming three steps, being careful not to warp the panel.
After welding, apply the foamed sealing material to the corresponding parts. (See the painting / coating)
After welding, apply body sealer to the corresponding parts. (See the painting / coating)
After applying the top coat, apply anti-rust agent to the internal panel portion of the closed section structural weld points.
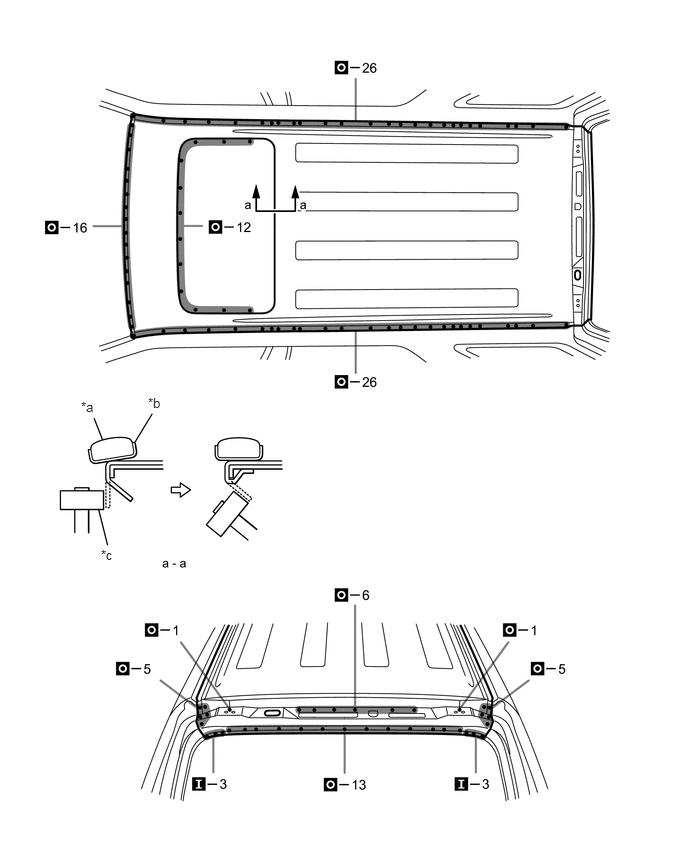
| *a | Dolly | *b | Cloth Tape |
| *c | Wooden Hammer | - | - |