POWER DISTRIBUTION BATTERY CURRENT SENSOR REMOVAL
PROCEDURE

 1. PRECAUTION
- HINT:
-
After turning the ignition switch off, waiting time may be required before disconnecting the cable from the negative (-) battery terminal. Therefore, make sure to read the disconnecting the cable from the negative (-) battery terminal notices before proceeding with the work.
-
Click hereGeneral>INTRODUCTION>REPAIR INSTRUCTION>CUSTOMIZE PARAMETERS
2.REMOVE BATTERY CURRENT SENSOR ASSEMBLY (w/ 130 A Generator)
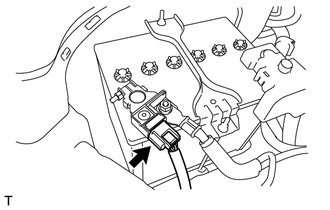
Disconnect the connector.
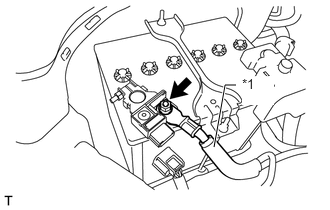
| *1 | Engine Wire |
Remove the nut and disconnect the engine wire.
- NOTICE:
-
Since this operation may damage the molding, make sure to fully open the driver and passenger side door windows.
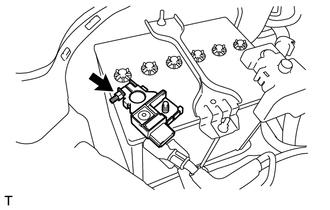
Loosen the nut and remove the battery current sensor assembly.
3.REMOVE BATTERY NEGATIVE TERMINAL (w/ 150 A Generator)
Disconnect the connector.
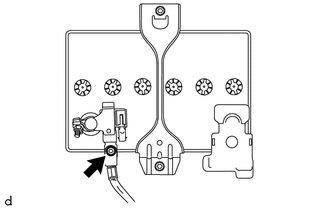
Remove the nut and disconnect the engine wire.
- NOTICE:
-
The power window system utilizes a mechanism in which the door glass moves down slightly when the door is opened, and in which the glass moves up when the door closed in order to prevent the door molding from being damaged. When the negative (-) battery terminal needs to be disconnected for servicing, fully open the driver and passenger door glasses in advance.
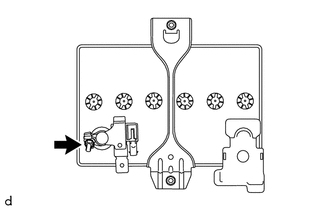
Loosen the nut and remove the battery negative terminal.