Removal / installation · Vehicles built Oct 2006 – May 2009
Versions by build date: Oct 2006 – May 2009from Jun 2009
1.
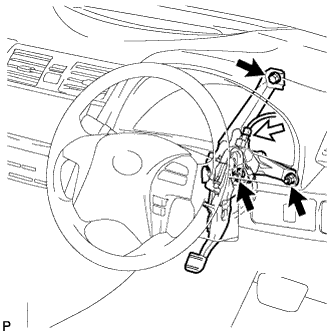
INSTALL PARKING BRAKE PEDAL ASSEMBLY
Install the parking brake pedal assembly with the bolt and 2 nuts.
Torque:
15 N*m{
153 kgf*cm
, 11 ft.*lbf
}
Connect the parking brake switch connector.
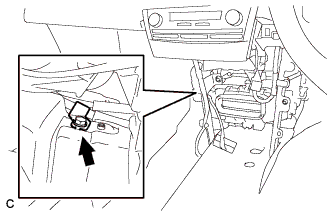
Install the No. 1 parking brake cable assembly to the body with the bolt.
Torque:
15 N*m{
153 kgf*cm
, 11 ft.*lbf
}
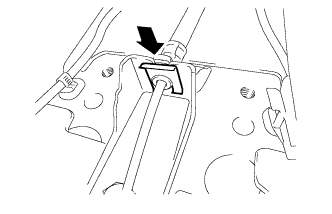
Using a brass bar and a hammer, install the clip to the No. 1 parking brake cable assembly.
2.
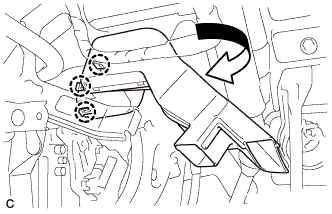
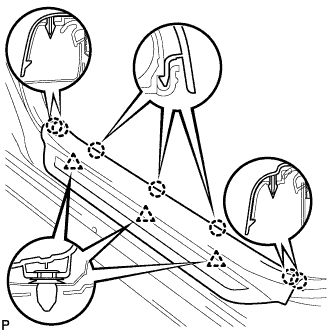
INSTALL NO. 1 AIR DUCT SUB-ASSEMBLY
Engage the 3 claws and install the No. 1 air duct sub-assembly.
3.
CONNECT NO. 4 PARKING BRAKE CABLE ASSEMBLY
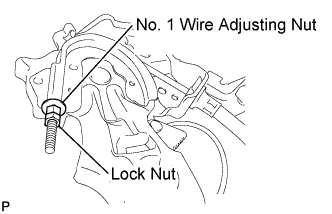
Connect the No. 4 parking brake cable assembly to the No. 1 parking brake cable assembly.
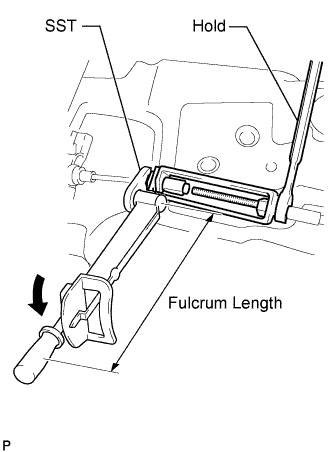
Using SST and a wrench, hold the lock nut of the No. 1 parking brake cable and tighten the turnbuckle of the No. 4 parking brake cable assembly.
SST
09023-00101
Torque:
without SST:
5.4 N*m{
55 kgf*cm
, 48 in.*lbf
}
with SST:
5.0 N*m{
51 kgf*cm
, 44 in.*lbf
}
NOTICE:
Use a torque wrench with a fulcrum length of 250 mm (9.84 in.).
This torque is effective when SST is parallel to a torque wrench.
4.
INSTALL CENTER AIRBAG SENSOR ASSEMBLY
Check that the ignition switch is off.
Check that the battery negative (-) cable is disconnected.
CAUTION:
Wait for 90 seconds after disconnecting the cable to prevent airbag deployment.
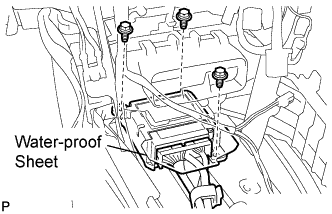
Install the center airbag sensor assembly with the 3 bolts.
Torque:
17.5 N*m{
179 kgf*cm
, 13 ft.*lbf
}
NOTICE:
If the center airbag sensor assembly has been dropped, or there are any cracks, dents or other defects in the case, bracket or connector, replace it with a new one.
When installing the center airbag sensor assembly, be careful that the SRS wiring does not interfere with other parts and that it is not pinched between other parts.
Check that there is no looseness in the installation parts of the center airbag sensor assembly.
Connect the holder (with connectors).
Check that the water-proof sheet is properly set.
5.
INSTALL FLOOR SHIFT LEVER ASSEMBLY
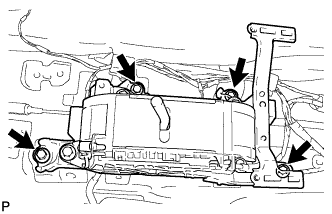
Install the floor shift lever assembly with the 4 bolts.
Torque:
12 N*m{
122 kgf*cm
, 9 ft.*lbf
}
6.
INSTALL FLOOR CARPET BRACKET LH
7.
INSTALL FLOOR CARPET BRACKET RH
8.
INSTALL YAW RATE AND ACCELERATION SENSOR (w/ VSC)
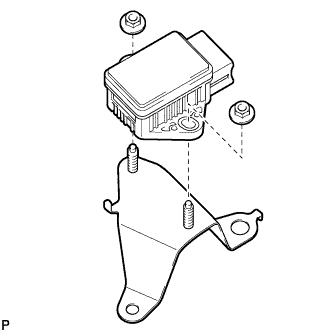
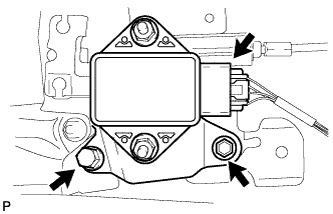
Install the yaw rate and acceleration sensor to the bracket with the 2 nuts.
Torque:
5.0 N*m{
51 kgf*cm
, 44 in.*lbf
}
Install the yaw rate and acceleration sensor with the 2 bolts.
NOTICE:
Do not damage the yaw rate or acceleration sensor.
Make sure that the yaw rate and acceleration sensor is installed securely.
Torque:
13 N*m{
133 kgf*cm
, 10 ft.*lbf
}
Connect the yaw rate and acceleration sensor connector.
9.
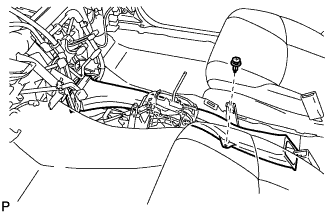
INSTALL NO. 1 CONSOLE BOX DUCT
Install the No. 1 console box duct with the clip.
10.
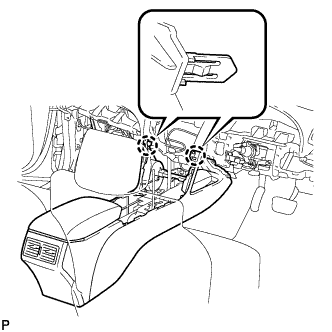
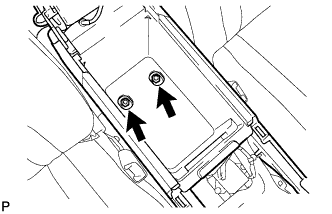
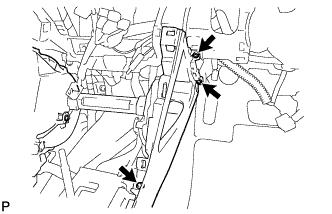
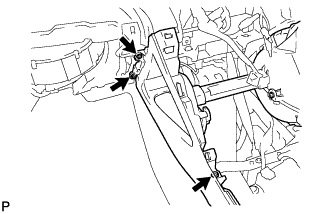
INSTALL CONSOLE BOX ASSEMBLY
Engage the 2 claws.
Install the 2 bolts <I>.
Install the 3 screws <H>.
Install the console box assembly with the 3 screws <H>.
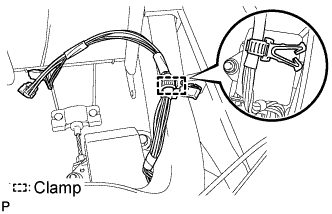
Engage the clamp.
11.
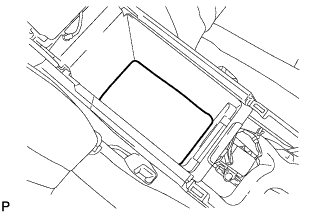
INSTALL CONSOLE BOX CARPET
Install the console box carpet.
12.
INSTALL UPPER CONSOLE PANEL SUB-ASSEMBLY
Connect the connector.
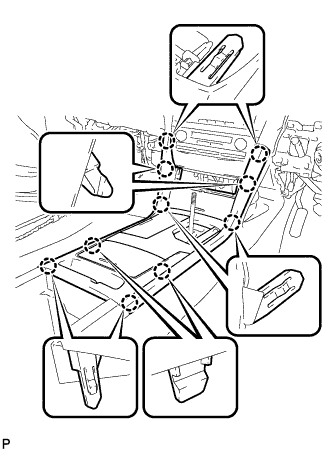
Engage the 10 claws and install the upper console panel sub-assembly.
13.
INSTALL UPPER CONSOLE PANEL FRONT GARNISH
Connect each connector.
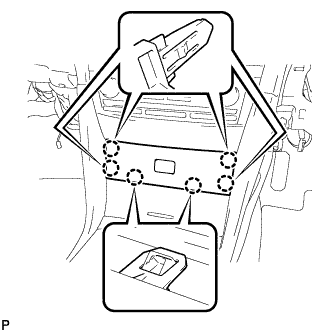
Engage the 6 claws and install the upper console panel front garnish.
14.
INSTALL SHIFT LEVER KNOB SUB-ASSEMBLY
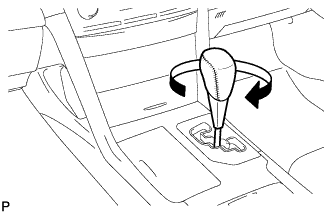
Install the shift lever knob sub-assembly.
15.
INSTALL COMBINATION METER ASSEMBLY
Connect each connector.
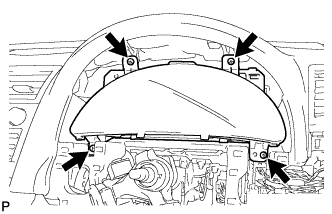
Install the combination meter assembly with the 4 screws <B>, <C> or <H>.