1.
INSTALL BRAKE ACTUATOR WITH BRAKE ACTUATOR BRACKET ASSEMBLY
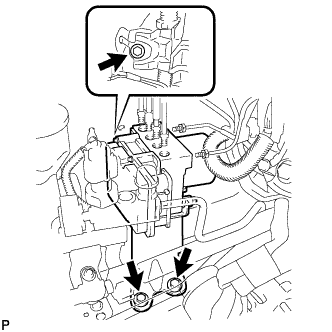
Install the brake actuator with brake actuator bracket assembly to the body with the 3 bolts.
Torque:
19 N*m{
194 kgf*cm
, 14 ft.*lbf
}
NOTICE:
Do not damage the brake lines or wire harness.
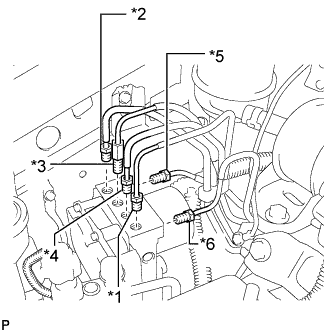
Temporarily tighten each brake line to the correct positions of the brake actuator with brake actuator bracket assembly as shown in the illustration.
HINT:
*1: To Front Wheel Cylinder RH
*2: To Front Wheel Cylinder LH
*3: To Rear Wheel Cylinder RH
*4: To Rear Wheel Cylinder LH
*5: From 2nd Master Cylinder
*6: From 1st Master Cylinder
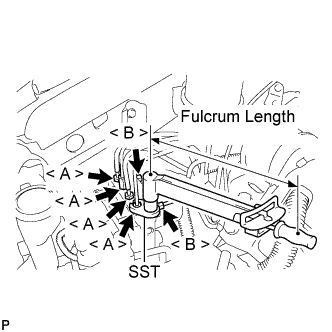
Using SST, fully tighten each brake line.
SST
09023-00101 09023-38201
Torque:
Bolt A M10 without SST:
15 N*m{
155 kgf*cm
, 11 ft.*lbf
}
Bolt A M10 with SST:
14 N*m{
143 kgf*cm
, 10 ft.*lbf
}
Bolt B M12 without SST:
19 N*m{
194 kgf*cm
, 14 ft.*lbf
}
Bolt B M12 with SST:
17 N*m{
173 kgf*cm
, 13 ft.*lbf
}
NOTICE:
Use a torque wrench with a fulcrum length of 250 mm (9.84 in.).
This torque value is effective when SST is parallel to a torque wrench.
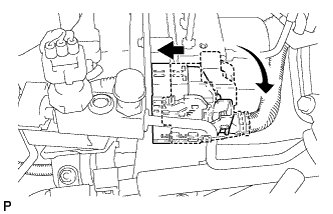
Connect the actuator connector.
NOTICE:
Make sure that the connector is locked securely.
2.
INSTALL RADIATOR RESERVE TANK ASSEMBLY
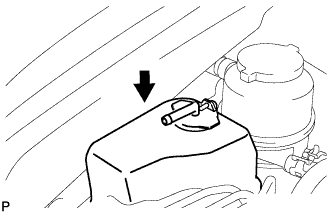
Install the radiator reserve tank assembly.
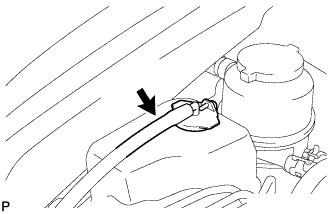
Connect the radiator reserve tank hose.
3.
FILL RESERVOIR WITH BRAKE FLUID
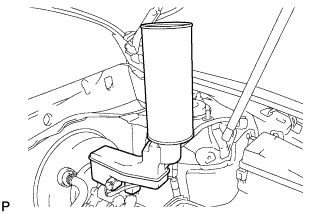
Fill the reservoir with brake fluid.
Fluid:
SAE J1703 or FMVSS No. 116 DOT3
4.
BLEED BRAKE LINE
NOTICE:
Bleed the air from the brake line of the wheel farthest from the master cylinder.
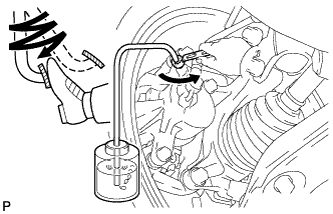
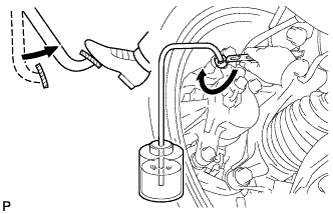
Connect a vinyl tube to the bleeder plug.
Depress the brake pedal several times, then loosen the bleeder plug with the pedal depressed (*3).
When fluid stops coming out, tighten the bleeder plug, then release the brake pedal (*4).
Repeat (*3) and (*4) until all the air in the fluid is completely bled out.
Tighten the bleeder plug completely.
Torque:
12 N*m{
122 kgf*cm
, 9 ft.*lbf
}
Repeat the above procedures for each wheel to bleed the air from the brake line.
5.
CONNECT CABLE TO NEGATIVE BATTERY TERMINAL
6.
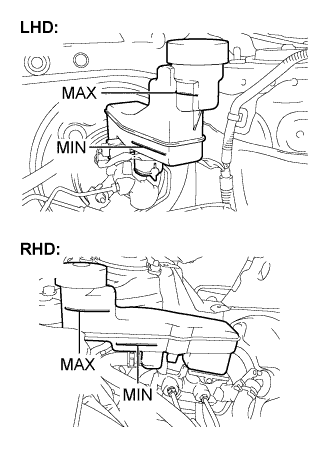
INSPECT BRAKE FLUID LEVEL
Check the fluid level. If brake fluid level is low, check for leakage and inspect the disc brake pad. If necessary, refill the reservoir with brake fluid after repair and replacement.