 |
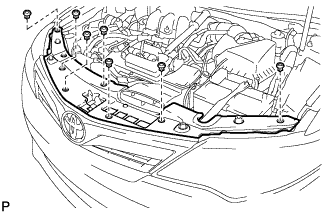
Remove the 7 clips and cool air intake duct seal.
ECM > REMOVAL |
| 1. DISCONNECT CABLE FROM NEGATIVE BATTERY TERMINAL |
| 2. REMOVE COOL AIR INTAKE DUCT SEAL |
|
Remove the 7 clips and cool air intake duct seal.
| 3. REMOVE BATTERY |
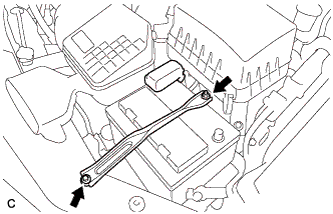 |
Loosen the nut, and separate the positive (+) battery terminal.
Loosen the nut, and remove the bolt and battery clamp.
Remove the battery and battery tray.
| 4. REMOVE ECM |
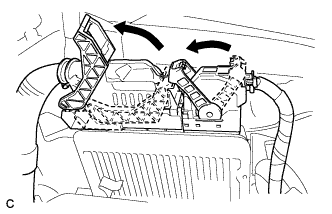 |
Disconnect the 2 ECM connectors.
Push in the locks on the 2 levers, raise the levers, and disconnect the 2 ECM connectors.
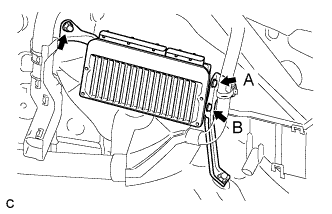 |
Remove the nut.
Remove the screw (A).
Loosen the screw (B) and remove the ECM.
Remove the screw (B).
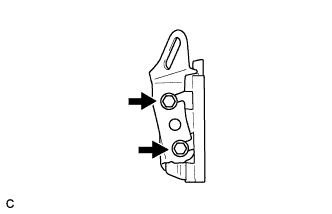 |
Remove the 2 screws and No. 2 ECM bracket.
| 5. REMOVE NO. 1 ECM BRACKET |
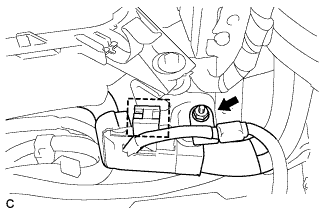 |
Remove the nut.
Disconnect the wire harness clamp.
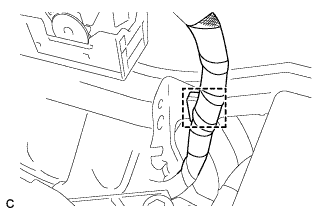 |
Disconnect the wire harness clamp.
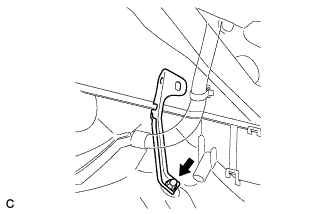 |
Remove the nut and No. 1 ECM bracket.