TELEMATICS TELEMATICS TRANSCEIVER REMOVAL
CAUTION / NOTICE / HINT
The necessary procedures (adjustment, calibration, initialization, or registration) that must be performed after parts are removed and installed, or replaced during telematics transceiver removal/installation are shown below.
| Replaced Part or Performed Procedure | Necessary Procedure | Effect/Inoperative Function When Necessary Procedures are not Performed | Link |
|---|---|---|---|
| Replacement of telematics transceiver | Register vehicle information | Emergency call service | ( ) |
PROCEDURE

 1. CHANGE POWER TILT AND POWER TELESCOPIC STEERING COLUMN SYSTEM SETTINGS (for Power Tilt and Power Telescopic Steering Column)
55435B
2.REMOVE NO. 1 METER HOOD CLUSTER
55012A
3.REMOVE NO. 2 INSTRUMENT PANEL GARNISH SUB-ASSEMBLY
55480D
4.REMOVE LOWER INSTRUMENT PANEL FINISH PANEL ASSEMBLY
55670
5.REMOVE NO. 3 INSTRUMENT PANEL REGISTER ASSEMBLY
55900
6.REMOVE AIR CONDITIONING CONTROL ASSEMBLY (except Radio and Display Type with 8 Inch Display)
7.REMOVE RADIO RECEIVER ASSEMBLY WITH BRACKET (for Radio Receiver Type)
8.REMOVE RADIO AND DISPLAY RECEIVER ASSEMBLY WITH BRACKET (for Radio and Display Type with 7 Inch Display)
9.REMOVE RADIO AND DISPLAY RECEIVER ASSEMBLY WITH BRACKET (for Radio and Display Type with 8 Inch Display)
86740
10.REMOVE TELEMATICS TRANSCEIVER
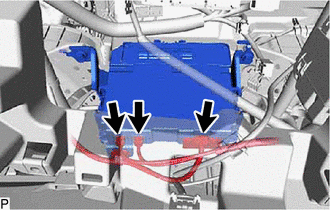
Disconnect each connector.
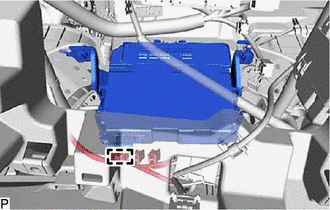
Disengage the clamp.
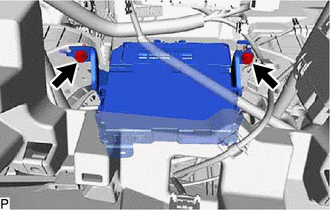
Remove the 2 bolts.
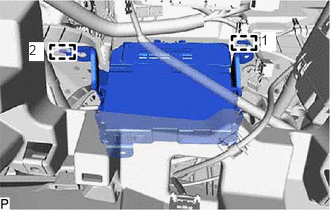
Disengage the 2 guides in the order shown in the illustration to remove the telematics transceiver.