AIR CONDITIONING CONDENSER(for 1BZ-FPE) REMOVAL
PROCEDURE

 1. DISCHARGE REFRIGERANT FROM REFRIGERATION SYSTEM
2.REMOVE LIQUID PIPE
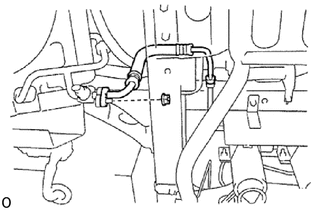
Remove the nut and disconnect the liquid pipe.
- NOTICE:
-
Seal the connection area of the disconnected liquid pipe using vinyl tape to prevent dirt, moisture and foreign matter from entering.
3.DISCONNECT DISCHARGE PIPE
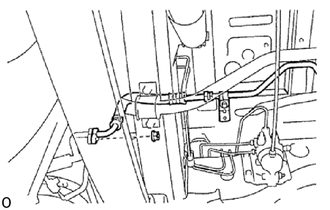
Remove the nut and disconnect the discharge pipe.
- NOTICE:
-
Seal the connection area of the disconnected discharge pipe using vinyl tape to prevent dirt, moisture and foreign matter from entering.
4.REMOVE CONDENSER WITH SHROUD ASSEMBLY
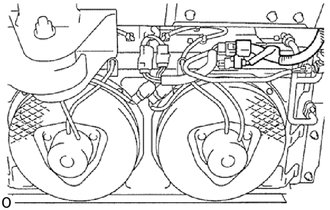
Disconnect the 2 connectors between the air conditioning wire harness and vehicle harness.
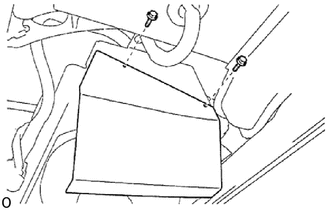
Remove the 2 bolts and bracket assembly (front side).
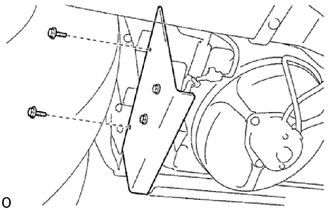
Remove the 2 bolts and bracket assembly (rear side).
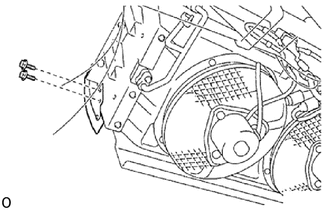
Remove the 2 bolts and No. 1 dust cover.
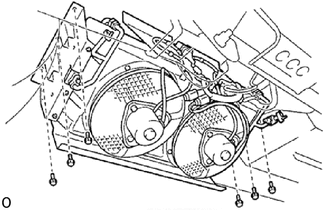
Remove the 6 bolts and condenser with shroud assembly.
5.REMOVE AIR CONDITIONING WIRING HARNESS
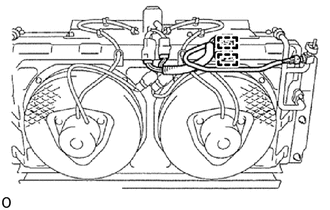
Disconnect each connector and the 2 connector clamps and remove the air conditioning wire harness.
6.REMOVE COOLER CONDENSER FAN RELAY
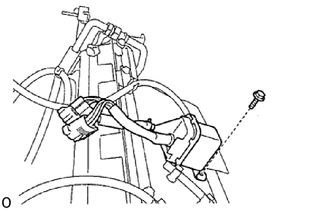
Remove the bolt and cooler condenser fan relay.
7.REMOVE COOLER REFRIGERANT DISCHARGE PIPE A
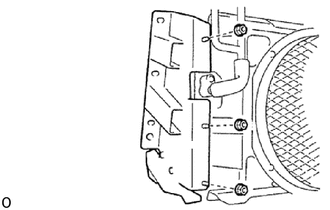
Remove the 3 nuts and bracket assembly.
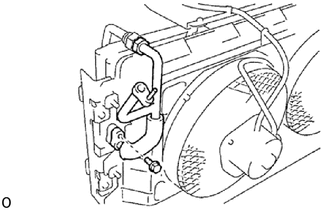
Remove the bolt, flare nut and cooler refrigerant discharge pipe A.
- NOTICE:
-
Seal the connection area of the removed cooler refrigerant discharge pipe A using vinyl tape to prevent dirt, moisture and foreign matter from entering.
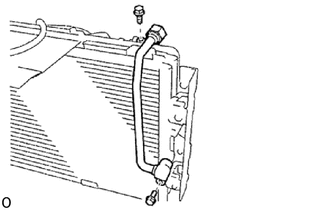
Remove the 2 bolts and cooler refrigerant discharge pipe A.
- NOTICE:
-
Seal the connection area of the removed cooler refrigerant discharge pipe A using vinyl tape to prevent dirt, moisture and foreign matter from entering.
8.REMOVE COOLER REFRIGERANT LIQUID PIPE C
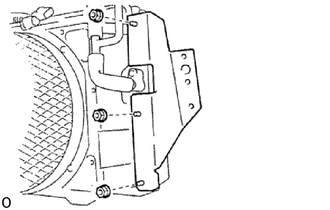
Remove the 3 nuts and bracket assembly.
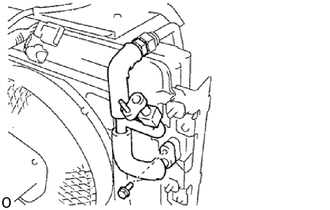
Remove the bolt and flare nut, and then remove cooler refrigerant liquid pipe C together with the No. 1 pressure switch.
- NOTICE:
-
Seal the connection area of the removed cooler refrigerant liquid pipe C using vinyl tape to prevent dirt, moisture and foreign matter from entering.
9.REMOVE COOLER REFRIGERANT LIQUID PIPE N
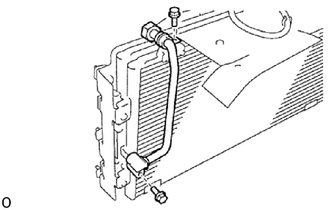
Remove the 2 bolts and cooler refrigerant liquid pipe N.
- NOTICE:
-
Seal the connection area of the removed cooler refrigerant liquid pipe N using vinyl tape to prevent dirt, moisture and foreign matter from entering.
10.REMOVE NO. 3 COOLER CONDENSER FAN SHROUD
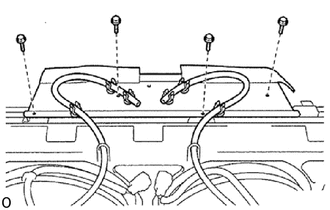
Remove the 4 bolts, 2 tubes and dust cover.
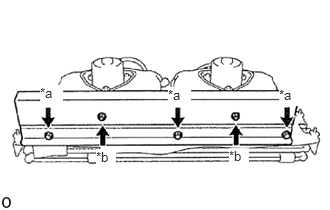
| *a | Bolt |
| *b | Nut |
Remove the 3 bolts, 2 nuts and dust cover.
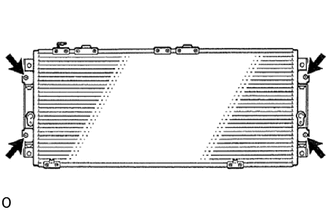
Remove the 4 bolts and cooler condenser assembly (upper side).
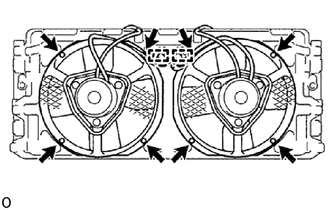
Remove the 8 bolts, 2 connector clamps and 2 condenser fan assemblies.
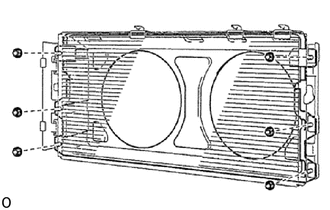
Remove the 6 nuts, 6 bushes and No. 3 cooler condenser fan shroud.
11.REMOVE BLOWER CONDENSER MOTOR ASSEMBLY
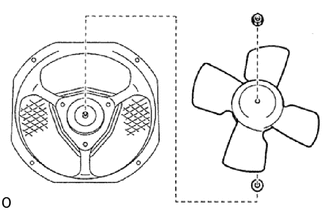
Remove the nut, washer and condenser cooler fan.
- HINT:
-
Use the same procedure for the other side.
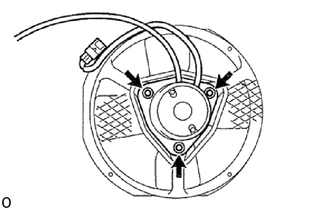
Remove the 3 bolts and blower condenser motor assembly.
- HINT:
-
Use the same procedure for the other side.
12.REMOVE COOLER CONDENSER ASSEMBLY
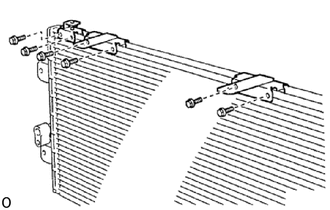
Cooler condenser assembly upper side:
Remove the 6 screws and 3 condenser brackets.
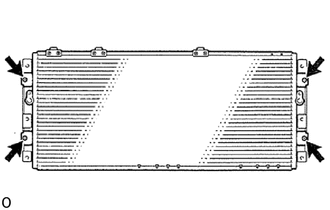
Cooler condenser assembly bottom side:
Remove the 4 bolts and 2 condenser plate assemblies.
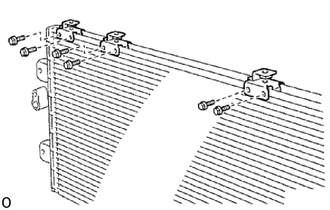
Remove the 6 screws and 3 condenser brackets.