BODY WELD POINT REAR FLOOR PAN ASSEMBLY REPLACEMENT
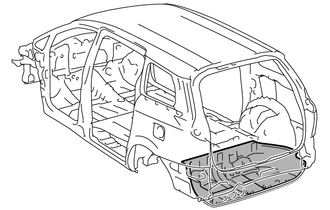
With the rear floor rear inner crossmember removed.
REMOVAL
| Symbol Meaning | |
|---|---|

|
Remove Weld Points |

|
Remove Weld Points |

|
Remove Weld Points |

|
Cut and Join Location |
Cut the center floor pan and fold it upward as shown in *a. Then cut through the welded area of the center floor pan and rear floor side front member, and remove the rear floor pan.
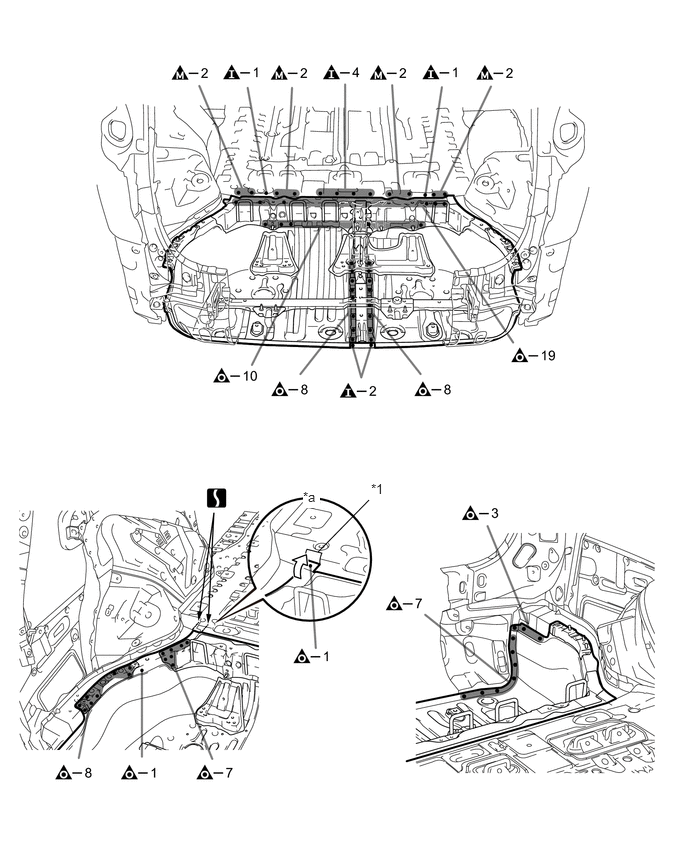
| *1 | Center Floor Pan | - | - |
INSTALLATION
| Symbol Meaning | |
|---|---|

|
Plug Weld |

|
Plug Weld |

|
Plug Weld |

|
Butt Weld |
Before temporarily installing the new parts, weld the rear seat hinge reinforce, rear floor side panel, rear floor crossmember no.5, spare wheel carrier bracket, rear floor stay brancket, rear floor pan reinforcement and rear seat cushion retainer with the standard number of welding points.
After welding, apply body sealer and undercoating to the corresponding parts.(See the painting / coating)
After applying the top coat, apply anti-rust agent to the internal panel portion of the closed section structural weld points.
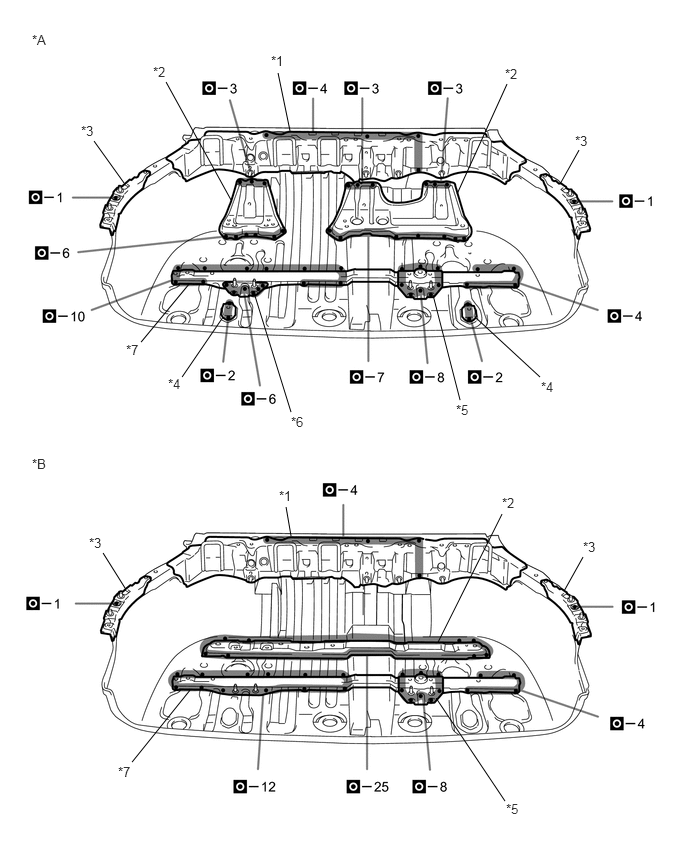
| *A | Manual Stowing Seat Type | *B | Power Stowing Seat Type |
| *1 | Rear Seat Hinge Reinforce | *2 | Rear Floor Pan Reinforcement |
| *3 | Rear Floor Side Panel | *4 | Rear Seat Cushion Retainer |
| *5 | Spare Wheel Carrier Bracket | *6 | Rear Floor Stay Bracket |
| *7 | Rear Floor Crossmember No.5 | - | - |
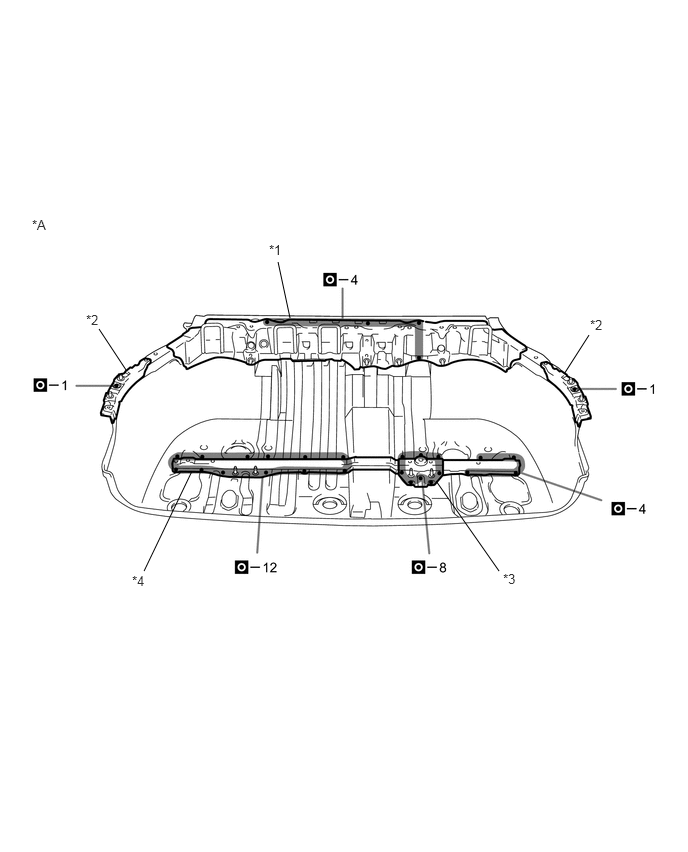
| *A | Tumble Seat Type | - | - |
| *1 | Rear Seat Hinge Reinforce | *2 | Rear Floor Side Panel |
| *3 | Spare Wheel Carrier Bracket | *4 | Rear Floor Crossmember No.5 |
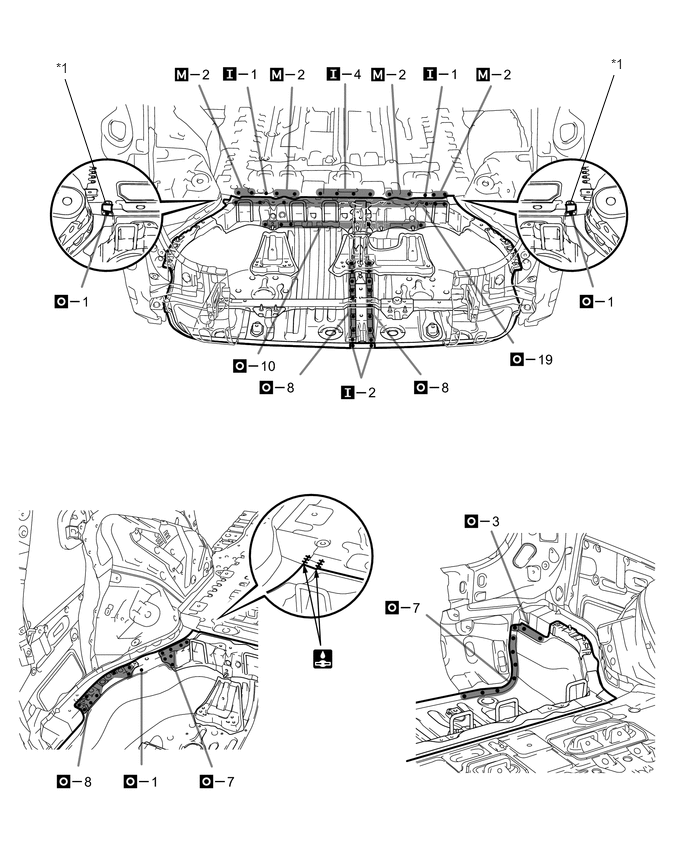
| *1 | Center Floor Pan | - | - |