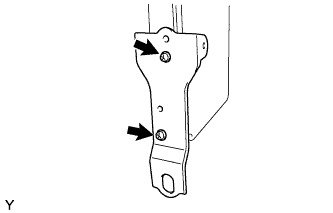
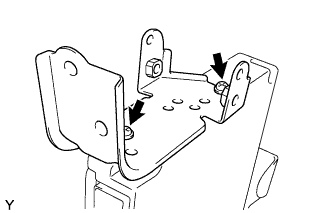
Perform the RESET MEMORY (AT initialization) when replacing the automatic transmission assembly, engine assembly or ECM (Click here).
If the ECM has been replaced or RESET MEMORY (AT initialization) has been performed, set up the function of the ATF (Automatic Transmission Fluid) temperature warning lamp (Click here).
1.
DISCONNECT CABLE FROM NEGATIVE BATTERY TERMINAL
2.
REMOVE GLOVE COMPARTMENT DOOR ASSEMBLY
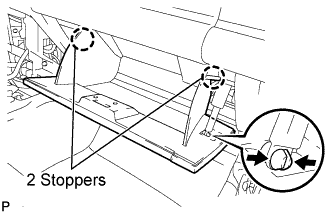
Disengage the claw and separate the glove compartment door stoppers from the glove compartment door.
Slightly flex the upper part of the glove compartment door assembly to release the 2 stoppers and open the glove compartment door until it becomes horizontal.
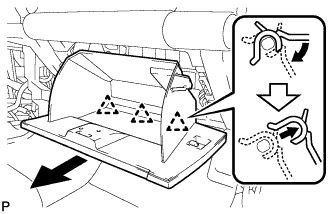
Pull the glove compartment door assembly toward the rear of the vehicle to release the 3 hinges and remove the glove compartment door assembly.