INSTALLATION
Removal / installation · Vehicles built Jul 2007 – Jul 2009
Versions by build date: Jul 2007 – Jul 2009 Aug 2009 – Oct 2012 Nov 2012 – Jul 2014 from Aug 2014
| 1. INSTALL FUEL FILTER |

Install the fuel filter with the 3 nuts.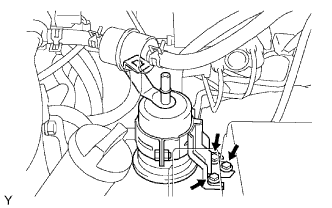

- Torque:
- 8.5 N*m{ 87 kgf*cm , 75 in.*lbf }
Install the charcoal canister to the bracket.
| 2. CONNECT FUEL MAIN TUBE |
- NOTICE:
- Before installing the fuel main tube connector to the fuel filter upper pipe, check the connector for damage and foreign matter.
Connect the connector to the upper pipe. Push the 2 parts together firmly until a click sound is heard. Then attach the lock claws to the connector by pushing down on the connector cover.
Check that the connector and upper pipe are securely connected by trying to pull them apart.
Install the fuel tube grommet.
| 3. CONNECT NO. 1 FUEL PIPE SUB-ASSEMBLY |
Connect the connector to the lower pipe. Push the two parts together firmly until a click sound is heard.
Check that the connector and lower pipe are securely connected by trying to pull them apart.
Connect the pipe to the clamp.
| 4. INSTALL CANISTER |
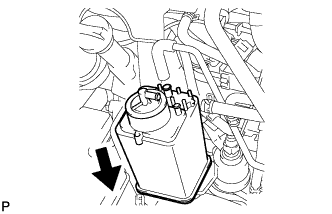 |
Install the canister to the bracket.
Connect the air inlet line hose to the canister.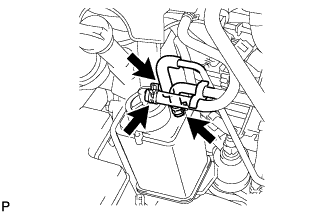
Connect the purge line hoses to the canister.
| 5. INSPECT FOR FUEL LEAK |
Connect the Techstream to the DLC3.
Turn the ignition switch ON.
- NOTICE:
- Do not start the engine.
Turn the Techstream ON.
Select the following menu items: Powertrain / Engine and ECT / Active Test / Activate the Fuel Pump Speed Control / ON.
Check that there is no leakage from the fuel system.