Versions by build date: Jul 2007 – Jul 2009from Aug 2009
1.
INSTALL DIFFERENTIAL CASE ASSEMBLY
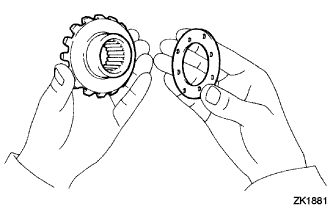
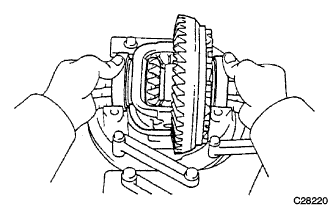
Install the rear differential side gear thrust washer onto the rear differential side gear.
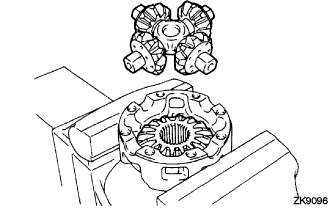
Install the rear differential pinion thrust washer and rear differential pinion onto the rear differential spider.
Fix the differential case RH.
Install the rear differential side gear and rear differential spider onto the differential case RH.
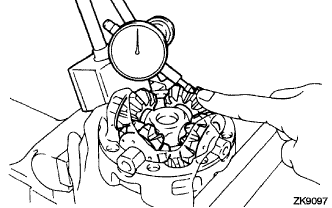
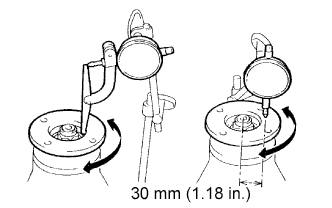
Using a dial indicator, measure the differential case RH side backlash while holding the pinion toward the case.
Backlash:
0.05 to 0.20 mm (0.002 to 0.008 in.)
Remove the rear differential spider from the differential case RH.
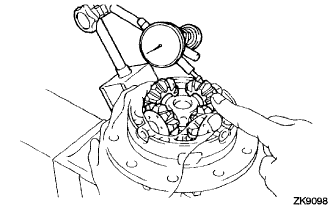
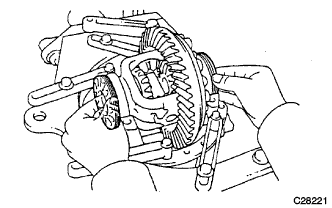
Install the rear differential side gear and rear differential spider onto the differential case LH.
Using a dial indicator, measure the differential case LH side backlash while holding the pinion toward the case.
Backlash:
0.05 to 0.20 mm (0.002 to 0.008 in.)
If the backlash is not within the specification, install 2 side gear thrust washers of a different thickness.
Thrust washer thickness:
Thickness mm (in.)
Thickness mm (in.)
0.9 (0.0354)
1.2 (0.0472)
1.0 (0.0394)
1.3 (0.0512)
1.1 (0.0433)
-
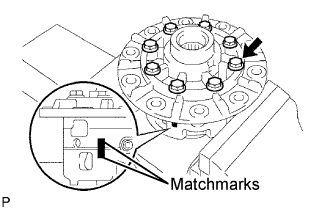
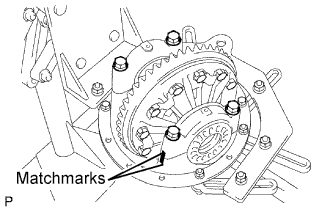
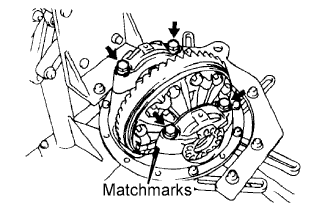
Align the matchmarks and assemble the RH and LH cases.
Using a plastic hammer, install the differential case.
Install the 8 bolts.
Torque:
47 N*m{
480 kgf*cm
, 35 ft.*lbf
}
2.
INSTALL DIFFERENTIAL RING GEAR
Clean the contact surfaces of the differential case and ring gear.
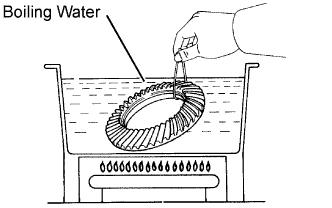
Heat the ring gear to approximately 100 °C (212 °F) in boiling water.
Carefully take the ring gear out of the boiling water.
After the moisture on the ring gear has completely evaporated, quickly install the ring gear onto the differential case.
Align the matchmarks on the ring gear and differential case.
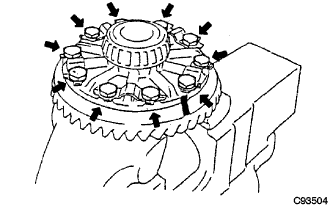
Temporarily install 5 new lock plates and 10 bolts.
After the ring gear cools down sufficiently, torque the 10 bolts uniformly.
Torque:
97 N*m{
985 kgf*cm
, 71 ft.*lbf
}
HINT:
Tighten the bolts in diagonal order little by little in several steps.
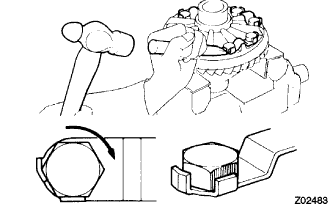
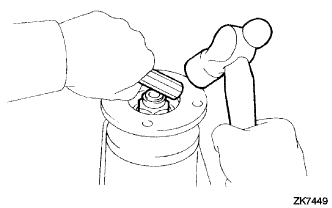
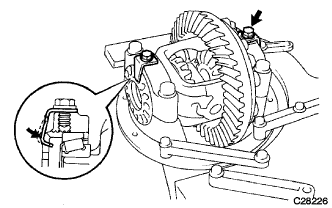
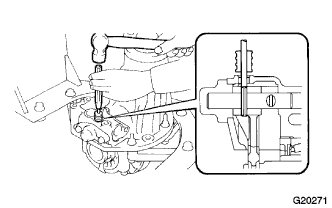
Using a chisel and a hammer, stake the 5 lock plates.
HINT:
Strike the tab labeled A so that it is flush with the flat surface of the bolt. Strike the tab labeled B so that half of the tab is in contact with the bolt as shown in the illustration.
3.
INSTALL REAR DIFFERENTIAL CASE BEARING
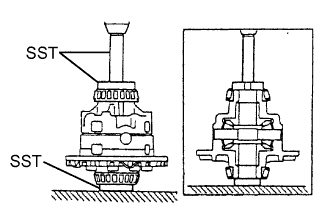
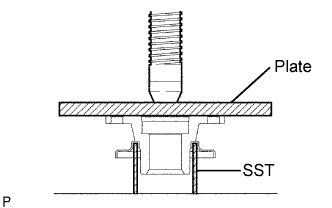
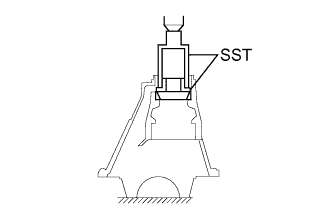
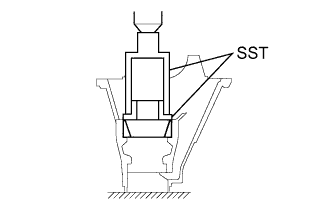
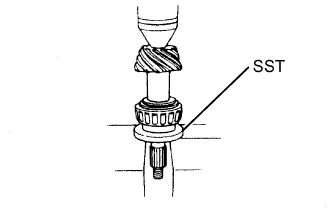
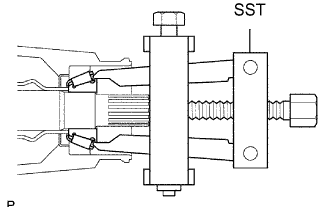
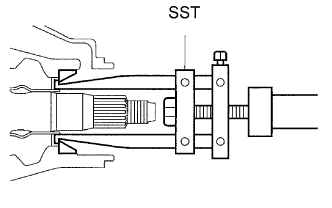
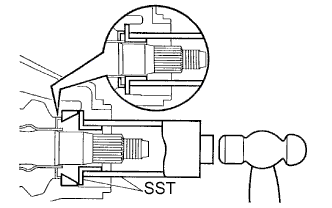
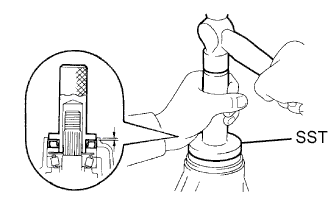
Using SST and a press, install the bearing onto the differential case.
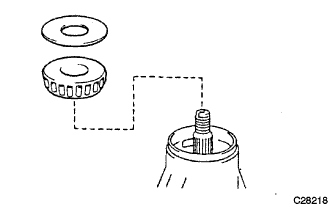
Install the 2 adjusting nuts into the carrier, making sure the nuts are threaded properly.
12.
INSPECT AND ADJUST DIFFERENTIAL RING GEAR AND DIFFERENTIAL DRIVE PINION BACKLASH
Align the matchmarks on the cap and carrier.
Install the right and left bearing caps with the 4 bolts.
Torque:
85 N*m{
870 kgf*cm
, 63 ft.*lbf
}
HINT:
If the bearing cap does not fit tightly onto the carrier, the adjusting nuts are not threaded properly.
Reinstall the adjusting nuts if necessary.
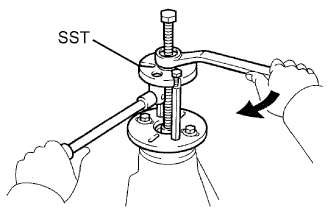
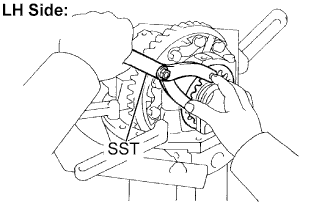
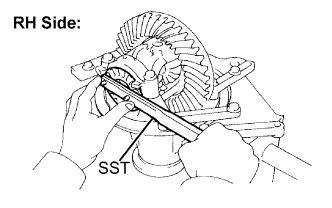
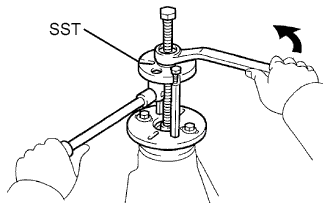
Tighten the 4 bearing cap bolts to the specified torque, then loosen them to the point where the adjusting nuts can be turned by SST.
Torque:
85 N*m{
870 kgf*cm
, 63 ft.*lbf
}
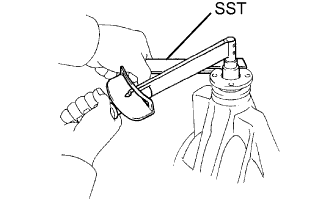
Using the SST, tighten the adjusting nut on the ring gear side until the ring has a backlash of about 0.2 mm (0.008 in.).
SST
09960-10010
(09962-01000, 09963-00700)
While turning the ring gear, use the SST to fully tighten the adjusting nut on the drive pinion side. After the bearings have settled, loosen the adjusting nut on the drive pinion side.
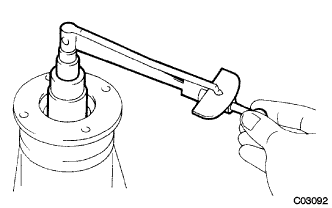
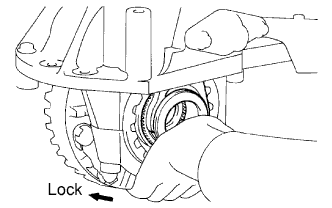
Using SST, torque the adjusting nut 1 to 1.5 notches from the 0 preload position.
SST
09504-00011
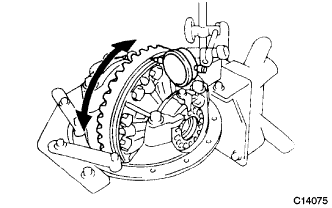
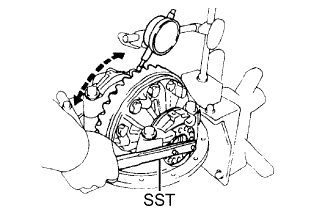
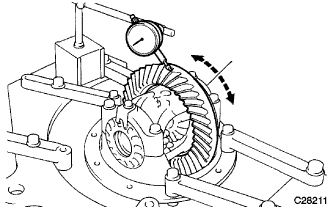
Using a dial indicator, adjust the ring gear backlash until it is within the specification.
Backlash:
0.13 to 0.18 mm (0.0051 to 0.0071 in.)
HINT:
The backlash is adjusted by turning the left and right adjusting nuts an equal amount. For example, loosen the nut on the right side one notch and loosen the nut on the left side one notch.
Perform the measurement at 3 or more positions around the circumference of the ring gear.
Torque the bearing cap bolts.
Torque:
85 N*m{
870 kgf*cm
, 63 ft.*lbf
}
13.
INSPECT TOTAL PRELOAD
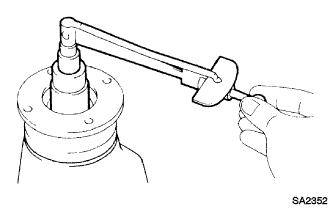
Using a torque wrench, measure the preload with the teeth of the drive pinion and ring gear in contact.
Total preload (at starting):
Drive pinion preload plus 0.39 to 0.59 N*m (4.0 to 6.0 kgf*cm, 3.5 to 5.2 in.*lbf)
If necessary, disassemble and inspect the differential.
14.
INSPECT TOOTH CONTACT BETWEEN RING GEAR AND DRIVE PINION
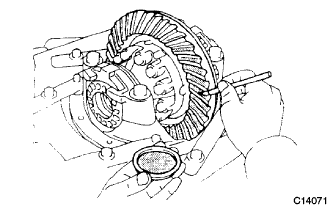
Coat 3 or 4 teeth at 3 different positions on the ring gear with prussian blue.
Hold the companion flange firmly and rotate the ring gear in both directions.
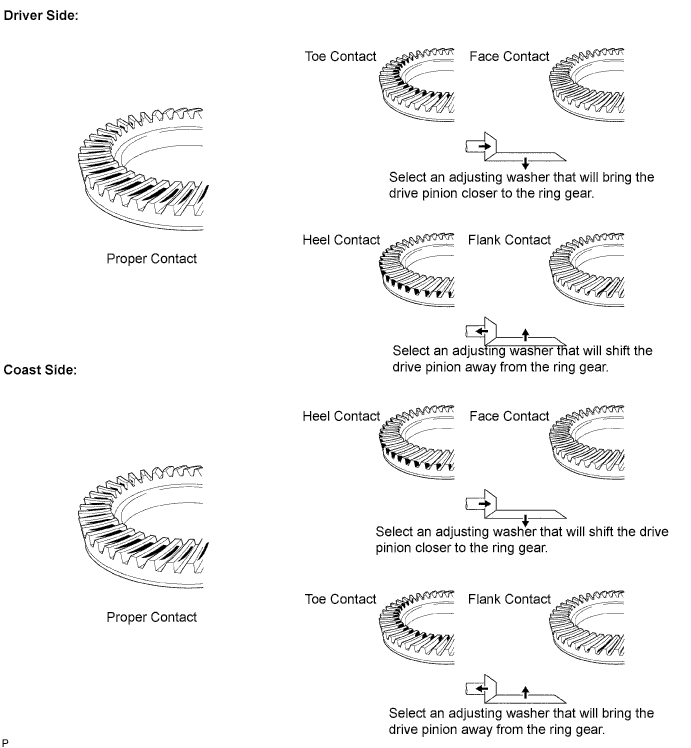
Inspect the tooth contact pattern.
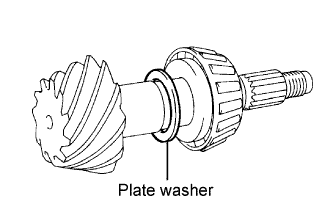
If the teeth are not engaged properly, use the following chart to select an appropriate washer for correction.
Plate Washer Thickness:
Thickness mm (in.)
Thickness mm (in.)
1.70 (0.0669)
2.03 (0.0799)
1.73 (0.0681)
2.06 (0.0811)
1.76 (0.0693)
2.09 (0.0823)
1.79 (0.0705)
2.12 (0.0835)
1.82 (0.0717)
2.15 (0.0847)
1.85 (0.0728)
2.18 (0.0853)
1.88 (0.0740)
2.21 (0.0870)
1.91 (0.0752)
2.24 (0.0882)
1.94 (0.0764)
2.27 (0.0894)
1.97 (0.0776)
2.30 (0.0906)
2.00 (0.0787)
2.33 (0.0917)
15.
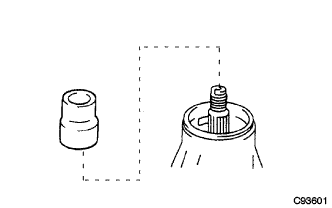
REMOVE REAR DRIVE PINION NUT
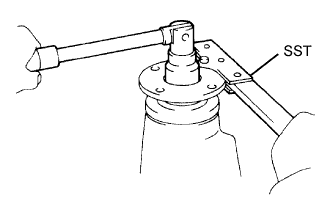
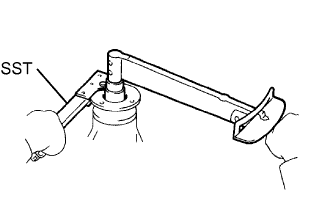
Using SST to hold the drive pinion companion flange, remove the nut.
Coat the threads of a new nut with hypoid gear oil LSD.
Using SST to hold the flange, tighten the nut.
SST
09330-00021
Torque:
370 N*m{
3770 kgf*cm
, 273 ft.*lbf
}
or less
25.
INSPECT DRIVE PINION PRELOAD
Using a torque wrench, measure the preload of the backlash between the drive pinion and ring gear.
Preload (at starting):
Bearing
Standard
New
1.05 to 1.64 N*m (10.7 to 16.7 kgf*cm, 9.3 to 14.5 in.*lbf)
Used
0.56 to 0.85 N*m (5.7 to 8.7 kgf*cm, 4.9 to 7.5 in.*lbf)
If the preload is greater than the specification, replace the bearing spacer. If the preload is less than the specification, retighten the nut to 13 N*m (130 kgf*cm, 9 ft*lbf) of torque at a time until the specified preload is reached.
Torque:
370 N*m{
3770 kgf*cm
, 27 ft.*lbf
}
or less
If the maximum torque is exceeded while retightening the nut, replace the bearing spacer and repeat the preload adjusting procedure.
HINT:
Do not loosen the pinion nut to reduce the preload.
26.
INSPECT TOTAL PRELOAD
Using a torque wrench, measure the preload.
Total preload (at starting):
Drive pinion preload plus 0.39 to 0.59 N*m (4.0 to 6.0 kgf*cm, 3.5 to 5.2 in.*lbf)
If necessary, disassemble and inspect the differential.
27.
INSPECT DIFFERENTIAL RING GEAR BACKLASH
Using a dial indicator, check the backlash of the ring gear.
Backlash:
0.13 to 0.18 mm (0.0051 to 0.0071 in.)
If the backlash is not within the specification, adjust or repair the side bearing preload as necessary.
HINT:
Perform the measurements at 3 or more positions around the circumference of the ring gear.