REMOVAL
Removal / installation · Vehicles built Jul 2007 – Oct 2010
Versions by build date: Jul 2007 – Oct 2010 Nov 2010 – Jul 2014 from Aug 2014
| 2.
REMOVE NO. 2 EXHAUST FRONT PIPE ASSEMBLY
|
 |
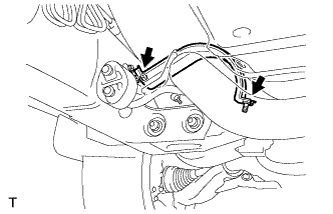
- Remove the 2 bolts, then remove the exhaust pipe stopper bracket. (for 4WD)
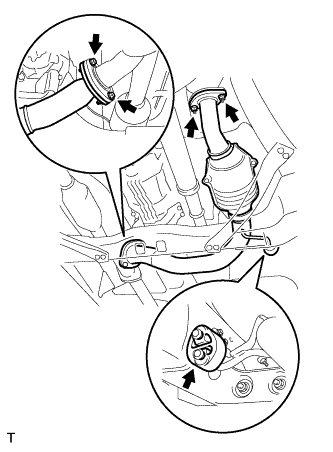
- Remove the 2 bolts and 2 nuts and separate the exhaust pipe support, then remove the No. 2 front exhaust pipe.
| 3.
REMOVE NO. 2 MANIFOLD STAY
|
|
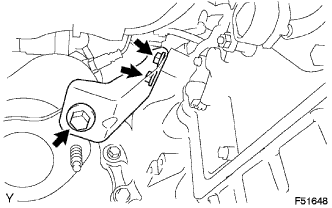
Remove the 3 bolts and remove the No. 2 manifold stay.
| 4.
REMOVE NO. 1 CLUTCH HOUSING COVER |
|
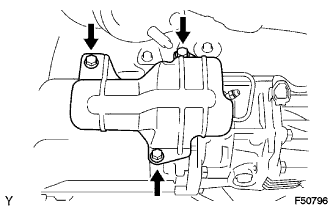
Remove the 3 bolts and No. 1 clutch housing cover.
| 5.
REMOVE CLUTCH ACCUMULATOR ASSEMBLY |
|
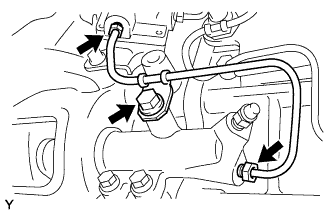
Using a union nut wrench, disconnect the clutch release tube from the clutch accumulator assembly.
- HINT:
- Use a container to catch the fluid.
Remove the bolt and clutch release tube.
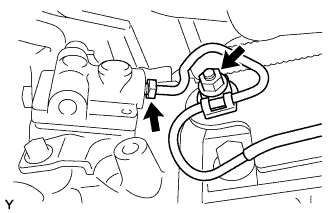
- Using a union nut wrench, disconnect the flexible hose tube from the clutch accumulator assembly.
Remove the nut and clutch line bracket.
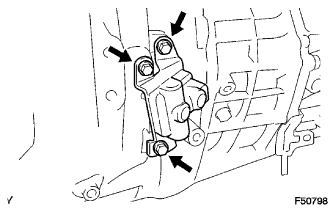
- Remove the 3 bolts and clutch accumulator assembly.